Learn how to create stunning clay flamingo art and crafts with our step-by-step tutorial. From shaping the clay to adding intricate details, this guide will walk you through the entire process. Discover the joy of working with clay and unleash your creativity with this fun and engaging project.
Creating clay flamingo arts and crafts can be a fun activity for both children and adults alike. Whether you are a beginner or an experienced artist, this step-by-step tutorial will guide you through the process of making your very own clay flamingo masterpiece. From sculpting the body and shaping the beak to adding intricate details and vibrant colors, this tutorial will provide you with all the necessary instructions and tips to bring your clay flamingo to life. So, grab your clay, marker, white drawing sheet, and markers and get ready to start a creative journey filled with imagination and artistic expression.
Beautiful Clay Flamingo Art And Craft For Kids
Must Read: Clay Flower Pot Model Craft Tutorial For Kids
Supplies & Tools
- Pink Clay
- Scissors
- Black Pen/Marker
- Chinese Juniper Plant Branches
- Plastic Knife
- White Drawing Sheet
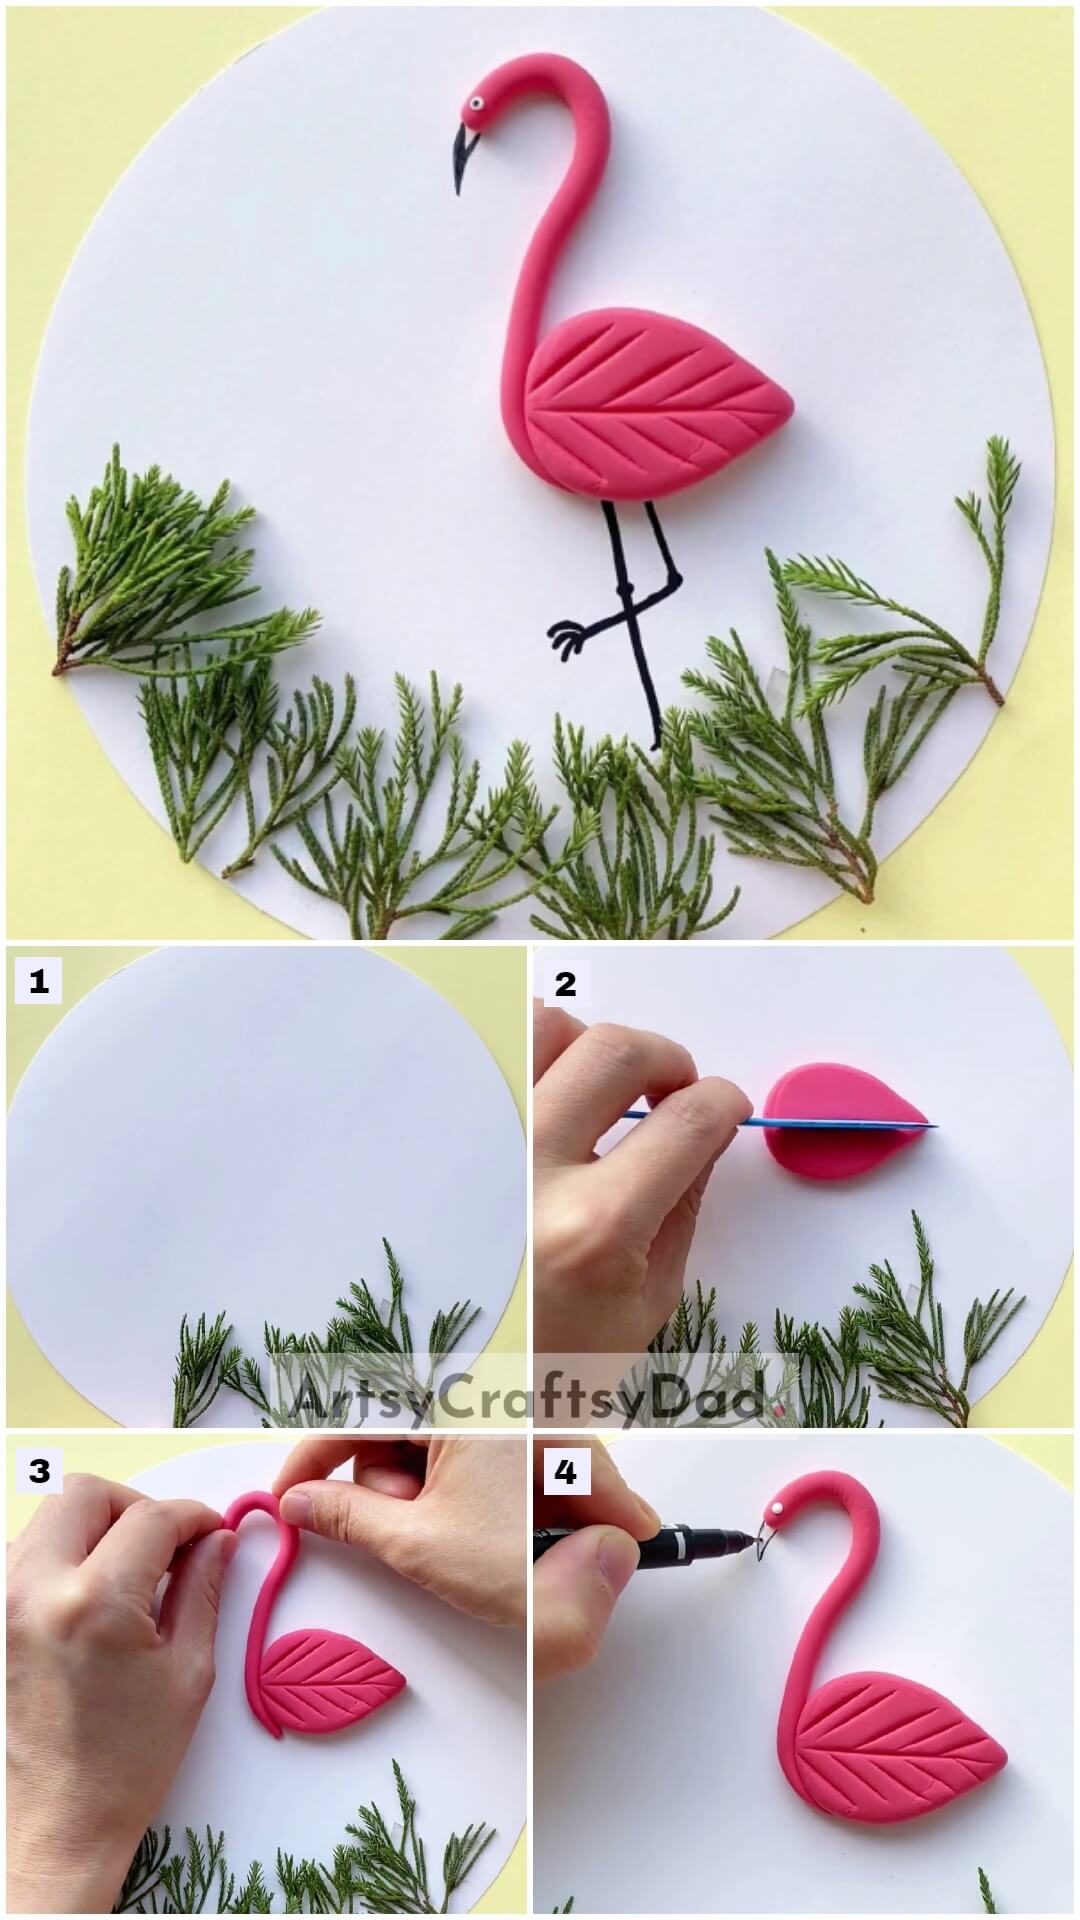
Flamingo Craft Instructions
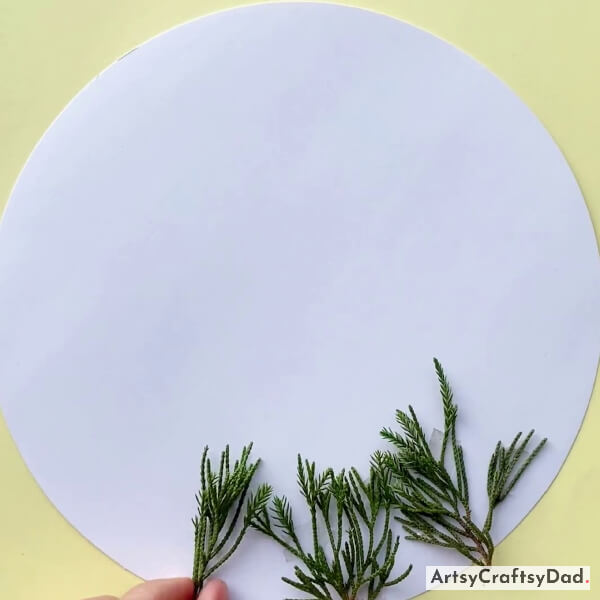
Step #1: Taking Chinese Juniper Plant Branches
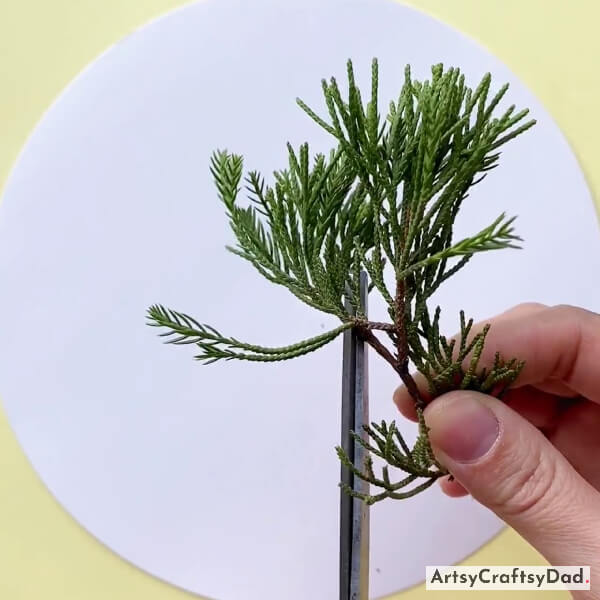
First, take a white drawing sheet & cut it into a circle & use it as a craft base. Now, take a Chinese juniper plant twig & cut it into small parts.
Step #2: Pasting Twig Small Cut Part
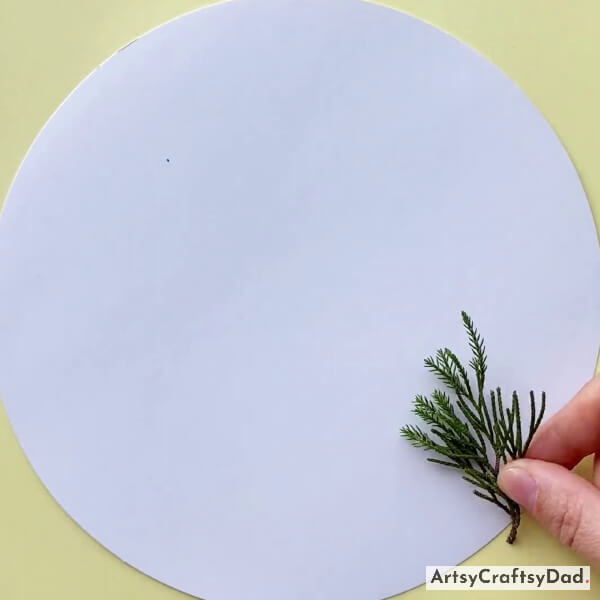
Paste the twig small cut part on the lower right side of the craft base.
Step #3: Pasting More Twig Cut Parts
Take some more twig-cut parts and paste them in the same manner.
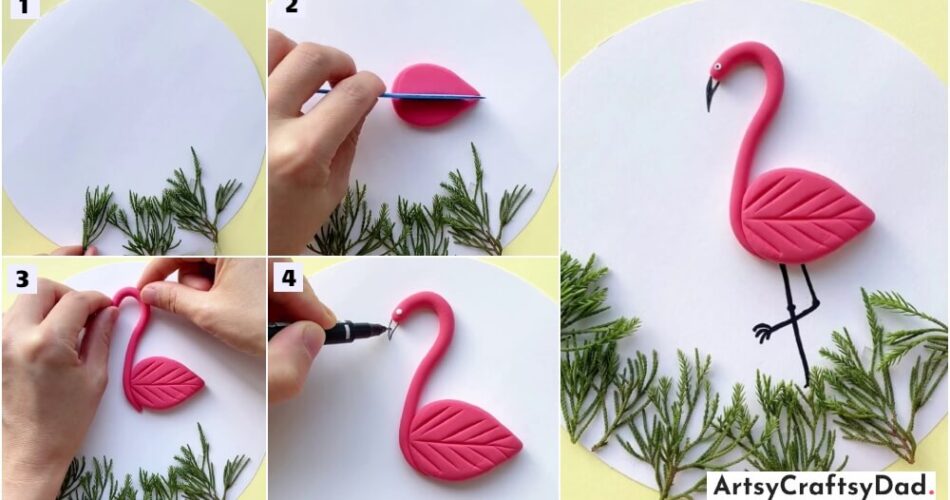
Step #4: Working With Clay
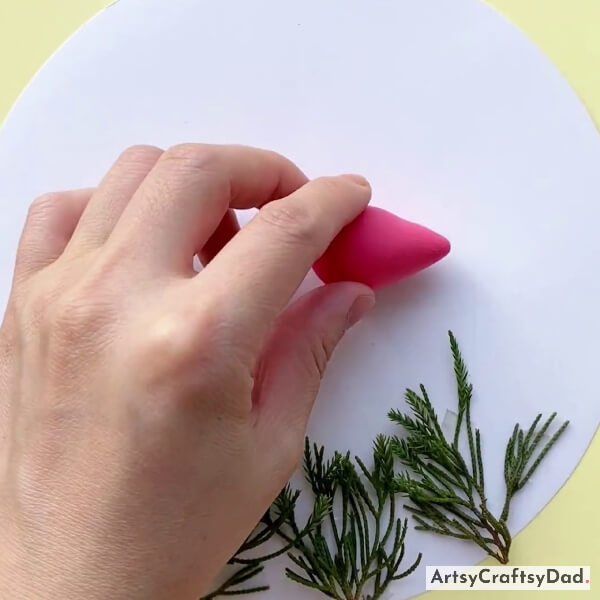
Now, take some pink color clay and make a drop shape like the flamingo body.
Step #5: Making Wings Of Flamingo
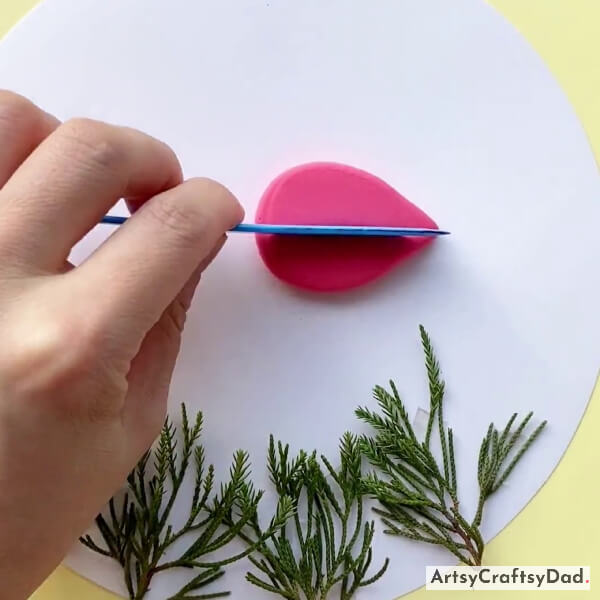
Now, press the flamingo body with a transparent acrylic sheet & start making wing textures on the flamingo body to make it realistic using a plastic knife.
Step #6: Making Neck
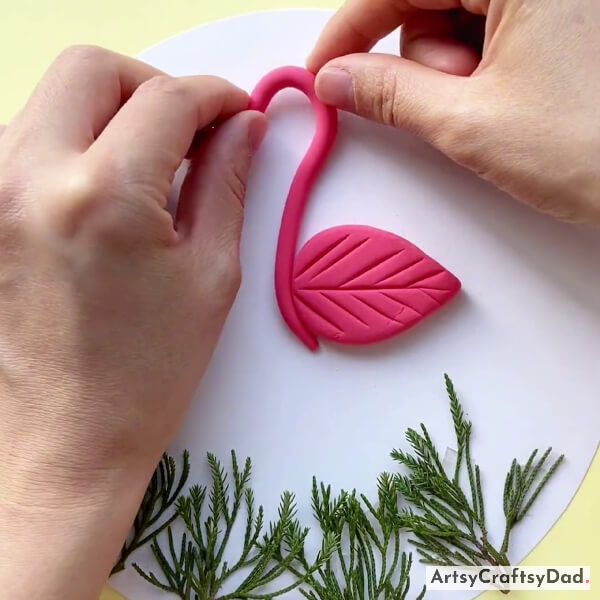
Now, take some more clay and start making the neck & face of the flamingo as shown in the above image.
Step #7: Drawing Beak
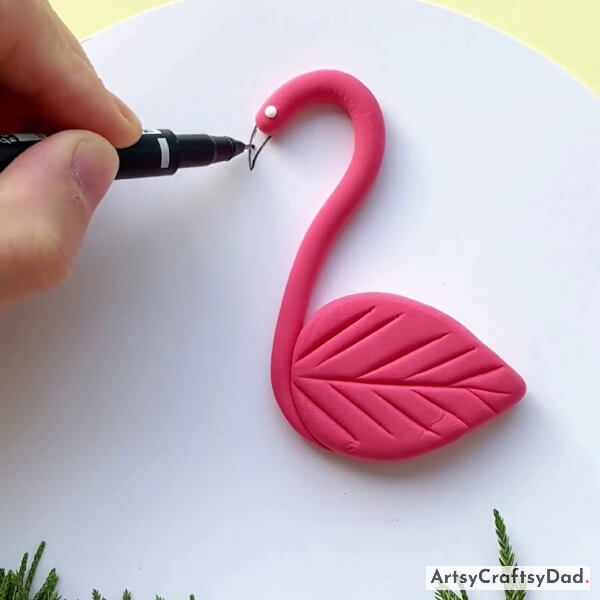
Now, take white clay & make a little dot & paste it on the flamingo face as the flamingo eye. Draw the beak of the flamingo using a black pen.
Hurrah, Our Clay Flamingo Craft Is Ready!
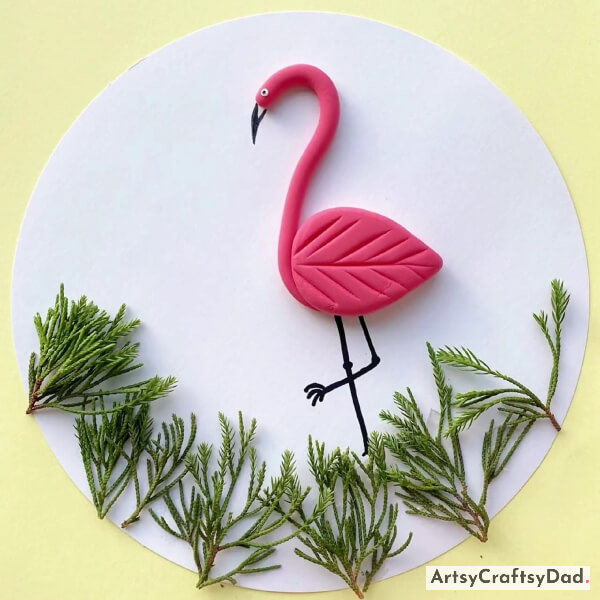
Now, in the final step draw a dot on the center white clay and draw the legs of the flamingo using a black marker. Hurrah! our clay flamingo craft is now complete.
Our adorable flamingo clay craft is ended here. I hope you have enjoyed the journey of making the flamingo clay craft. From gathering the necessary materials to shaping and detailing the clay, this tutorial has covered every aspect of the process. You could gift this to your friends & family they will be happy to see this adorable decorative piece & knowing that you made it on your own for them will make them feel special. If you want to explore more crafts then you should visit our other websites. Don’t forget to share your thoughts & ideas in the comment section.
Thanks for your trust & visiting our website!
You Might Also Like This
- Amazing Paper Dragon Fruit Craft Step-By-Step Tutorial
- Clay Cherry & Paper Cup Pot With Leaves Craft Tutorial
- Dumpling Dragon Boat Paper Craft Step-By-Step Tutorial
- Colorful Clay Cactuses Craft Tutorial For Kids
- Clay Flower Vase Model Craft Tutorial For Kids


