Looking for a fun and simple craft project for kids? Check out our easy-to-make paper mushroom craft tutorial. This step-by-step guide will show you how to create adorable mushroom decorations using just paper and a few basic supplies. Get creative with colors and patterns to make each mushroom unique. This craft is perfect for kids of all ages and is a great way to encourage their imagination and fine motor skills. Join us for some crafting fun today!
Are you looking for a fun and creative craft project to do with your kids? Look no further than this easy-to-make paper mushroom craft tutorial! This simple and budget-friendly craft will not only keep your children entertained for hours, but it will also help them develop their fine motor skills and creativity. With just a few basic supplies and some simple instructions, you and your little ones can create a whimsical mushroom masterpiece that will make a delightful addition to any room or garden. So gather up your materials and get ready to embark on a magical crafting adventure with your kids!
DIY Paper Mushroom Craft Tutorial For Kids
Must Read: Paper Lollipop Origami Craft Tutorial For Kids
Supplies & Tools
- Scissors
- Glue
- Colored Papers (Red, White)
- Black Sketch Or Pen
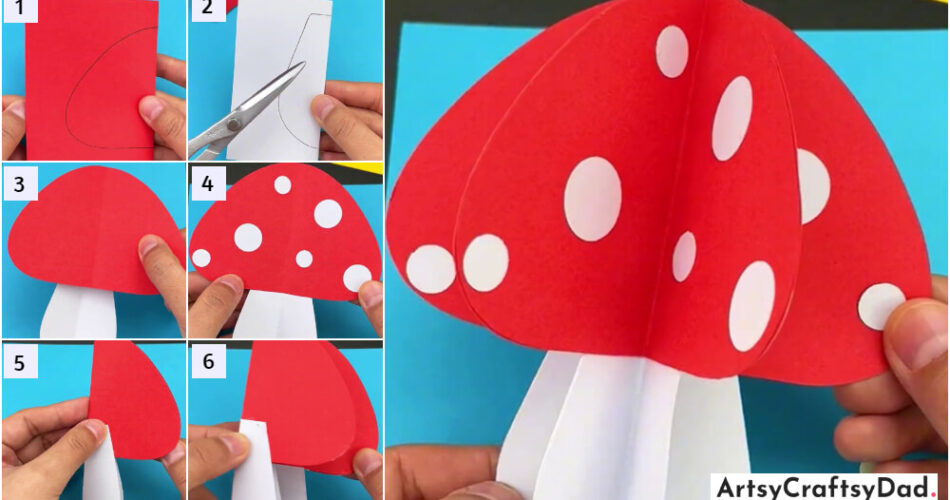
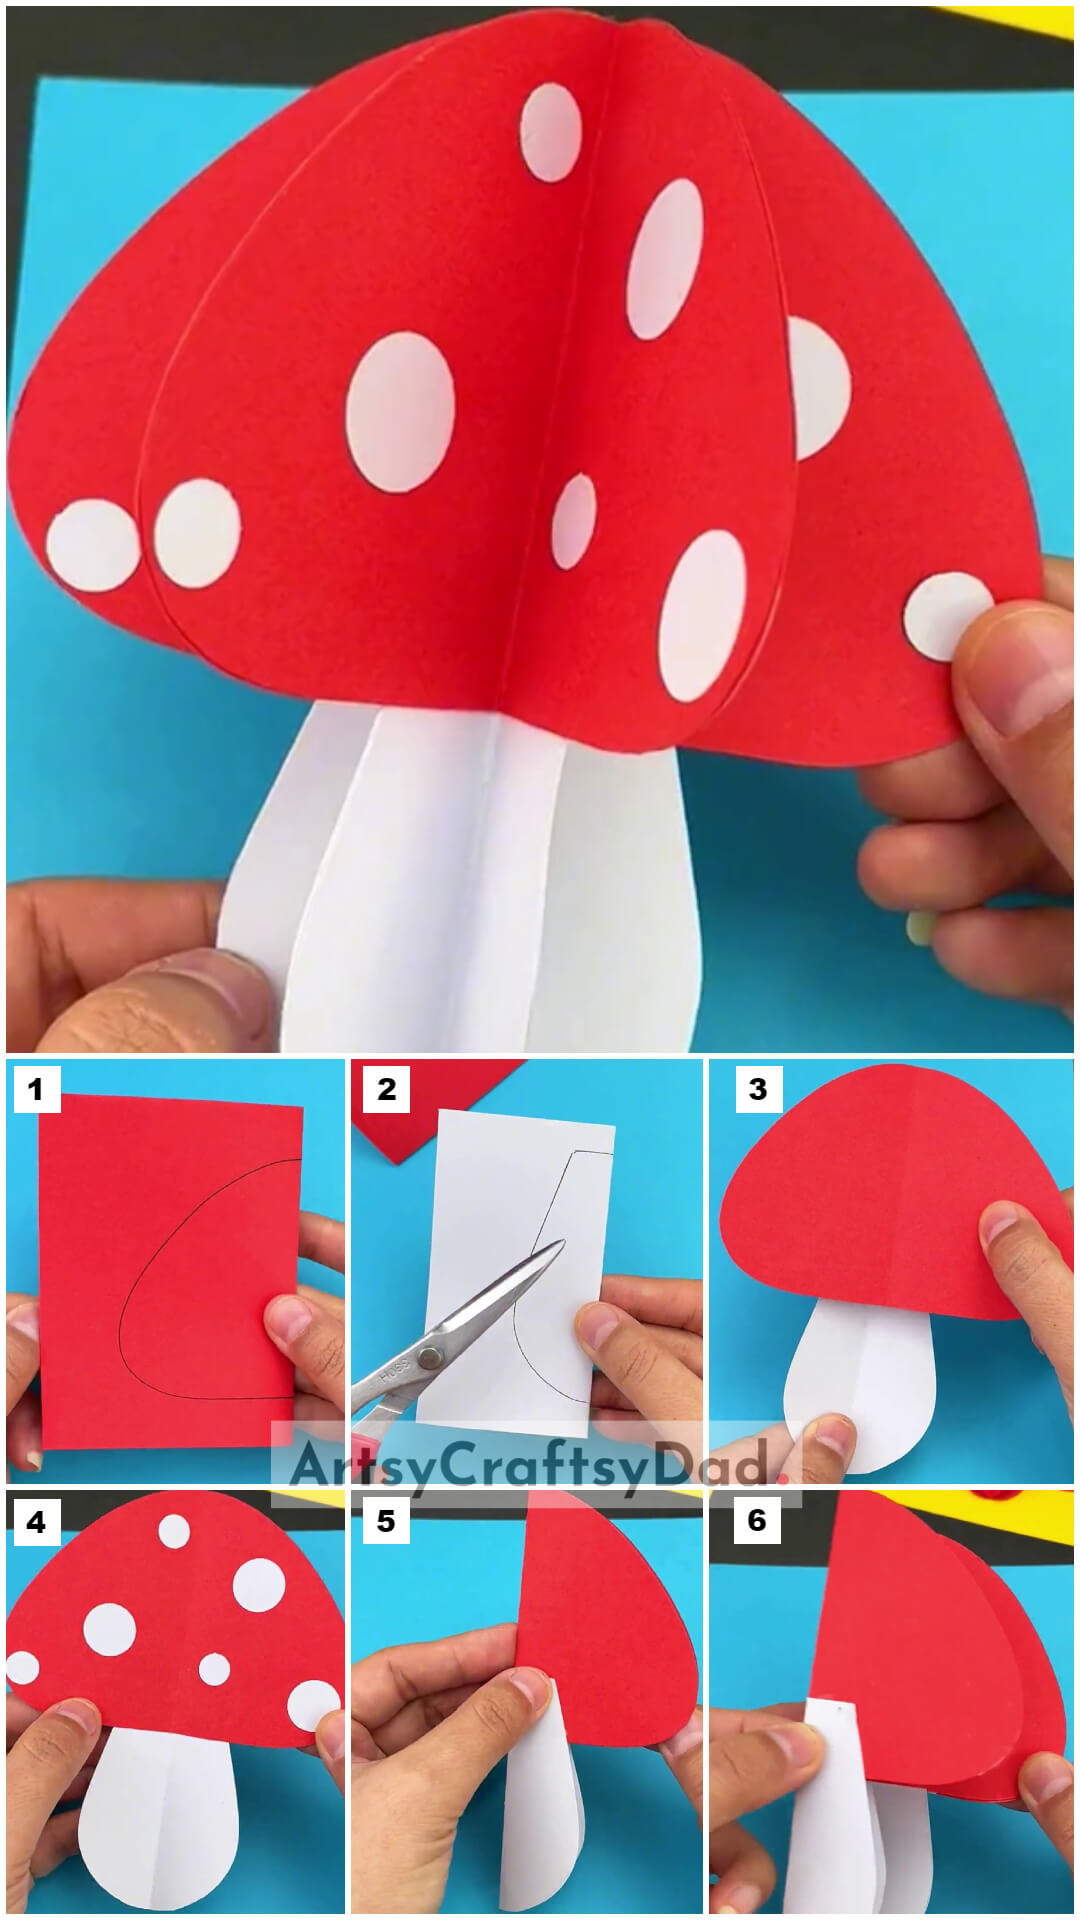
Paper Mushroom Craft Procedure
Step #1: Making Creases On Red Paper
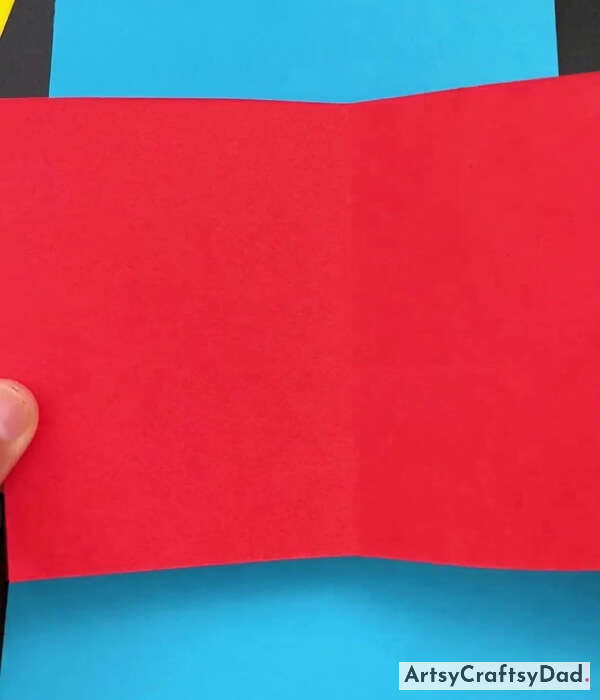
Take a red paper & cut it into a rectangle shape with the help of scissors. Make creases at the center of the paper.
Step #2: Drawing Mushroom Cap Curves
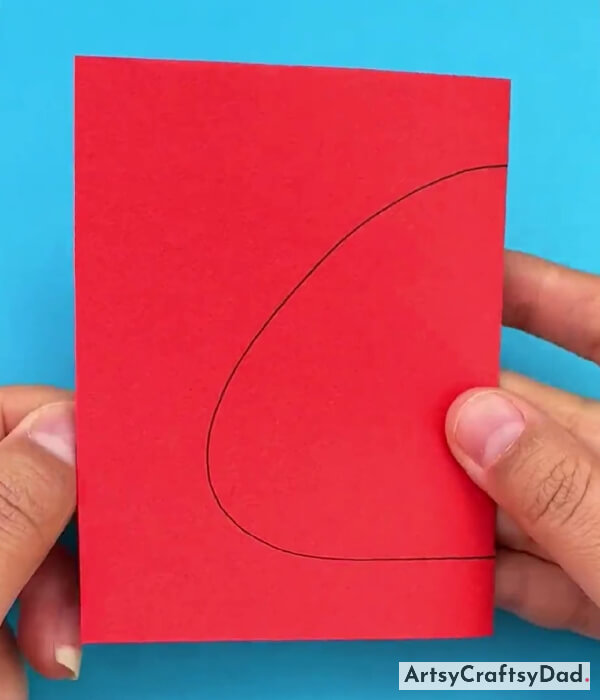
Fold the paper half from the middle. Take a black sketch or pen & draw a mushroom cap curve on the paper.
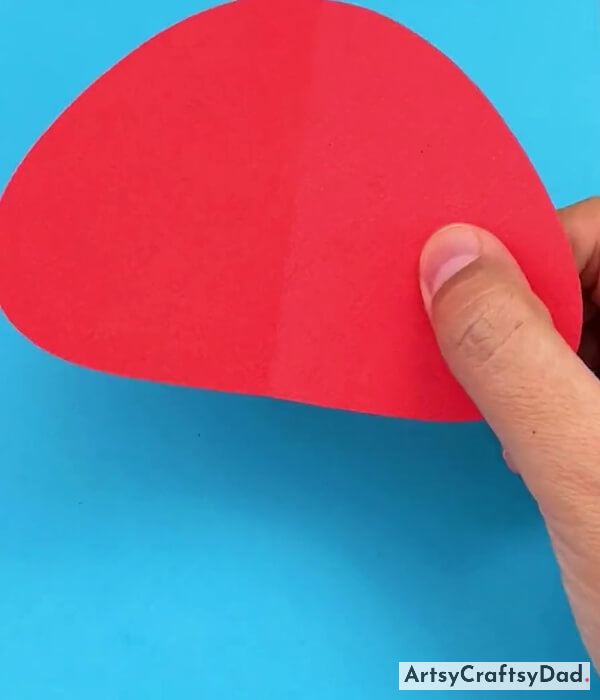
Step #3: Cutting Out The Outline
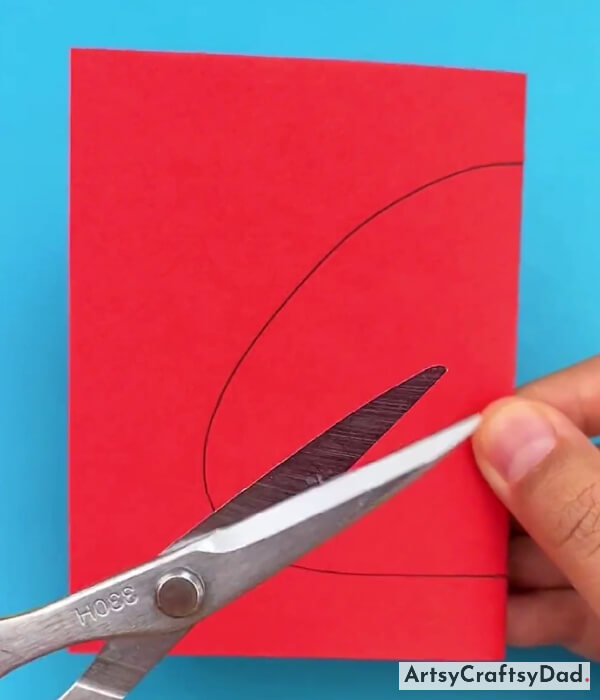
Cut the outline of the paper with the scissors.
Step #4: Drawing Mushroom Stem Curve

Take a piece of white paper & fold the paper in half. Take a black marker or pen & draw a mushroom stem curve on it. Cut the stem outline with scissors.
Step #5: Making Creases On Mushroom Cap
Take a mushroom cap & make creases in the middle of the cap.
Step #6: Pasting The Mushroom Cap On The Stem
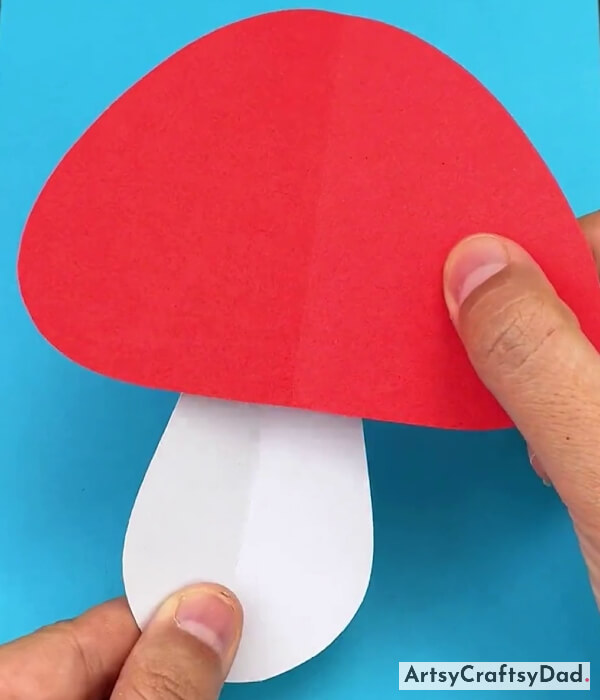
Pasting the mushroom cap on the top of the stem using glue.
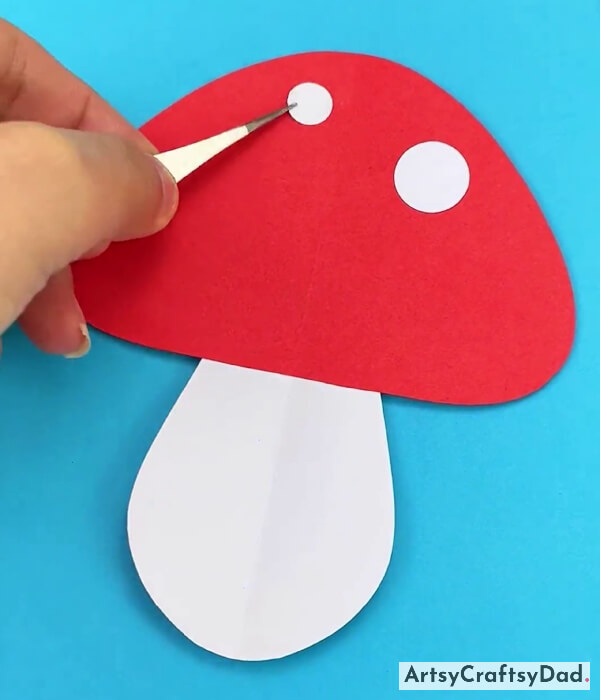
Step #7: Making White Paper Small Circles
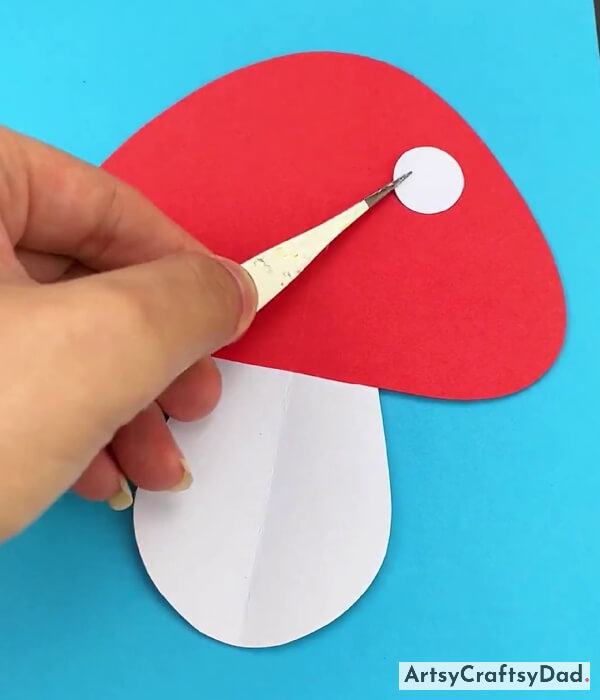
Take a piece of white paper & cut it into a small circle & paste it on the mushroom cap on the top right side.
Step #8: Pasting Circles
Make one more circle & paste it on the mushroom cap.
Step #9: Pasting More Circles
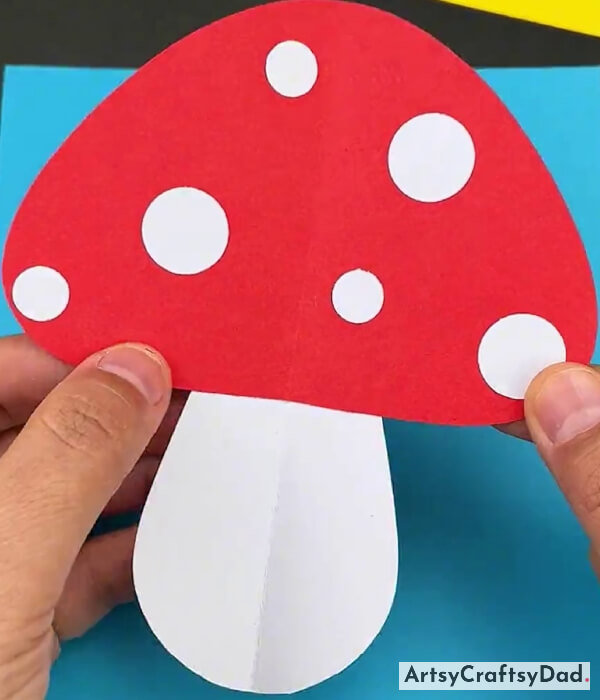
Make more circles & paste all of them on the mushroom cap one by one.
Step #10: Folding Mushroom Cap & Stem
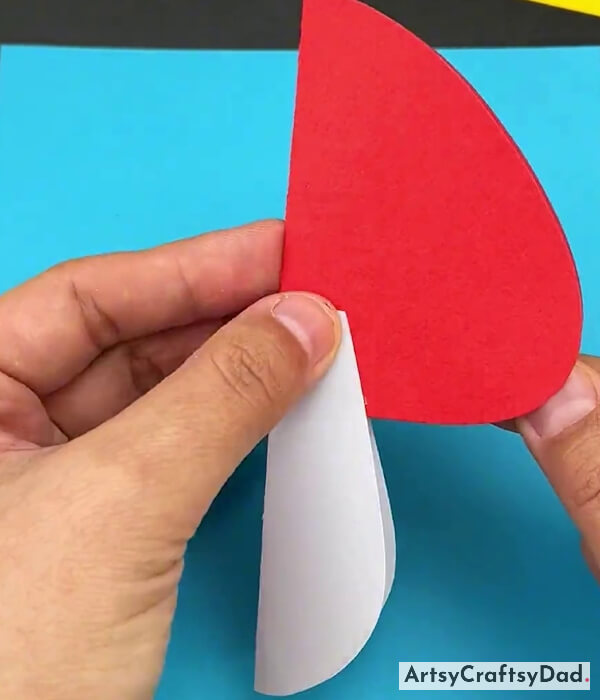
Fold the mushroom cap & stem vertically to make creases in the middle.
Step #11: Adding One More Mushroom
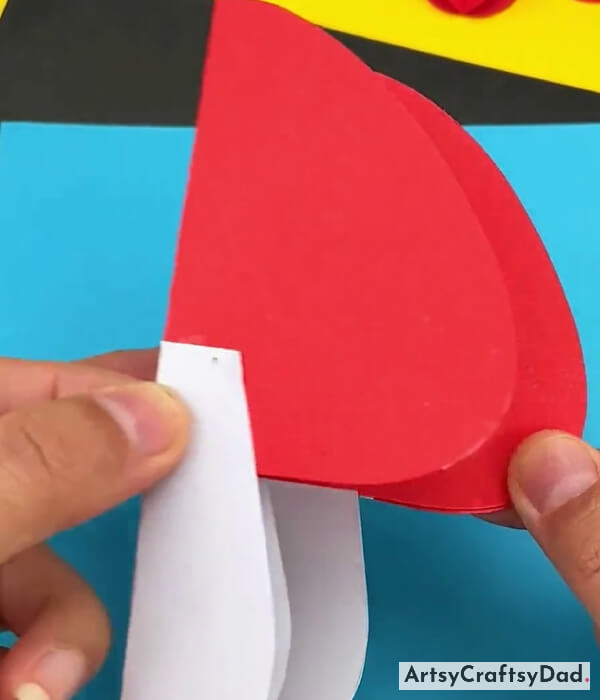
Make one more mushroom cap & stem by following all the procedures that we mentioned above & overlap the two mushroom images with each other as shown in the above figure.
Finally, Your Paper Mushroom Craft Is Ready!
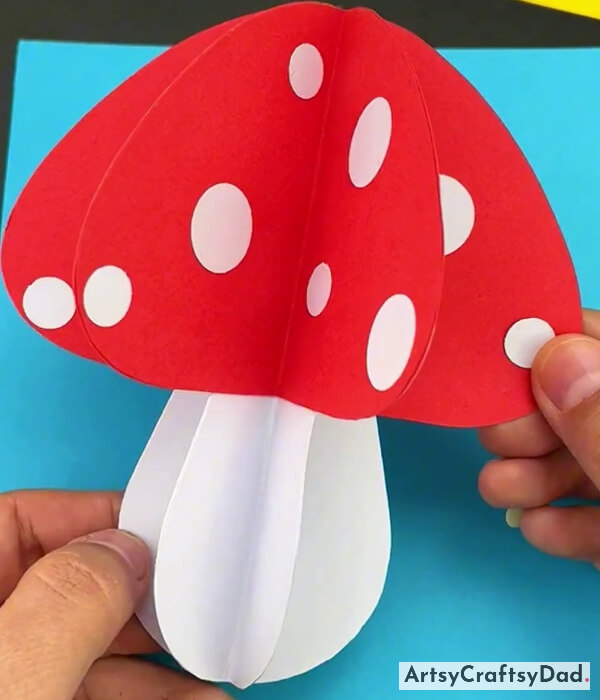
Our fantastic & creative mushroom craft is ready now.
You have completed the paper mushroom craft. Not only does it allow them to express their artistic abilities, but it also provides an opportunity for them to learn about different types of mushrooms and their role in nature. With simple materials and step-by-step instructions, this craft is accessible to children of all ages and skill levels. You could show this mushroom craft to your friends. It is sure to be a memorable and educational experience for everyone involved. Please drop your feedback in the comment section. Keep visiting in the future for more amazing crafts.
Thank you for showing your trust in us.
You Might Also Like
- Mushroom Garden: Stamp Painting Tutorial For Kids
- Dumpling Dragon Boat Paper Craft Step-By-Step Tutorial
- Mushroom House: Stamp Painting Tutorial
- Polymer Clay Mushroom Tutorial For Kids
- Leaf Fox Craft Step-by-Step Tutorial For Kids


