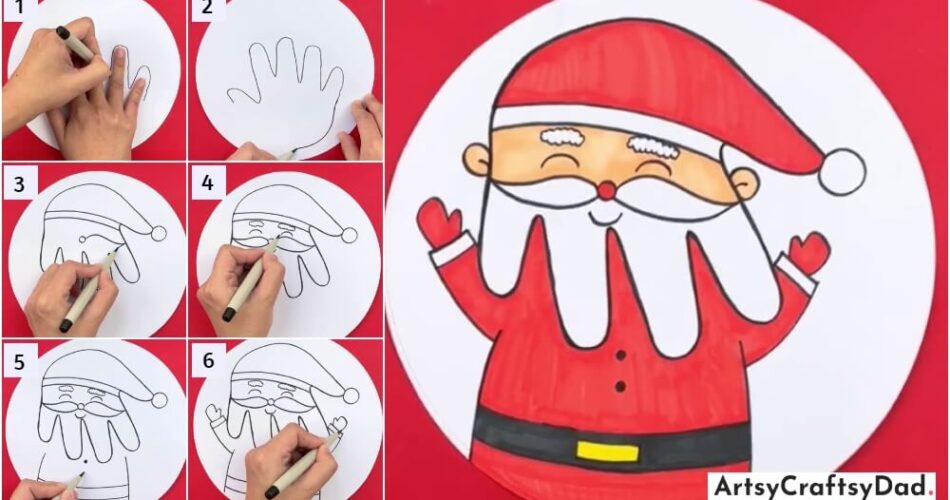
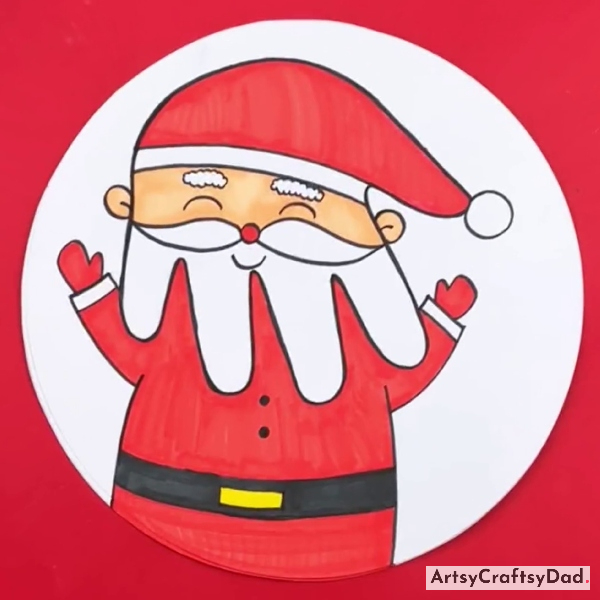
Learn how to draw a festive hand outline of Santa with this step-by-step drawing tutorial for kids. Follow along as we guide you through the process of creating this adorable holiday-themed artwork.
Are you looking for a fun and creative way to teach your kids how to draw? Look no further! In this tutorial, we will show you how to create a hand outline Santa drawing. This step-by-step guide is perfect for children of all ages and skill levels. Not only will they learn the basics of drawing, but they will also get into the holiday spirit by creating their own Santa Claus artwork. So grab all the material and get ready to have some festive fun with this hand outline Santa drawing tutorial for kids.
Creative Hand Outline Santa Drawing Tutorial
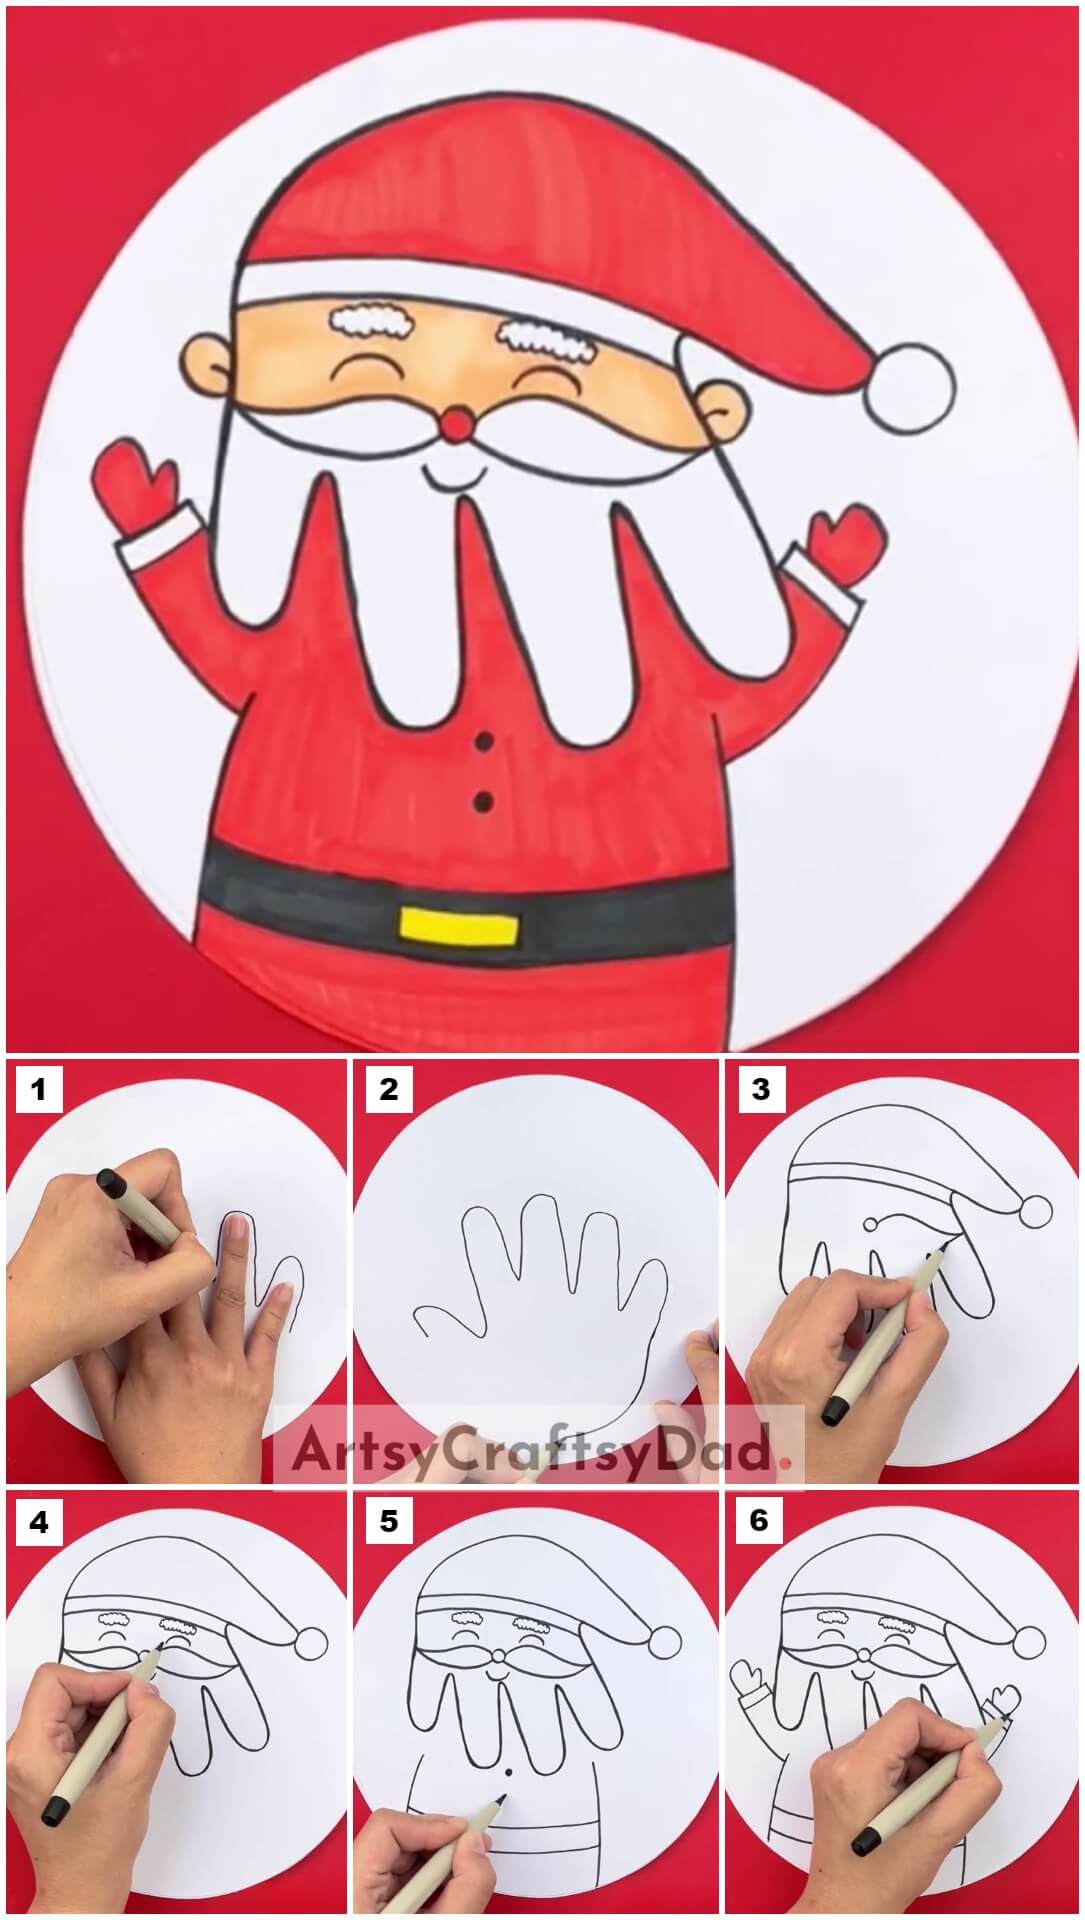
Must Read: Hand Outline Santa Drawing Tutorial For Kids
Supplies & Tools
- Scissors
- Black Sketch Or Marker
- White Drawing Sheet
- Colored sketch Pens ( Yellow, Skin, Red)
Hand Outline Santa Drawing Tutorial
Step #1: Outlining Hand Gesture
Take a white drawing sheet, draw a large circle on it, and carefully cut it out with scissors. Serves this circle as the base for our drawing.
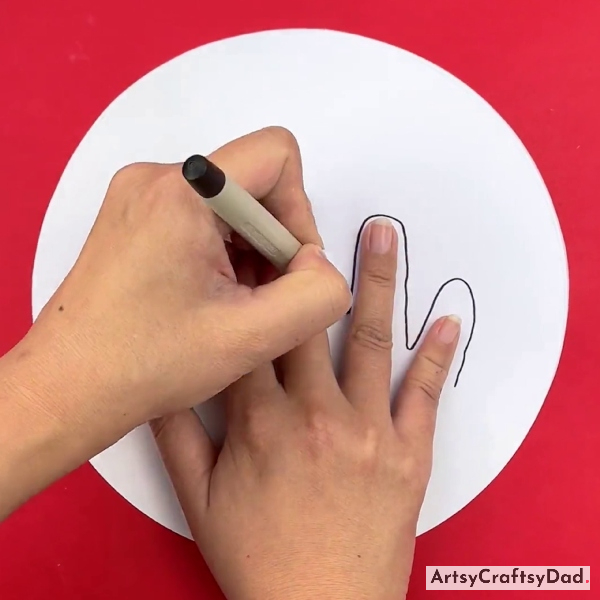
Put your right hand on the drawing sheet, ensuring that there should be some gap between the fingers. Now, using a black marker, carefully trace the outline of the fingers and thumb.
Step #2: Completing Drawing Of Hand Gesture
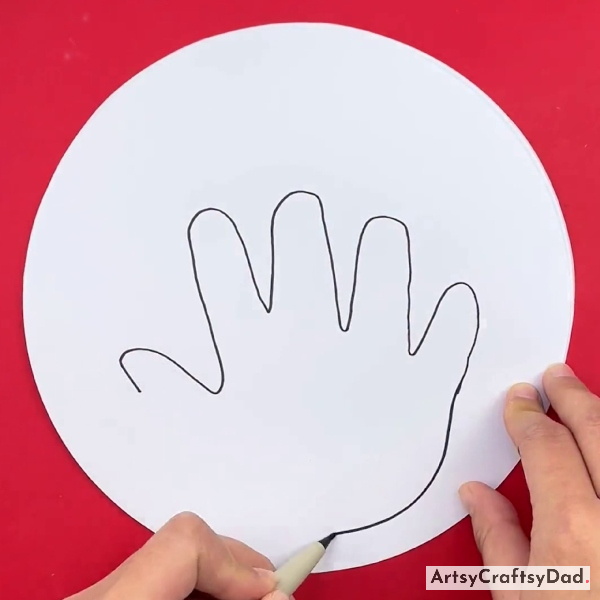
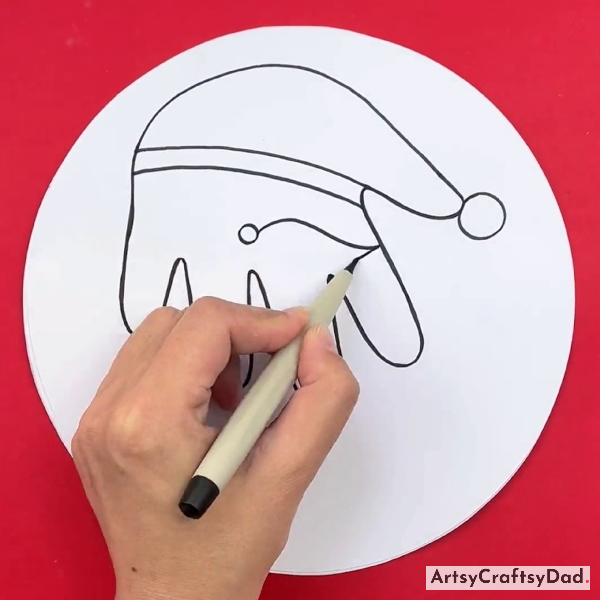
Now, after outlining the fingers, complete the drawing by connecting the end of the pinky finger with the end of the thumb. These finger drawings will serve as the beard of Santa.
Step #3: Drawing Santa’s Hat
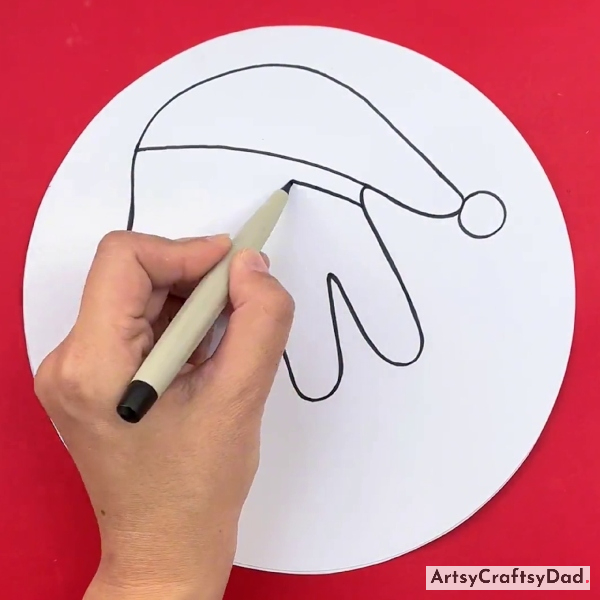
Afterward, reverse the hand drawing and add a small circle at the tip of the thumb that shows Santa’s hat. Draw a line that initiates near the thumb & goes to the left side that line shows the hat border.
Step #4: Drawing Moustache
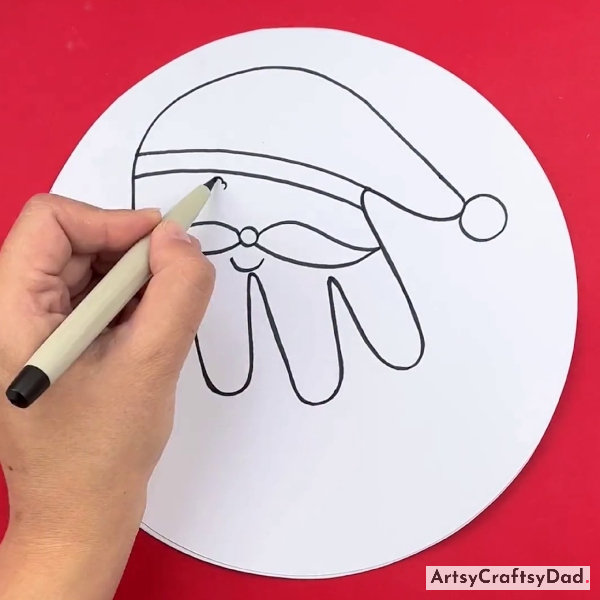
Now, draw a big mustache at the center of Santa’s face same as shown in the above image.
Step #5: Drawing Eyebrows
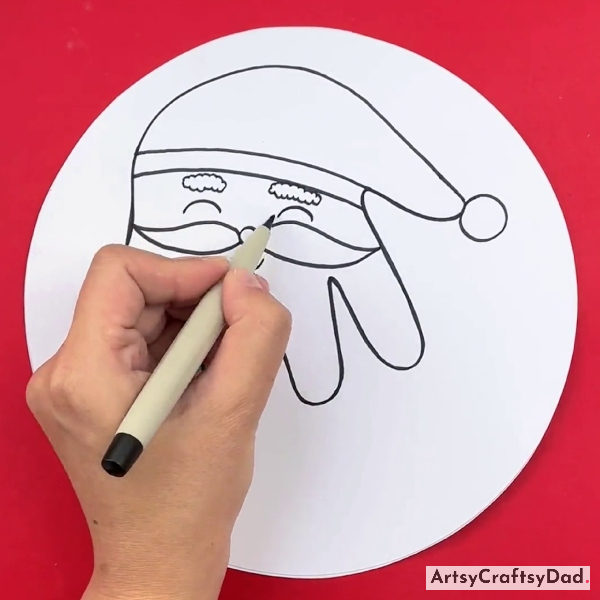
After drawing the mustache, add small and thick eyebrows above the mustaches and draw a sweet small smile below the mustaches.
Step #6: Making Eyes
Now, draw the closed eyes of Santa under the eyebrows.
Step #7: Drawing Santa Body
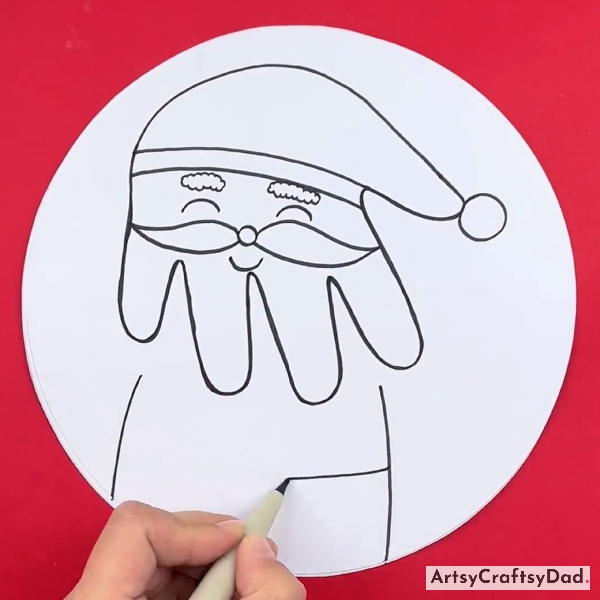
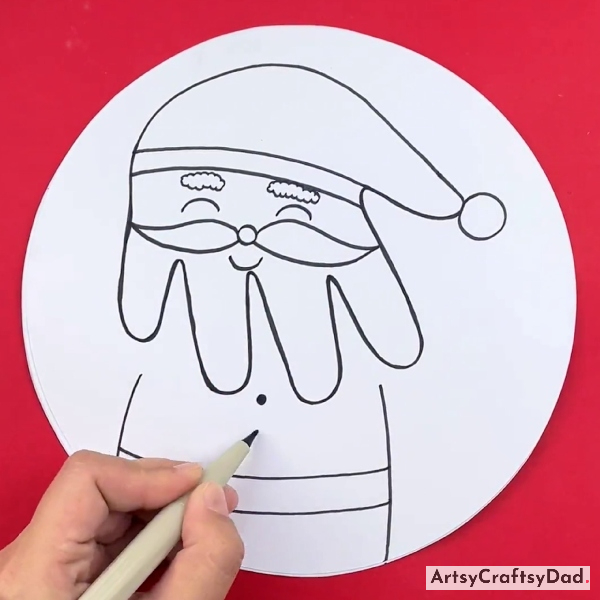
After drawing the face of Santa, draw two lines, one below the index finger and the other below the pinky finger, these lines will give shape to Santa’s body. Now, draw a line on Santa’s body.
Step #8: Adding Buttons Santa Body
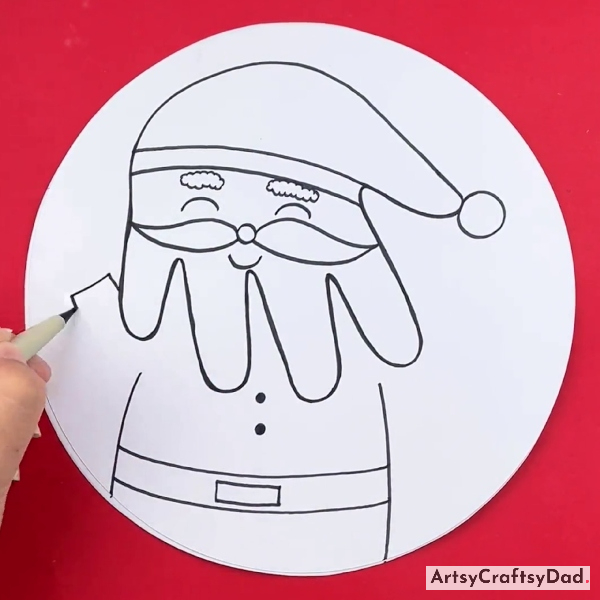
After that, draw the belt by drawing two lines on the Santa body, and draw 2-3 buttons above the belt.
Step #9: Drawing Hand
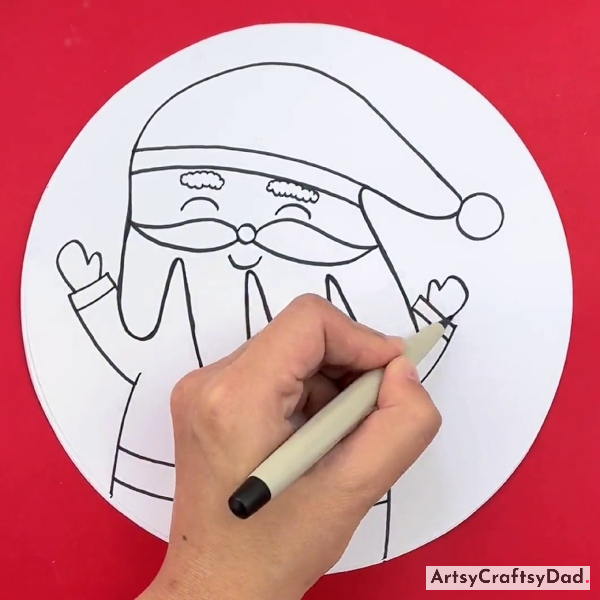
Now, start drawing Santa’s hand.
Step #10: Drawing Another Hand
Continue drawing Santa’s hand wearing gloves on the fingers on the left side of his beard. As mentioned above, draw another hand of Santa on the right side of the body.
Step #11: Coloring Hat
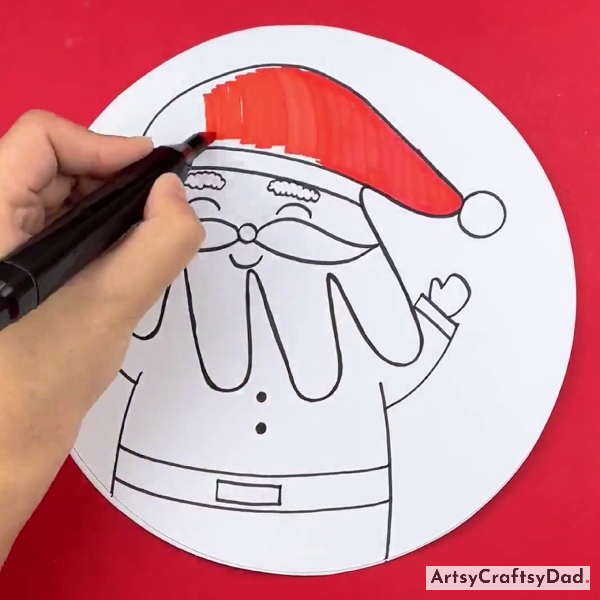
Now, after completing the drawing, take a red sketch pen & begin coloring Santa’s hat.
We Are Ending Our Santa Drawing Now!
Now, color Santa’s body with a red sketch pen & also color his nose part. Then color the belt area with a black marker or sketch pen. Take a yellow sketch color & draw a buckle on the belt center. Take a skin sketch pen & color his face area. After completing the coloring, this is our final look at the hand outline of Santa’s drawing.
Our pretty hand outline Santa drawing is ready. Children can easily create their own unique Santa Claus drawing using only their hand outline as a template. This tutorial not only enhances their fine motor skills but also encourages their imagination and creativity. If you want to make some new drawings then I have an idea you could make giraffe, Zebra, and bird drawings by your hand outline. Don’t forget to drop your feedback in the comment section because that encourages us to create future crafts.
Thanks for visiting our website!
You Might Also Like This
- Hand Gesture Outline Giraffe Drawing Tutorial For Kids
- Mountain Landscape: Hand Outline Hack Drawing Tutorial
- Hand Outline Cute Tree Drawing Tutorial For Beginners
- Brinjal Drawing: Hand Outline Hack Tutorial
- Hand Gesture Outline Snail Drawing Tutorial
