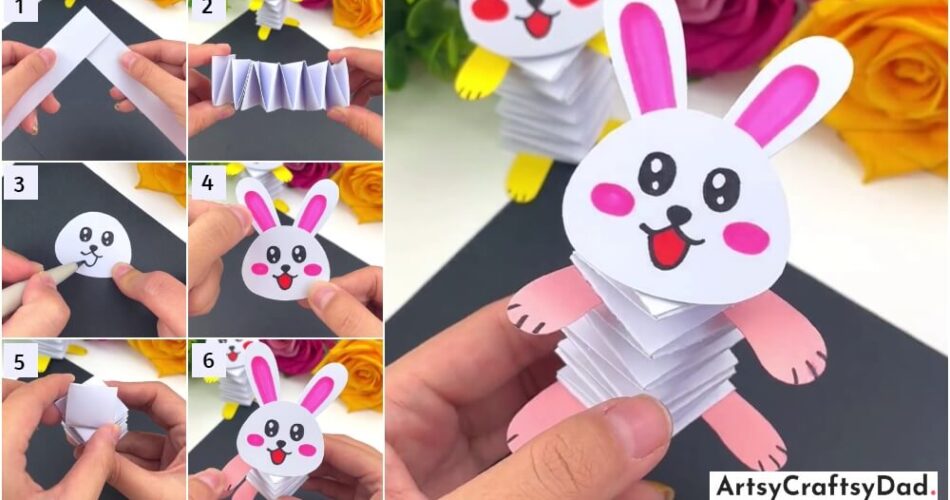
Learn how to make an adorable bouncing paper bunny with our easy DIY craft tutorial for kids. This step-by-step guide will show you how to create a cute and fun bunny that can bounce! Perfect for Easter or any time of the year, this craft is a great way to keep kids entertained and engaged.
Are you looking for a fun and creative craft project to do with your kids? Look no further than this DIY Bouncing Paper Bunny Craft tutorial! This easy and entertaining activity will not only keep your little ones engaged but will also allow them to explore their artistic abilities. With just a few simple materials and steps, you and your children can create adorable bouncing paper bunnies that will bring joy and excitement to any playtime. So gather your supplies and get ready to hop into a world of creativity and imagination!
Cute Bouncing Paper Bunny Craft Step By Step Tutorial
Must Read: Simple Rabbit / Bunny Craft Ideas for Kids
Supplies & Tools
- Drawing Paper (Pastel Peach, White)
- Marker (Black, Pink, Red )
- Glue
- Scissors
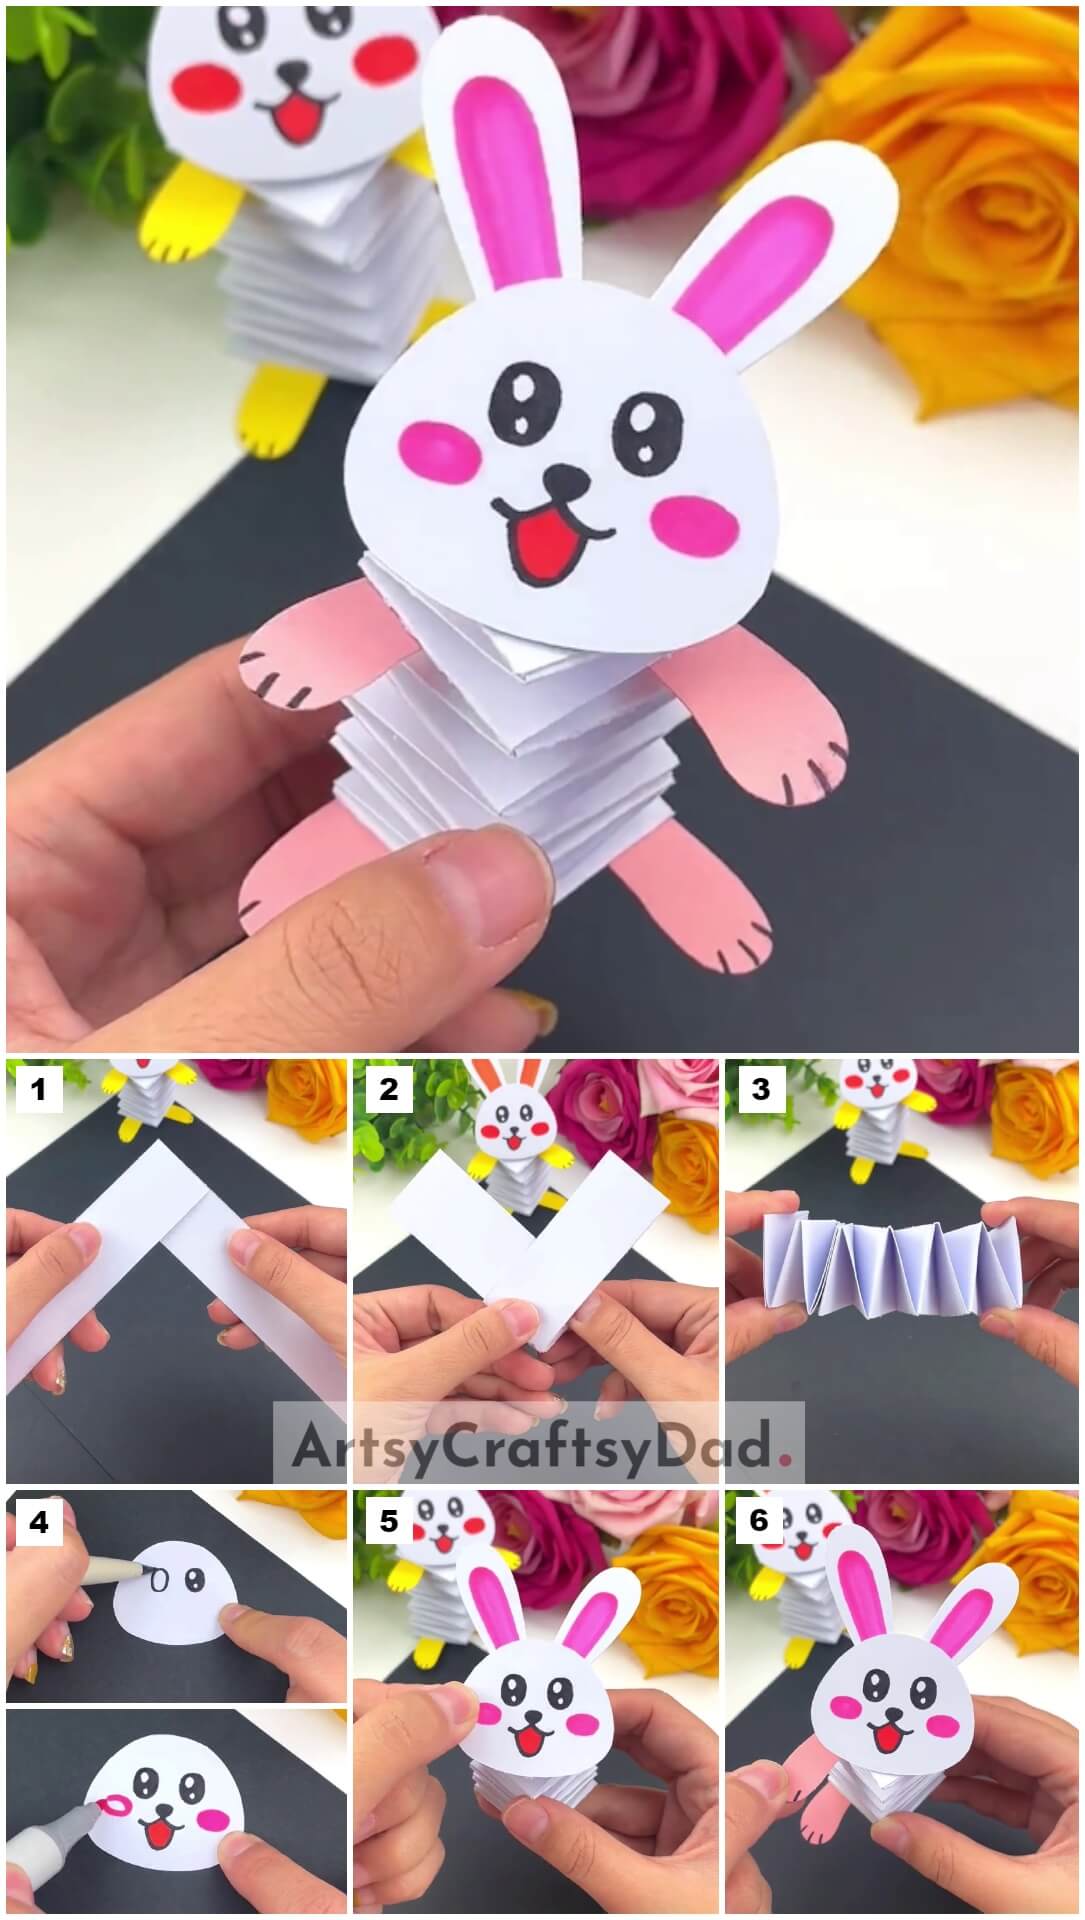
Bouncing Bunny Instructions
Step #1: Working With Paper Strap
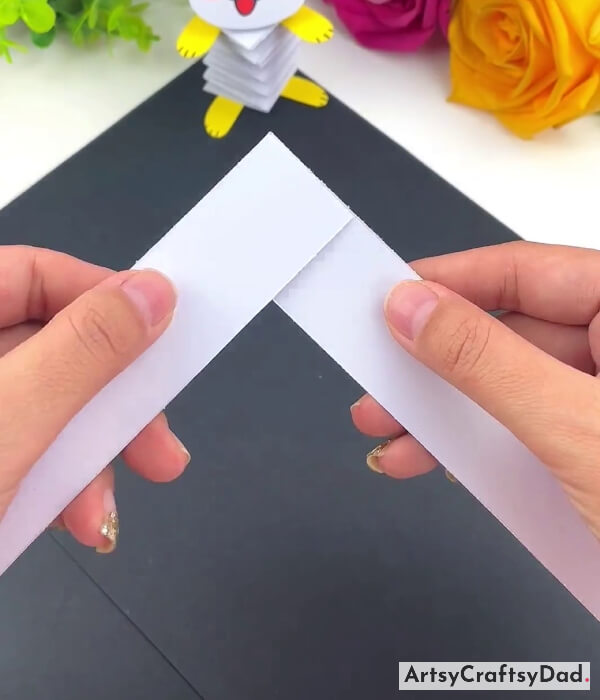
Take a white drawing sheet & cut it into two same-sized straps by using scissors.
Step #2: Pasting Paper Straps
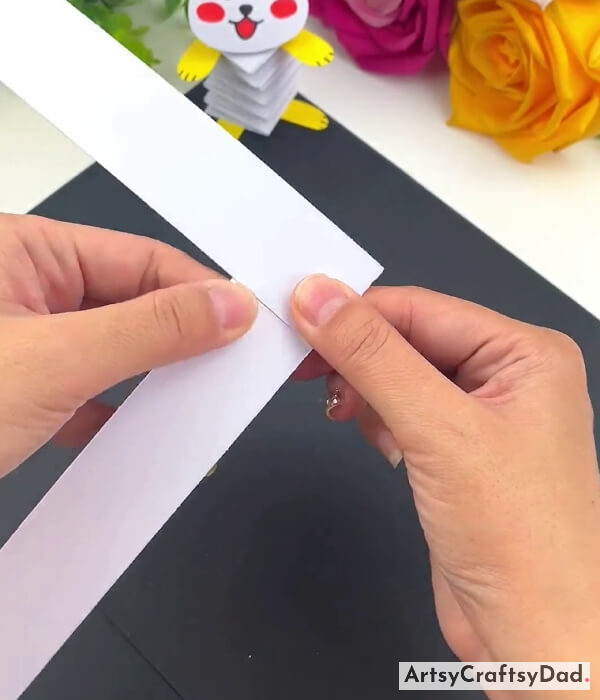
Apply glue on top of one strap & paste the second strap horizontally as shown in the image.
Step #3: Continue Folding Straps
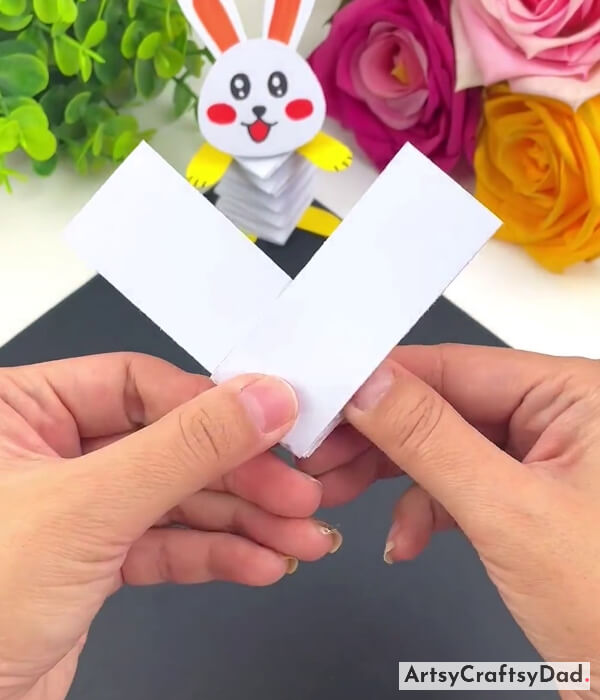
Now, fold the second strap below the first strip. Then, fold the first strip above the second strip. Repeat the process till the end.
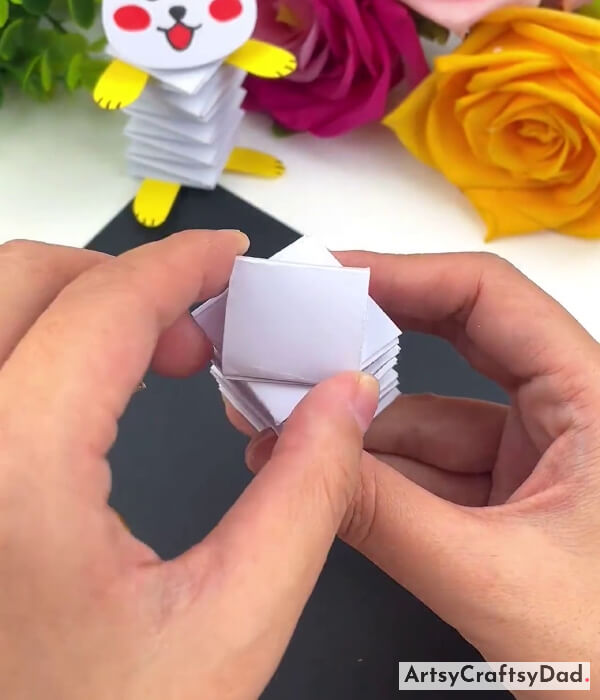
Step #4: Open Up The Folded Straps
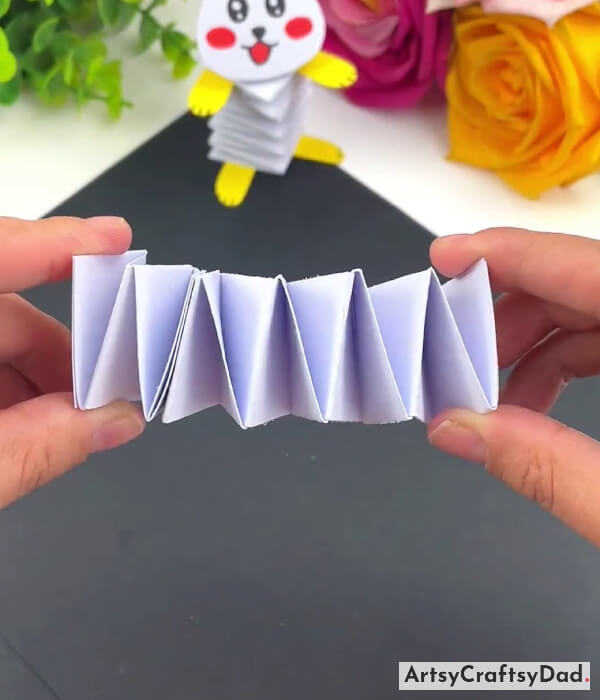
Now, unfold the paper you get a paper spring.
Step #5: Drawing Eyes
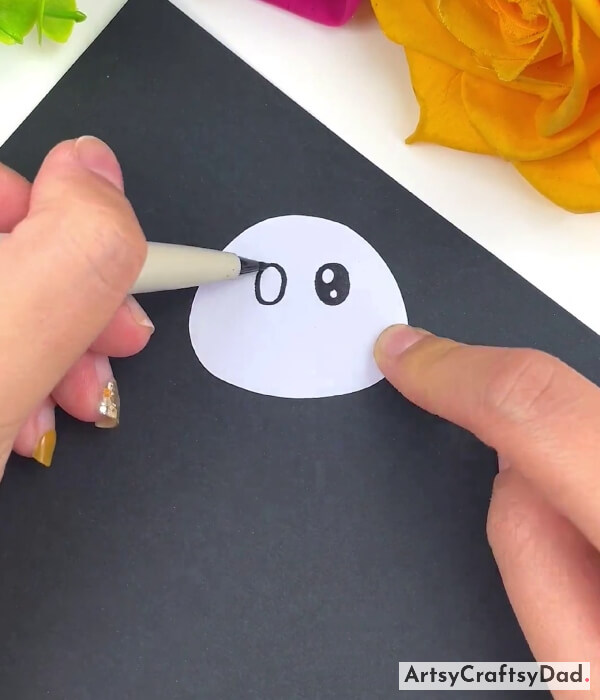
Now, take white paper & cut it into an oval shape for the bunny’s head. Now, draw two eyes on the bunny’s face using a black marker.
Step #6: Drawing Mouth
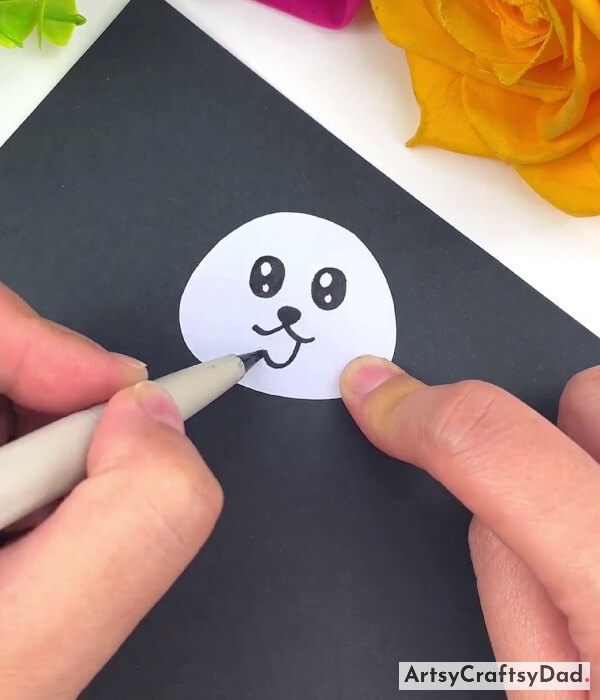
Draw the bunny’s nose, mouth, and tongue using a black marker.
Step #7: Drawing Blushes Cheeks
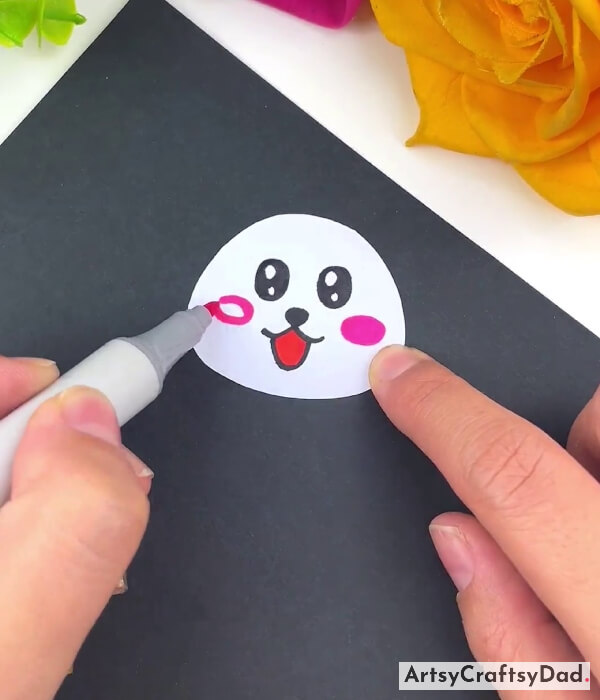
Take a red marker & color the tongue area. After that take a pink marker & draw blushes on the bunny’s cheeks.
Step #8: Making Ears
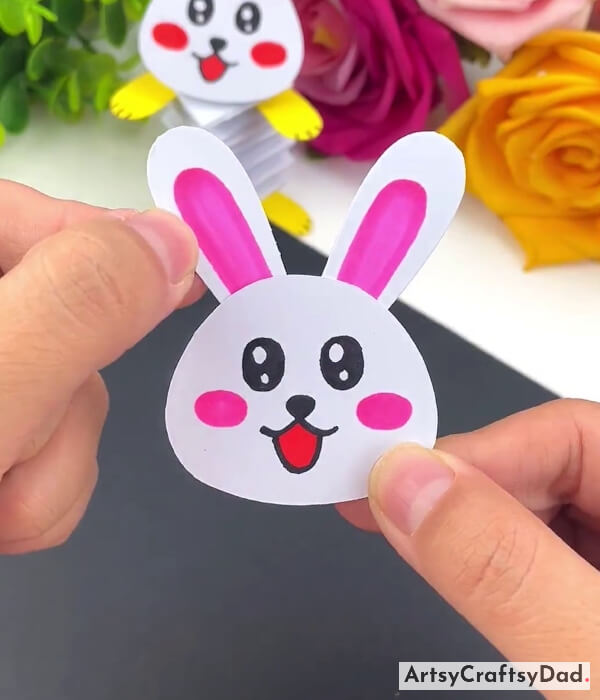
Take a white drawing sheet & cut it into a bunny ear shape & draw the inner part of the ear on it using the pink marker. Paste the ear on the top of the bunny’s head. Make another ear & paste it by following the same steps.
Step #9: Pasting A Paper Piece
Take a piece of white paper piece & paste it on the paper spring as shown in the above image.
Step #10: Pasting Face
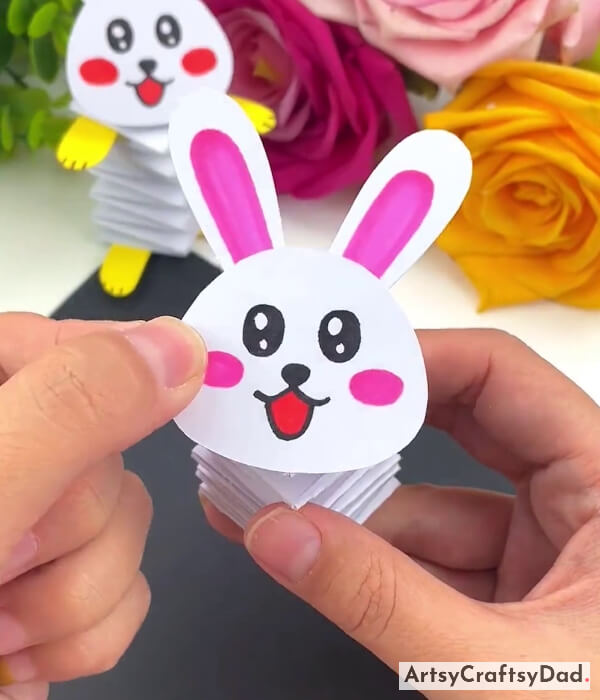
Now, paste the bunny’s face on the tip of the paper spring.
Step #11: Making Hands & Legs
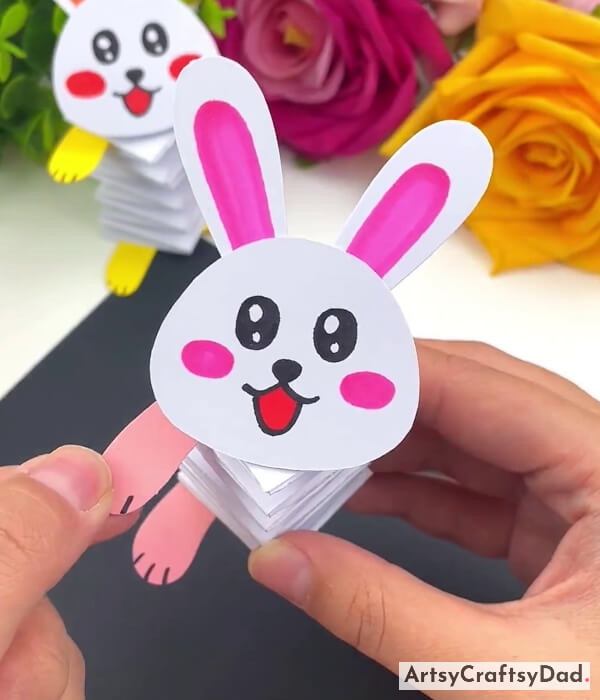
Take a pastel peach paper & cut it into a bunny legs & arms shape & draw bunny paws using a black marker. Make two arms and two legs for the bunny. Paste the arms on top of the paper spring and the legs below the paper spring.
Step #12: Pasting Other Leg & Hand
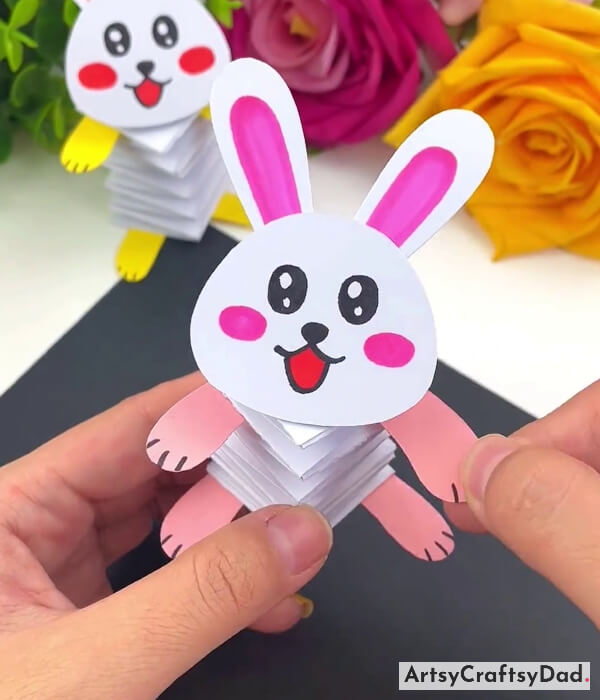
Paste the bunny’s other arm & leg in the same manner.
This Is Our Final Beautiful Bunny Craft!
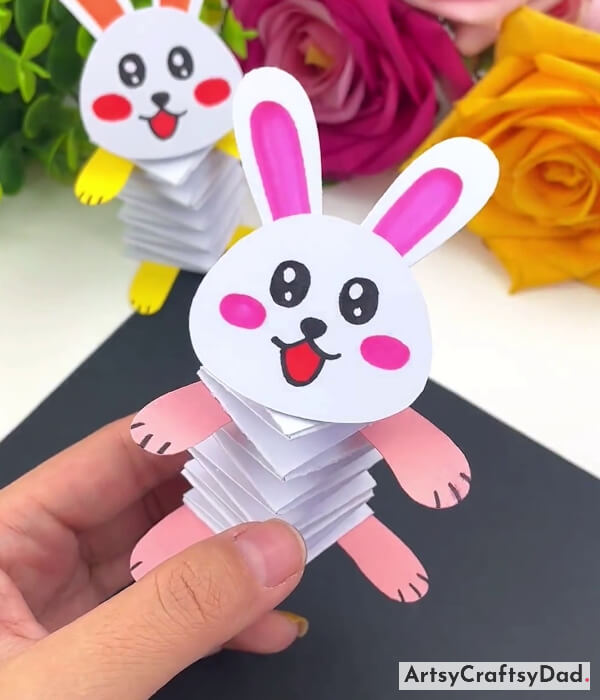
This is the final look of our bouncing craft!
Our bouncing paper bunny craft is ended here. Children can play with bouning bunny craft and show it to their friends and family. This craft tutorial is a perfect way to keep kids entertained and encourage their artistic abilities. If you want to explore more interesting crafts like this then don’t stop here please visit our other websites where you can get many ideas. Please don’t miss sharing your response in the comment section.
Thank you for choosing us! Have a nice day!
You Might Also Like This
- Paper & Clay Ice-Cream Cone Craft Tutorial For Kids
- Paper Origami Sofa Craft Tutorial For Kids
- DIY Paper Princesses Pencil Topper Craft Tutorial For Kids
- Easy Paper Dinosaur Animal Craft Tutorial For Kids
- Colorful Paper Rainbow Wall Hanging Craft Tutorial For Kids


