Who doesn’t love a dancing peacock with a beautiful feather train? Well, this tutorial will guide you to make that pretty peacock using clay!
You will love this craft for sure! Ah, we are excited to show you how to make the pretty dancing peacock craft with his opened feather train! So beautiful! This craft is suitable for children of any age and even beginners! We will guide you on each and every step of this craft making! You will love to dough and mold the clay the way we instruct and make this craft! This craft is a hands-on sensory activity which makes this a fun learning craft too! Grab the benefits of this craft by making it with us!
Beautiful Peacock Clay Craft For Kids
Must Read: Clay-Paper Sunflower Garden Craft Tutorial
Supplies & Tools
- White Circular Paper Sheet
- Colored Clay
- Black Marker
- Red And Green Sketch Pens
Peacock Clay Instructions
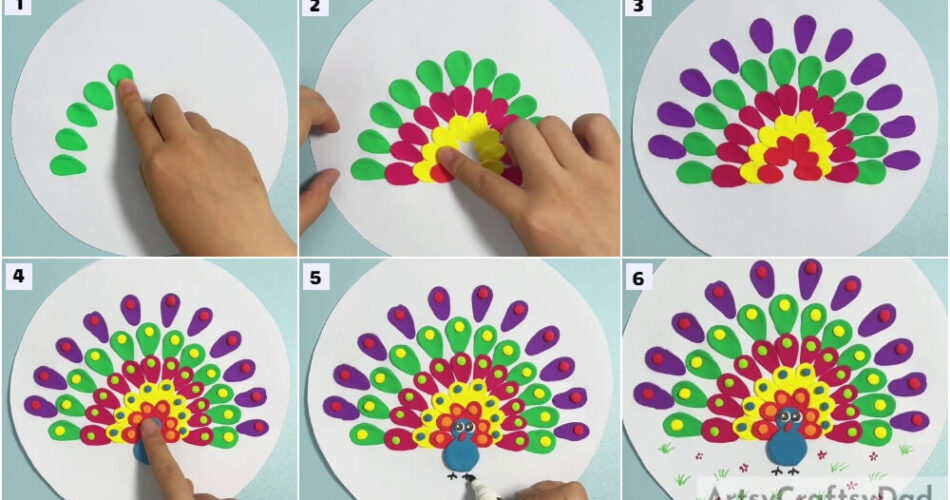
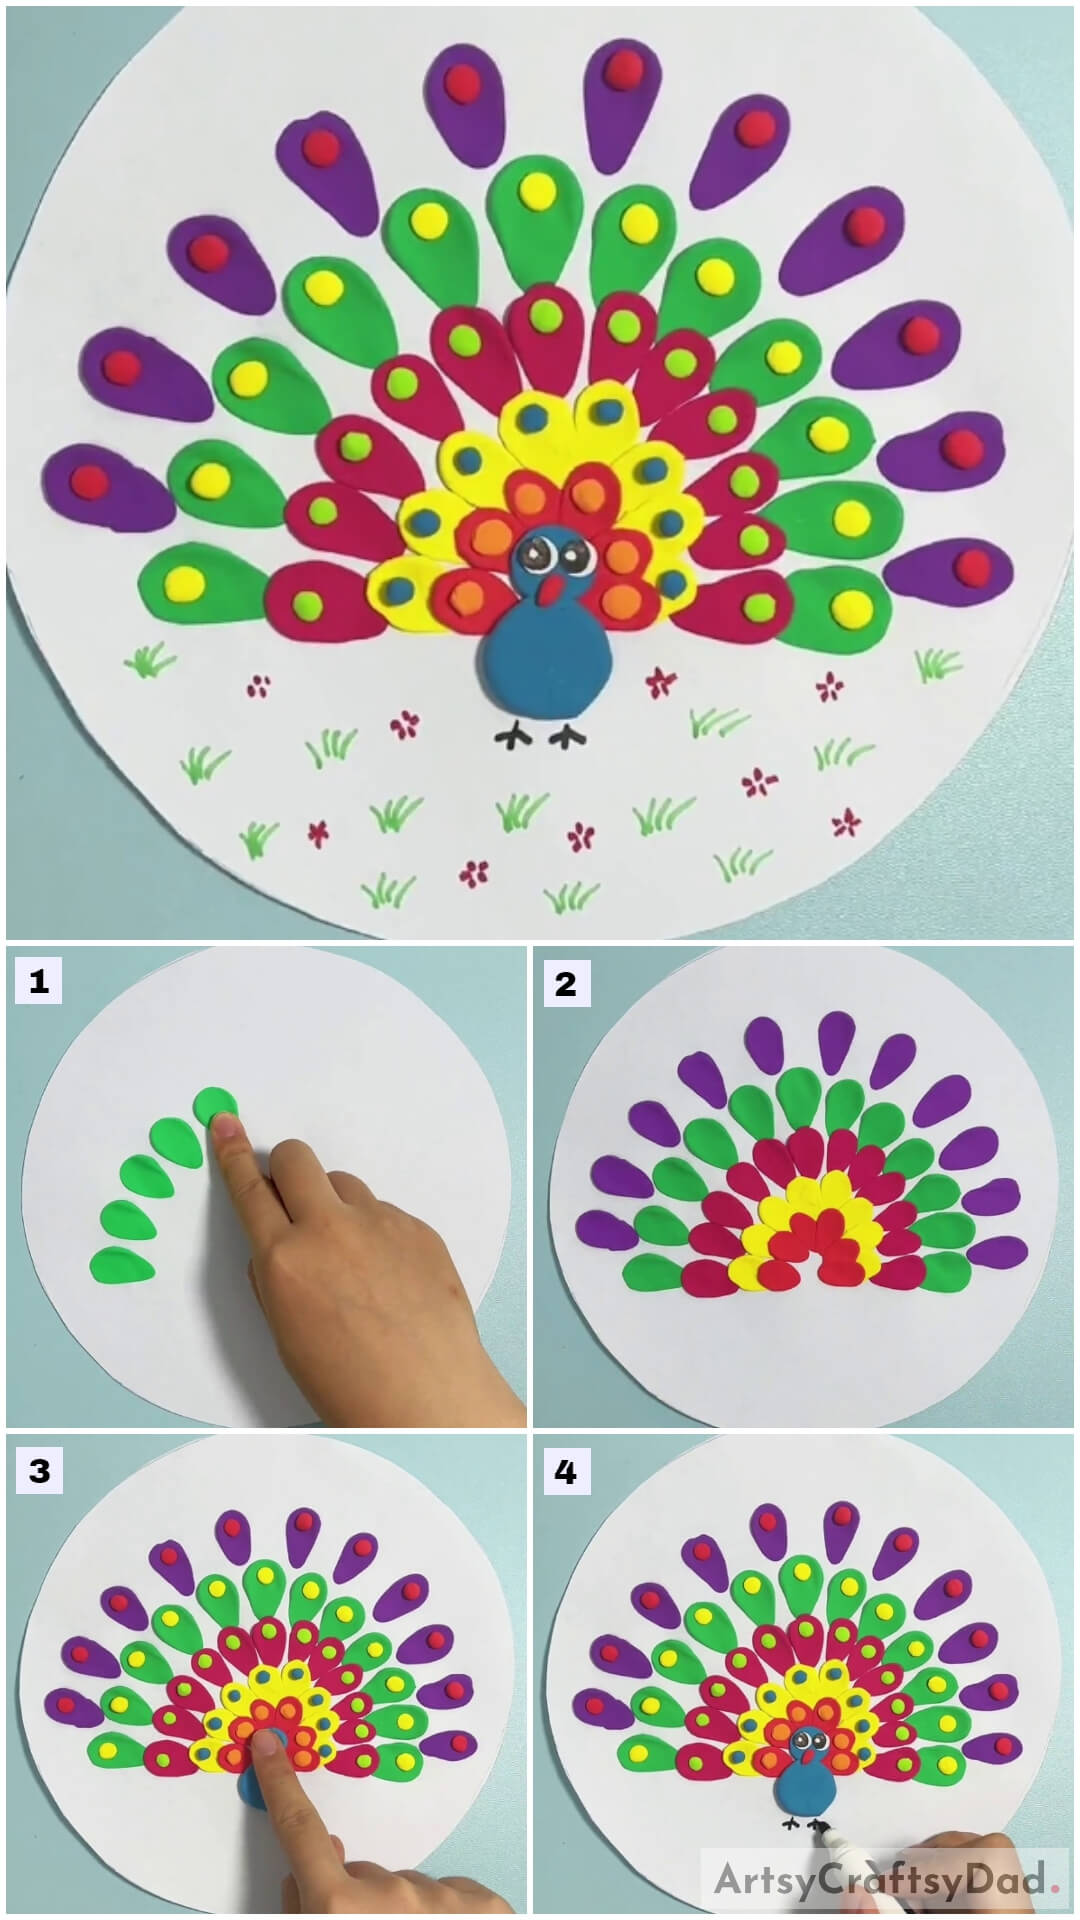
Step #1: Making Green Feathers Of The Peacock

Begin this craft by taking a white circular paper sheet as the base for this craftwork and green-colored clay. Dough tiny balls of green clay and place them onto the base at a certain distance making a semi-circle of them over it. Now, using your finger, press and drag the clay balls making drop shapes, these will be the green feathers of the peacock.
Step #2: Making Pink, Yellow, And Red Feathers
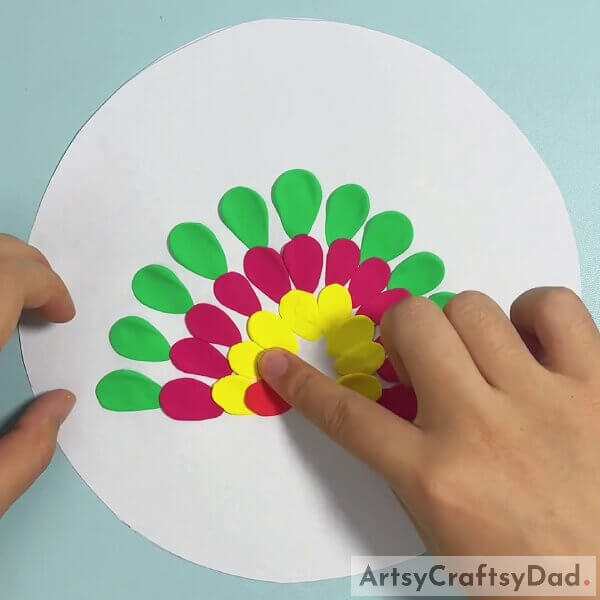
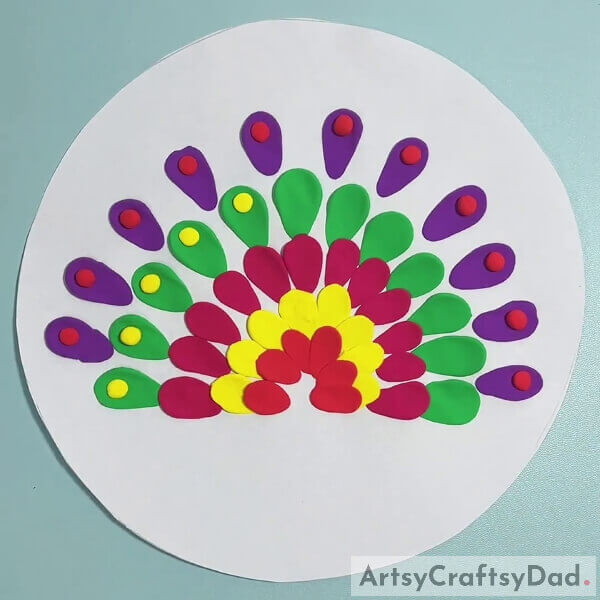
As you make the green feathers line, make the next line in the semi-circle of pink clay feathers then yellow, and at last red clay feathers as shown in the image. Make sure to overlap the lines of feathers little by little as you reach the center.
Step #3: Making The Purple Feathers
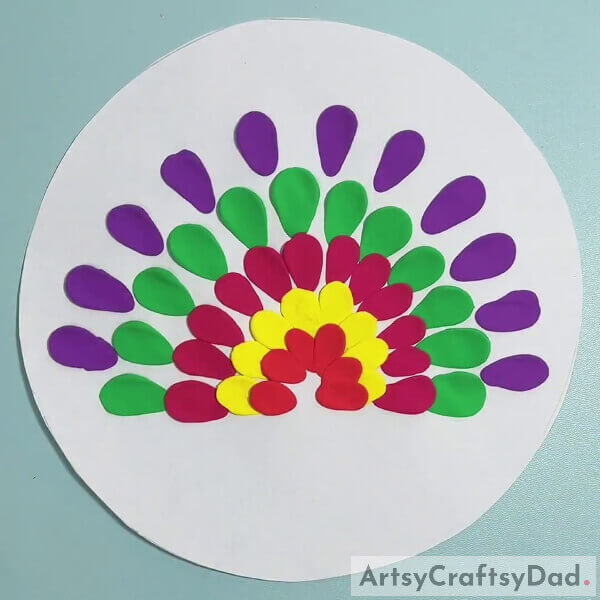
Make the line of purple clay feathers above the green ones to complete the train of your peacock just like you made previously. Make sure to make the purple feathers a little distance from the green ones and purple in the middle of the green ones. See the image for reference.
Step #4: Making Eye Of The Feathers
Take red clay and make tiny balls of it, place these balls one by one over the purple feathers’ broad part and press to flatten them and make the eye of the feathers. Similarly, make a yellow clay circle eye over the green feathers.
Step #5: Completing Making Eye Over All Feathers
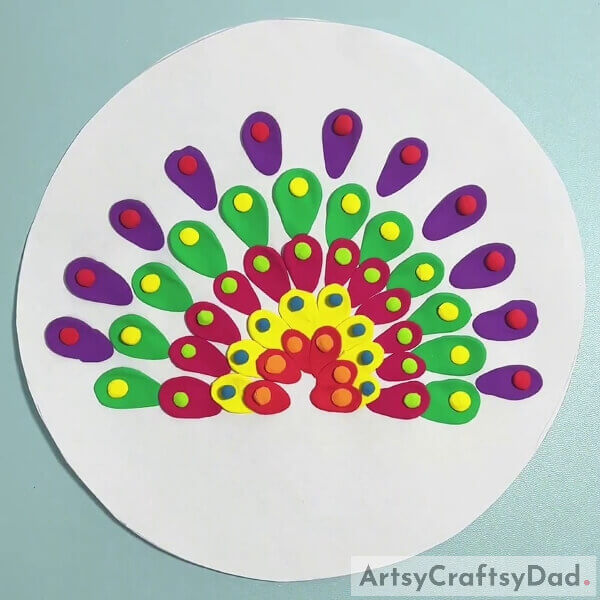
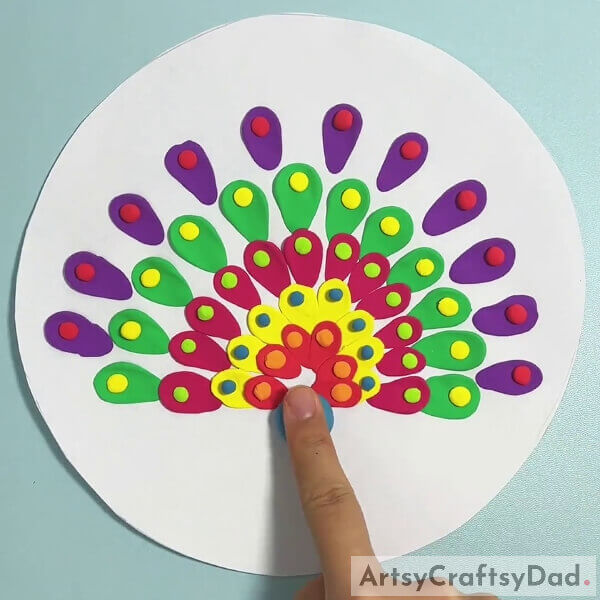
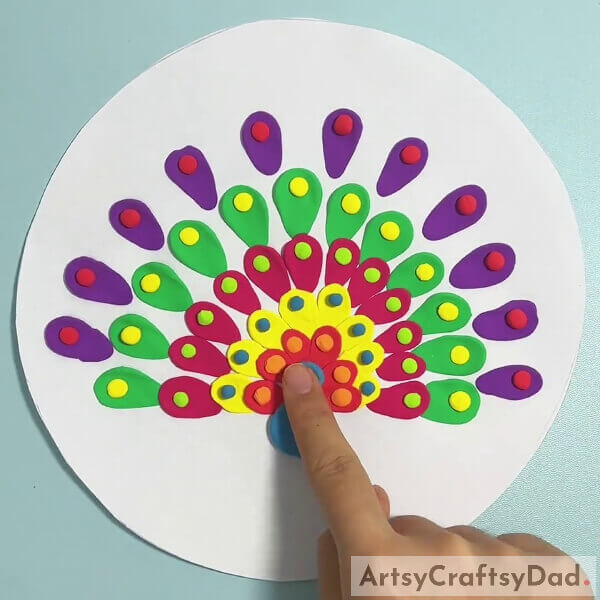
Make a green clay circle eye over the red feathers, blue eye over the yellow feathers, and orange eye over the red feathers as the way you made previously. See the image for reference.
Step #6: Making The Body Of The Peacock
Dough a relatively larger clay ball than the feather ball from Blue clay and place it in the center, below the feather train. Press the clay ball to form a circle, this will be the body of the peacock.
Step #7: Making The Face Of The Peacock
For the face, again dough a blue clayball but this time it has to be a little smaller than the body one’s. Place it above the body circle and again press to flatten it into the circle to make the face of the peacock.
Step #8: Making Eyes, A Beak, And Legs Of Peacock
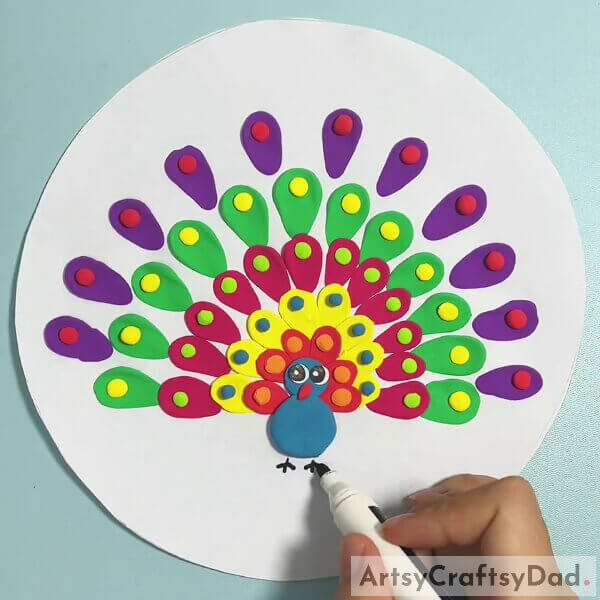
Make 2 circles of white clay and stick them onto the face side by side to make the eyes. Using the black marker, color make circles in the eyes on the left side to make the eyeballs leave a dot-like gap in them to make them look shiny.
Now, make a drop shape from the red clay and press and flatten it over the peacock’s face below and between the eyes in a tilted way to make the beak of the peacock.
Using a black marker, draw the 3 lined legs of the peacock beneath it as shown in the image.
Finally, Your Colorful Clay Peacock Craft Is Ready!
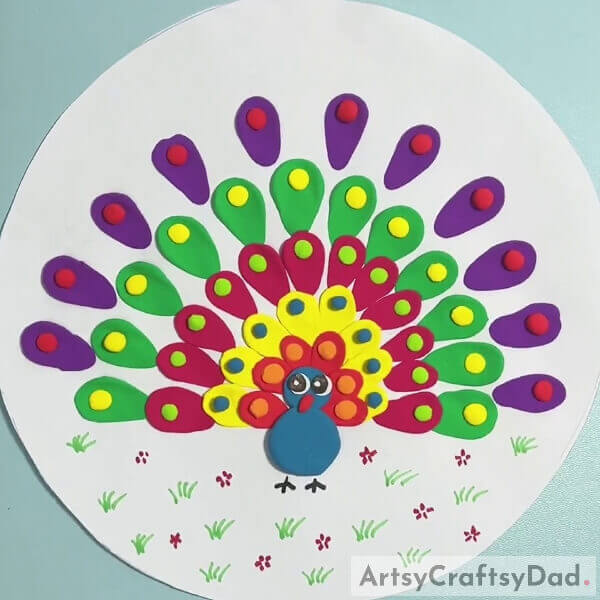
For the last step, take red and green sketch pens. Use the red sketch pen, to make the dot-like flowers on the base beneath the peacock, and use the green one to make the curvy stroked grass to make these flowers and grass look like the ground beneath the peacock.
Yay! Your dancing peacock with an open train of feathers is ready!
The vibrant colors of the peacock’s train look eye-catching and will brighten up any corner of your room or home where this craft is decorated! You can even make it on a different colored base so that it matches the color of the wall! This craft is surely a hit one so show it off to your friends and family to make them proud of your skills and creativity! They will definitely admire it! Unleash the creative madness and make more such crafts with that motivation!
Hope you liked the article and the description in it! Do give it a like and share it with your buddies! Also, drop your feedback in the comments section below! We would love to hear from you!
You May Also Like
- Clay Snails On Leaves Craft Tutorial For Kids
- Clay Chicks In Garden Craft Tutorial
- Peacock Stamp Painting With Hacks Tutorial
- How to Make Peacock Clay Pot at Home
- How to make peacock lamp using clay for home decor


