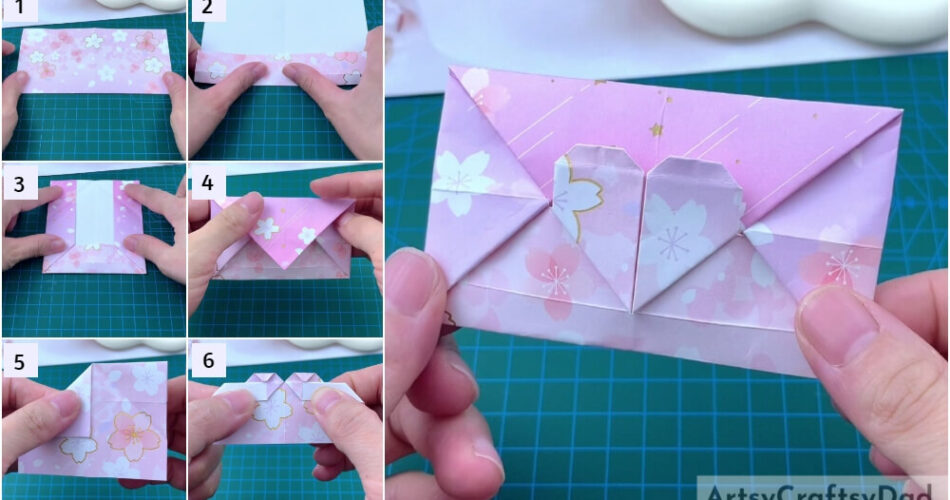
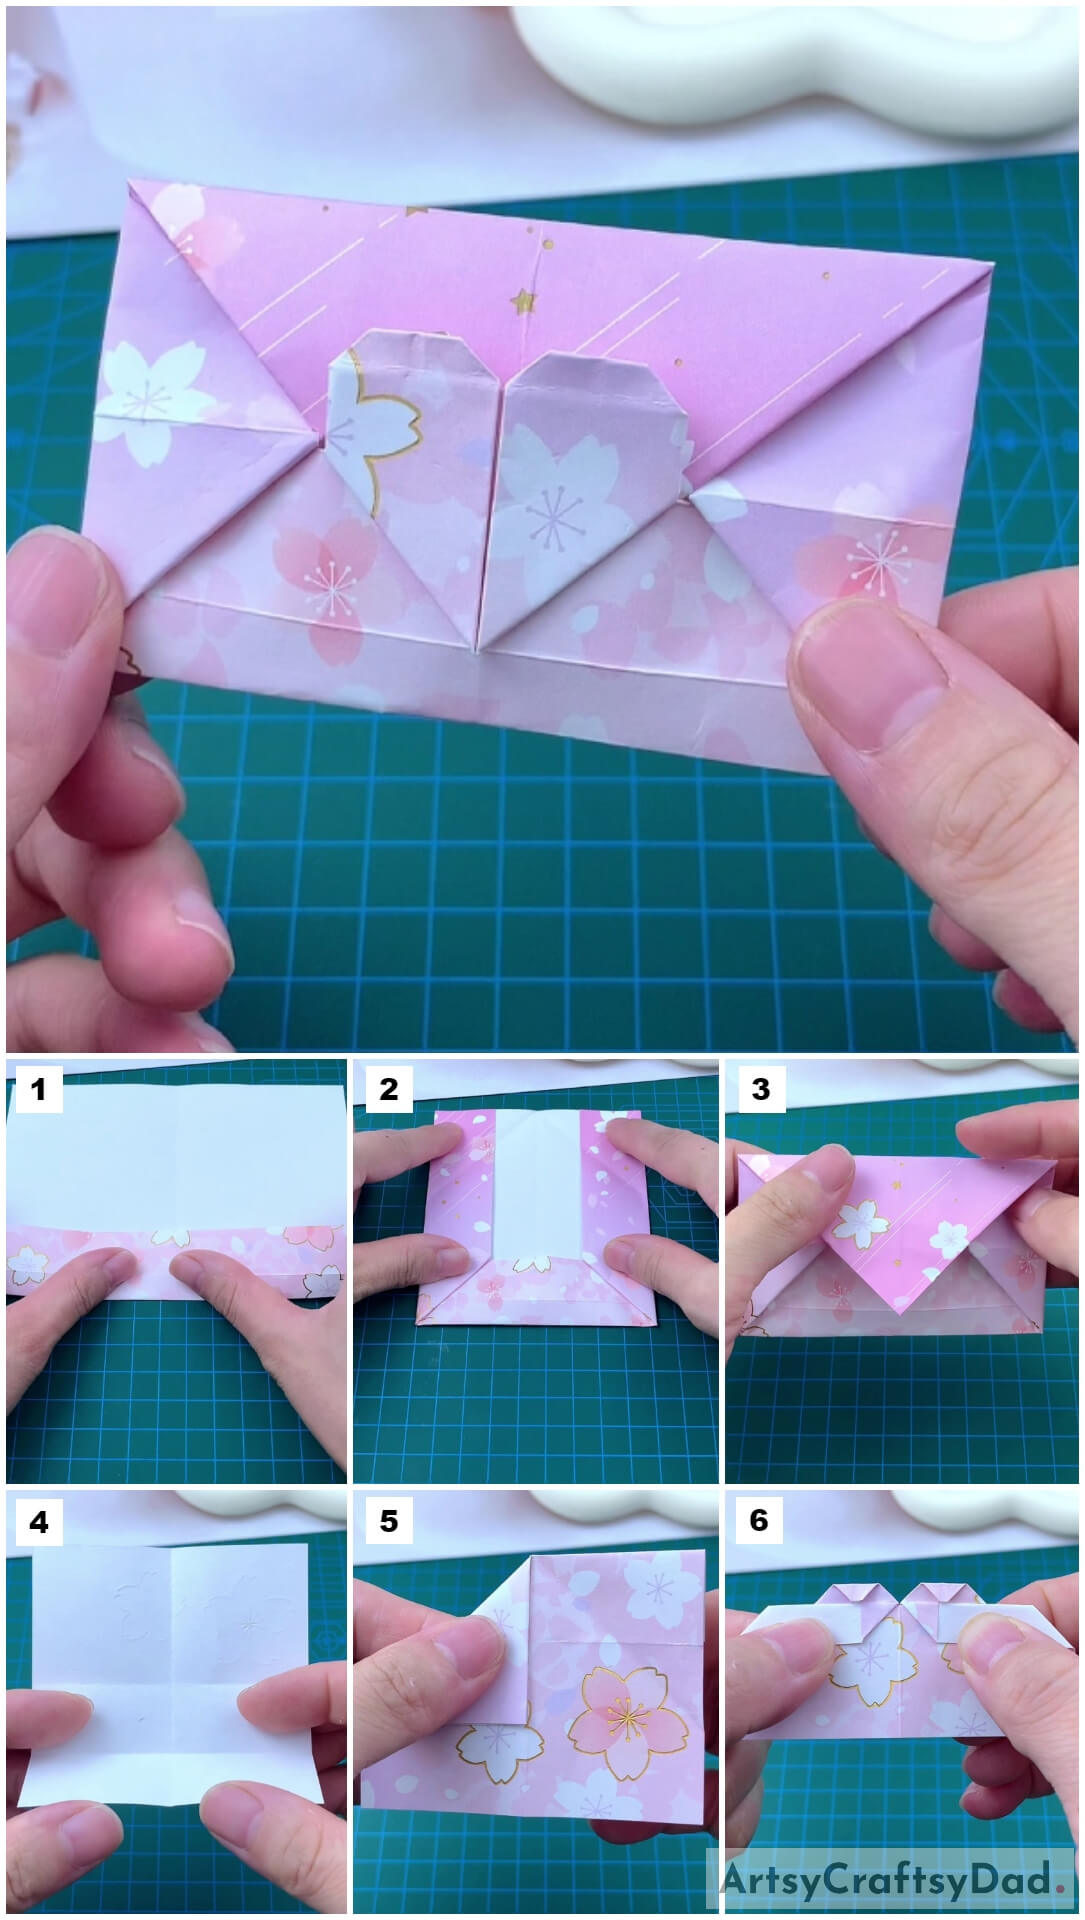
Explore an origami love letter: Valentine craft step-by-step tutorial for kids to have fun. This activity awaits you to learn a new technique in crafting.
Origami Love Letter Valentine Craft
Must Read: DIY Origami Paper Designer Frock Craft Tutorial
Supplies & Tools
- Printed Origami Paper (20 cm×20 cm)
- Printed Origami Paper (15 cm×15 cm)
Origami Love Letter Instructions
Step #1: Taking A Origami Sheet
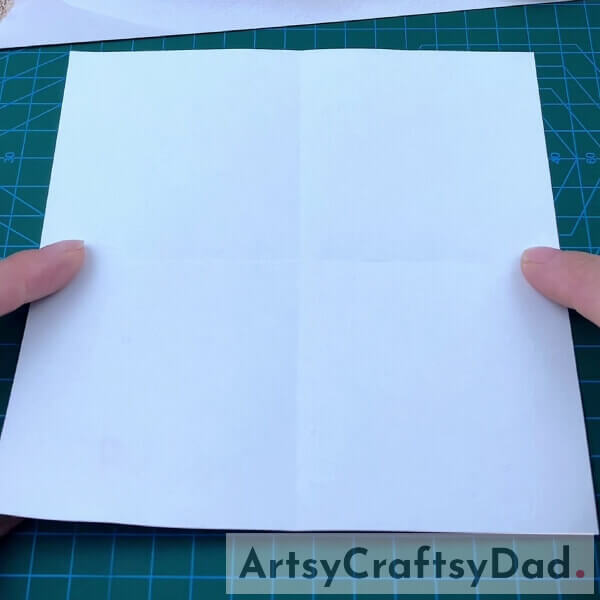
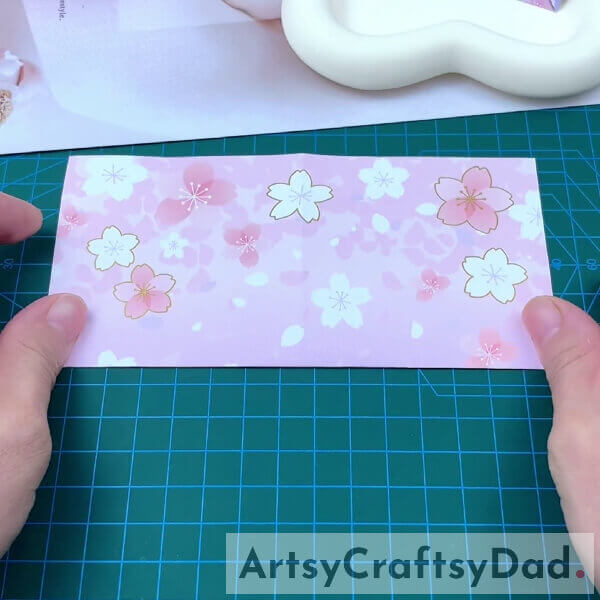
Take an origami sheet of around 20 cm×20 cm.
Step #2: Folding In Half
Keep the printed side downwards and fold the sheet in half. Secure the fold.
Step #3: Next Folding
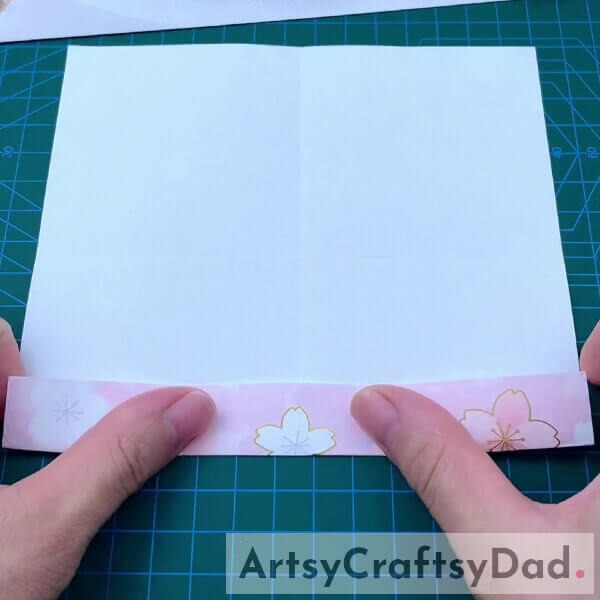
Open the fold, a crease is formed. Now, make sure that the crease is in a vertical position. Fold from the bottom up to the line as shown in the picture.
Step #4: Third Folding
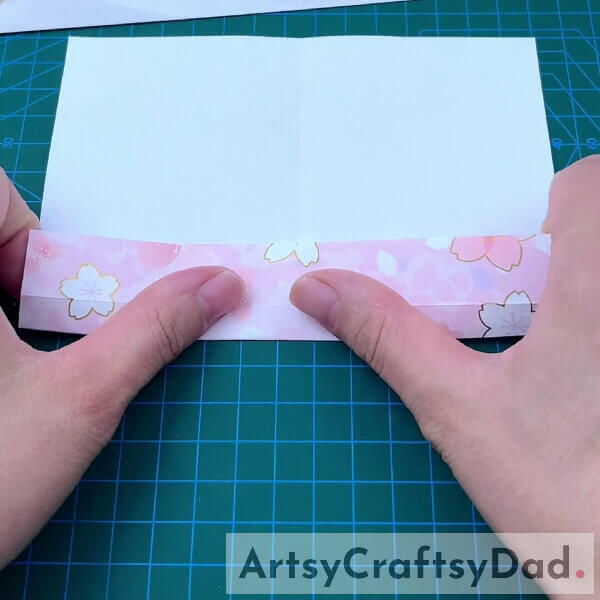
Unfold the previous fold and fold again from the bottom up to the line as shown in the picture.
Step #5: Folding From Corners
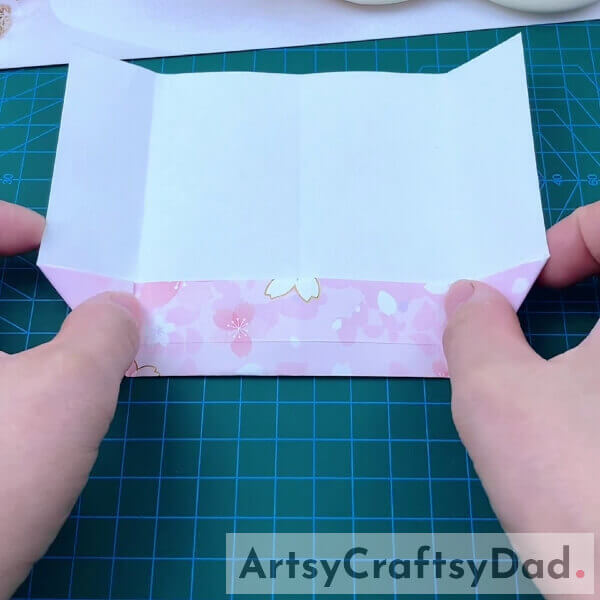
Now, fold from two bottom corners so that there are two triangles. Secure the fold.
Step #6: Folding From Two Sides
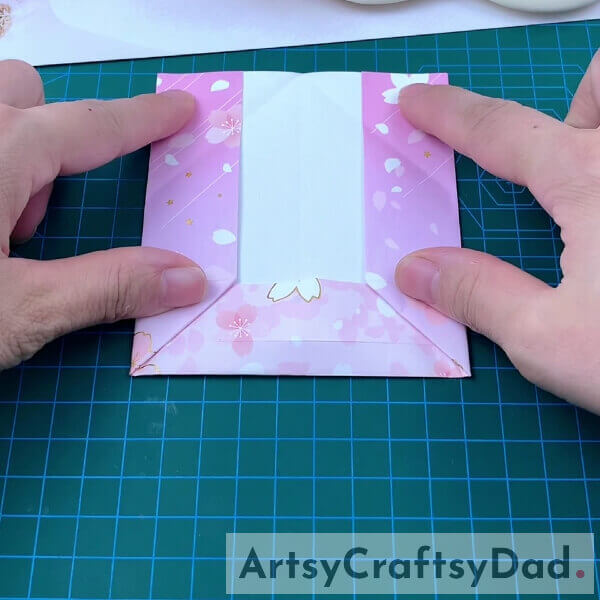
Fold the origami sheet from the left and right side. Fold it as per the folded side of the triangles at the corners.
Step #7: From The Top
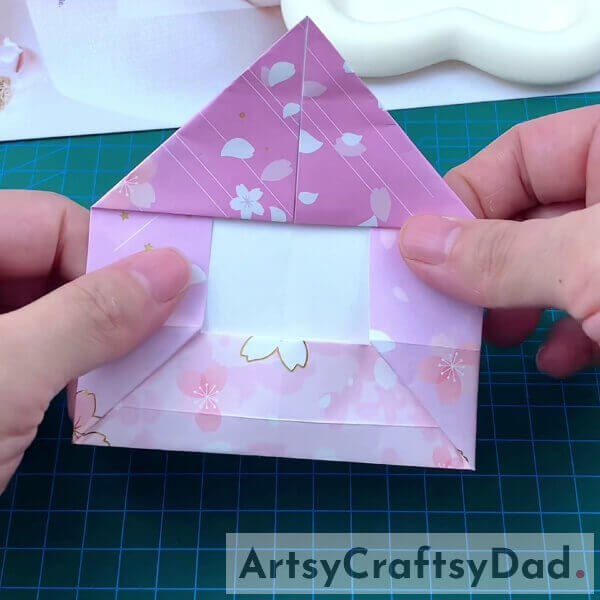
Now, from the top, fold the two corners up to the midpoint of the sheet. Two corners must be meeting at the midpoint. A triangle must be formed after these folds.
Step #8: Folding From The Top
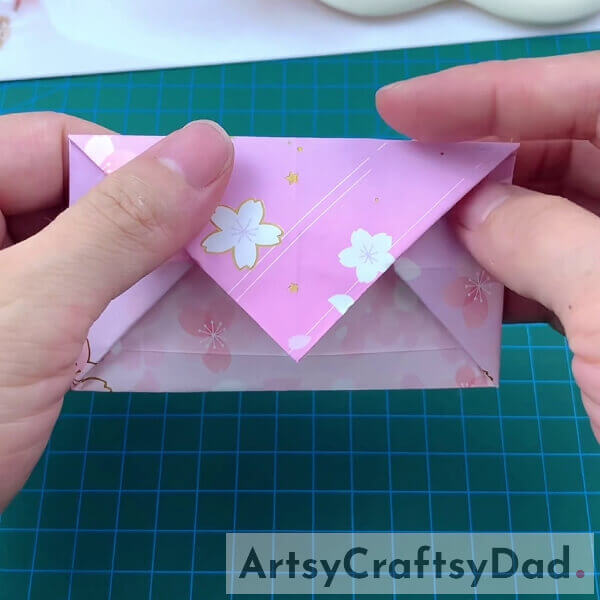
There is a triangle now. Fold the top of the triangle up to the height of the triangle.
Step #9: Tuck It In
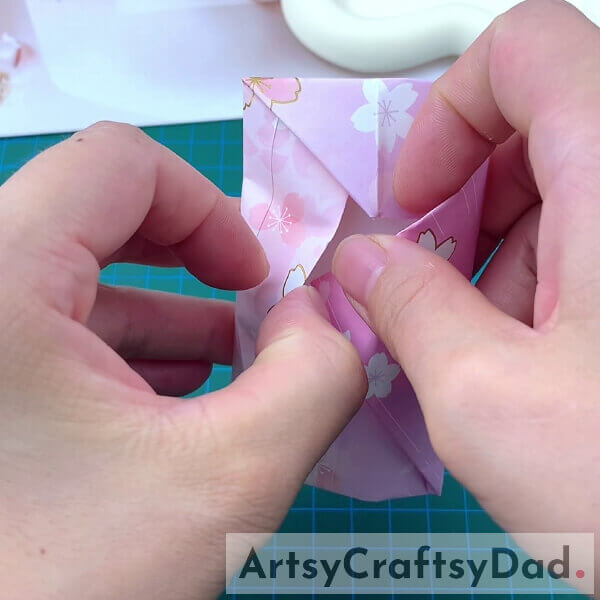
Now, tuck the triangular tip in the pocket formed at the bottom.
Step #10: Heart For The Letter
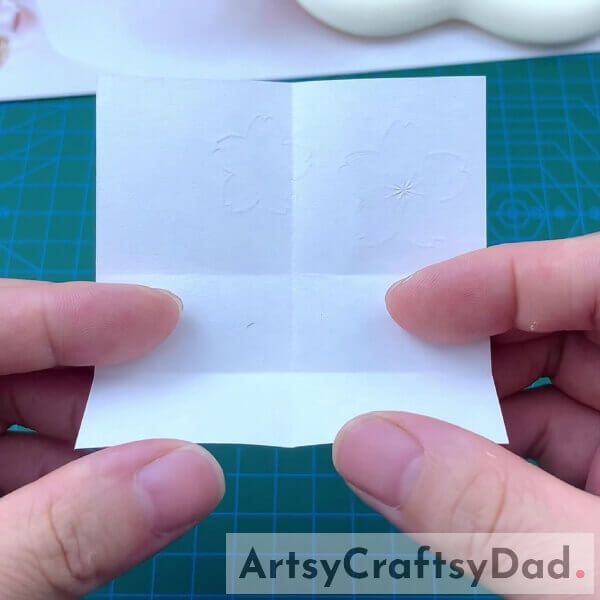
Take an origami sheet of 15 cm× 15 cm. And fold it in half twice, that is, vertically as well as horizontally keeping the printed side downwards.
Step #11: Folding It
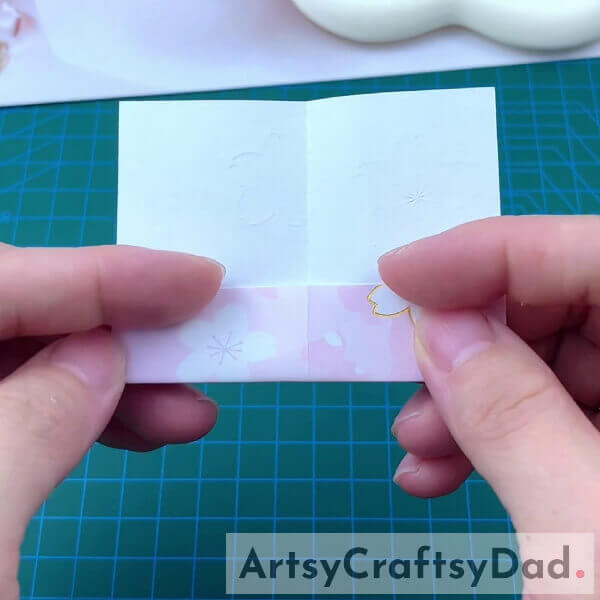
Unfold the previous folds. Fold it from the bottom up to the horizontal crease.
Step #12: Fliping and Fold
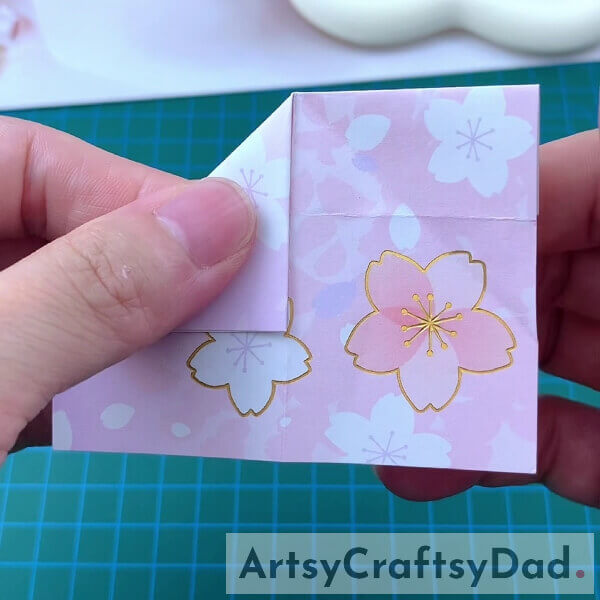
Flip the sheet, so that the printed side is upwards and the previous fold is at the top. Fold the top left corner up to the crease formed.
Step #13: Folding The Corner
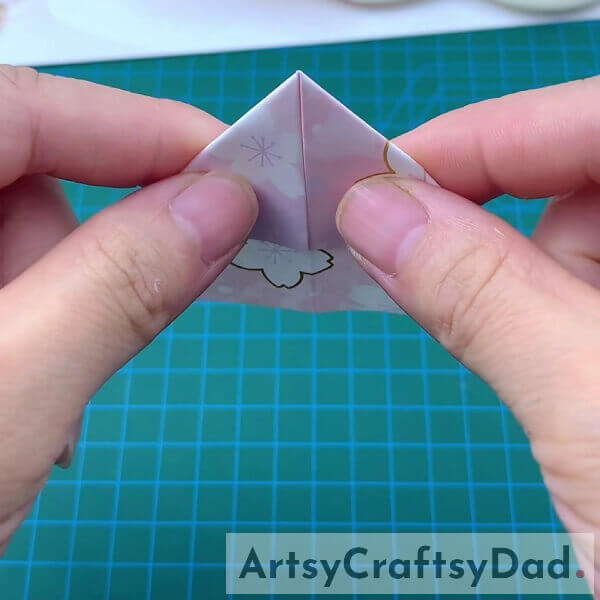
Fold the top left corner as well in the same manner.
Step #14: Folding The Remaining Part
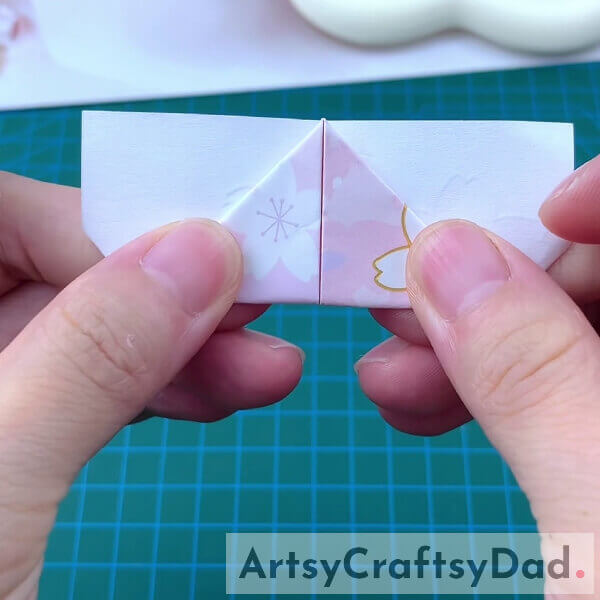
Now, fold the remaining part of the sheet. Fold backward from the bottom.
Step #15: Fliping and Fold
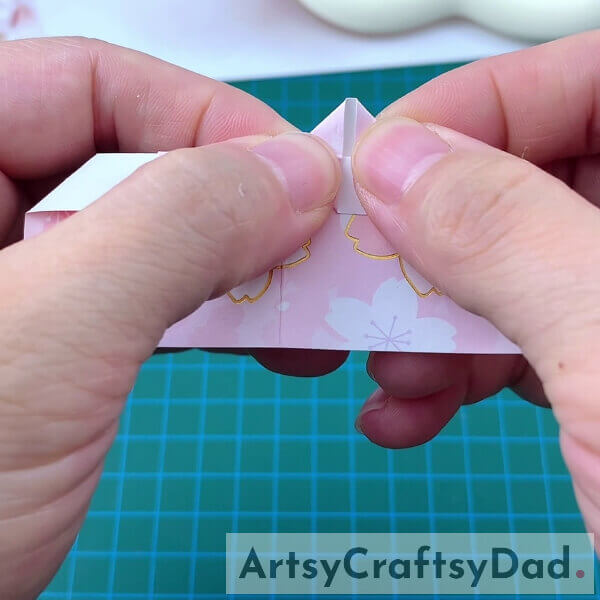
Now, flip the sheet and fold it from the top the way shown in the picture.
Step #16: Folding From The Triangle’s Base
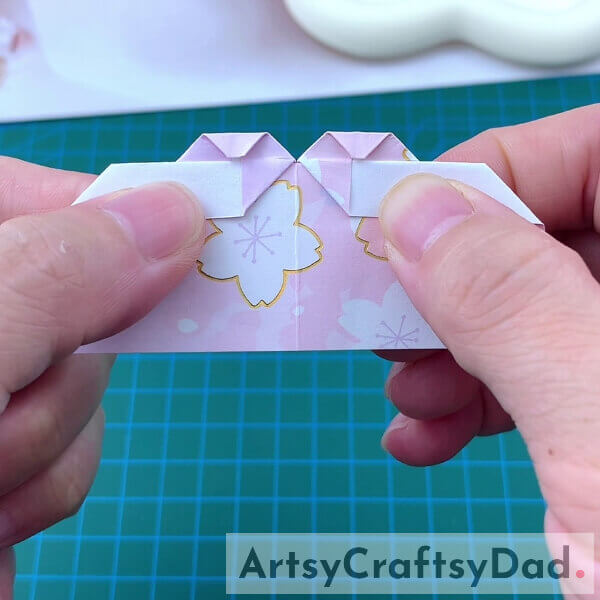
Fold from the two bases of the triangle and tuck it.
Step #17: Folding The Flaps
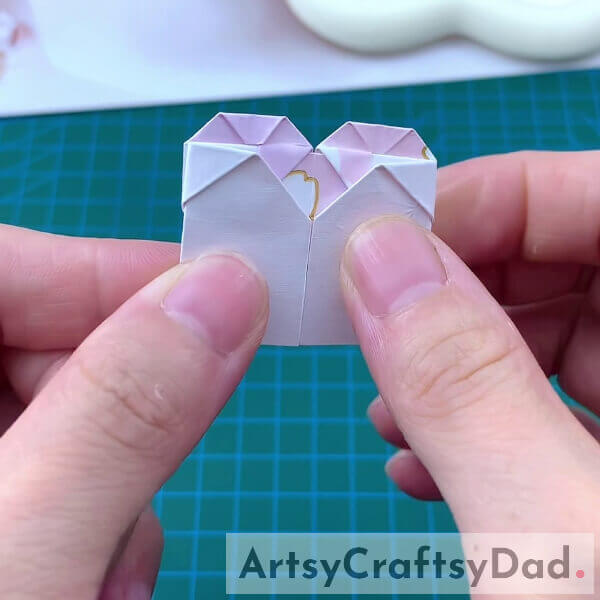
Now, fold the flaps from the left and right sides. Fold them up to a crease formed in the middle of the origami sheet.
Step #18: Secure The Folds
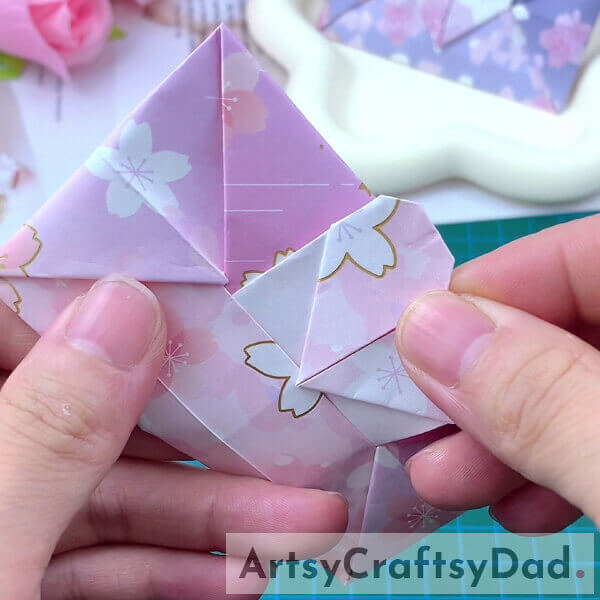
Secure the folds and make sure that everything is in its place.
Origami Love Letter Tutorial: Valentine Craft
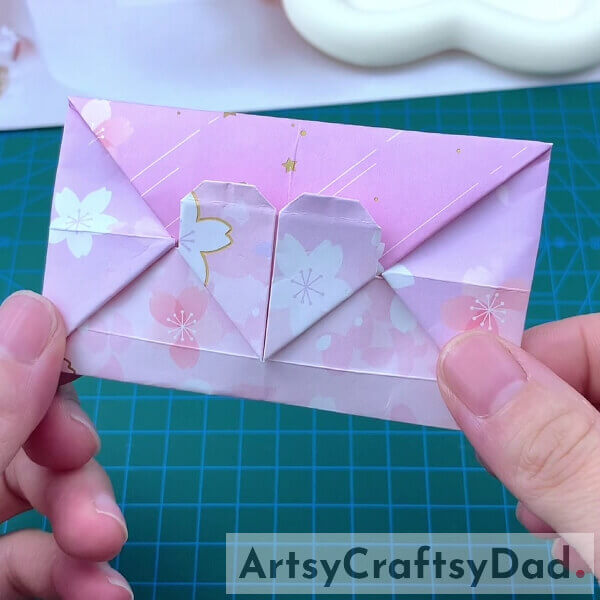
With this, you have come to the origami love letter: Valentine craft tutorial. This was a good learning experience for kids as they learnt about origami folding and crafting a love letter by the folding method. This craft idea would teach students about origami folding skills, they will end up polishing their skills. This must be fascinating for kids of 9-14 years of age. This love letter looks adorable. Kids have learnt about a new mechanism from this tutorial. They can make more love letters like this.
Hope you liked this origami love letter: Valentine craft step-by-step tutorial. Don’t forget to share your comments and inform us about your experience. Make sure to revisit our website!
Thanks for visiting our website.
You May Also Like
- Paper Origami Chinese Fan Craft Tutorial For Beginners
- Chick Hatching Drawing Fun Craft Tutorial
- Unique Cardboard Flower Vase Craft Tutorial For Kids
- Cardboard Alarm Clock Model Craft Tutorial For Kids
- Paper Pinwheel Flower Craft Tutorial For Kids
