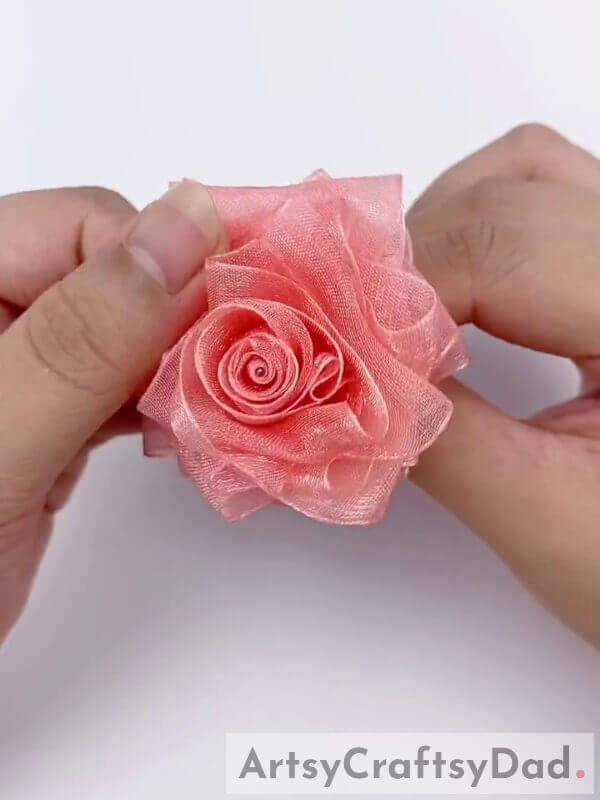
Explore a sewing ribbon rose decor craft step-by-step tutorial for kids to have fun. This activity awaits you to learn a new technique in crafting.
Ribbon Rose Decor Craft For Kids
Must Read: Thread Weaving Umbrella Decor Craft Tutorial
Supplies & Tools
- A Ribbon Roll
- A Pair Of Scissors
- A Needle
- A Sewing Thread
- A Lighter
Ribbon Rose Instructions
Step #1: Taking A Ribbon
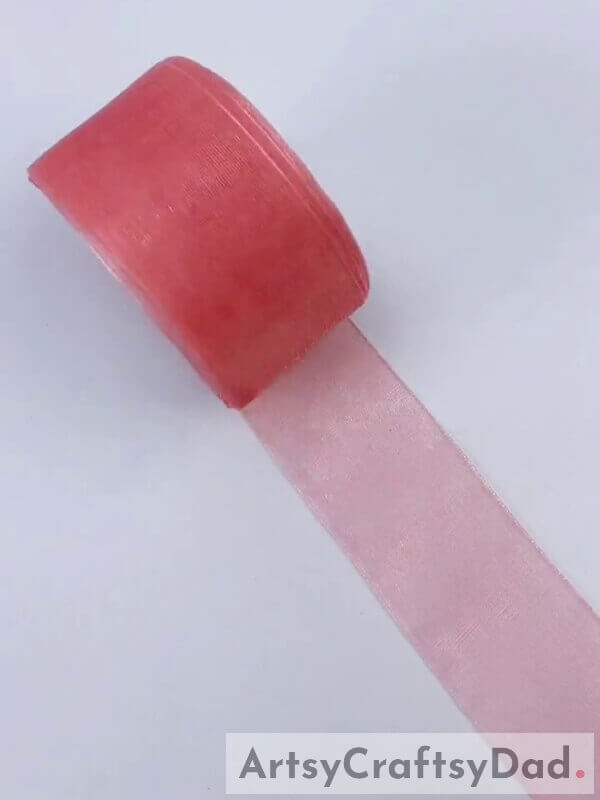
Take a ribbon of any color you like and unroll it.
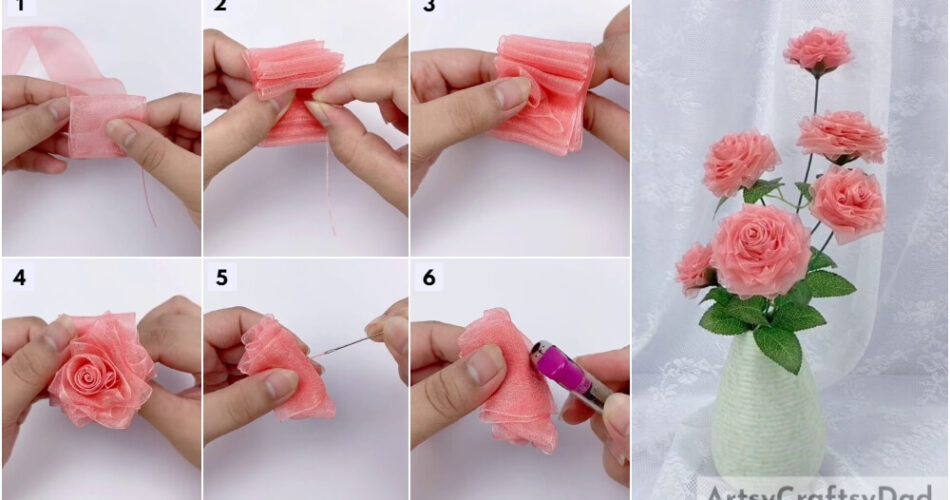
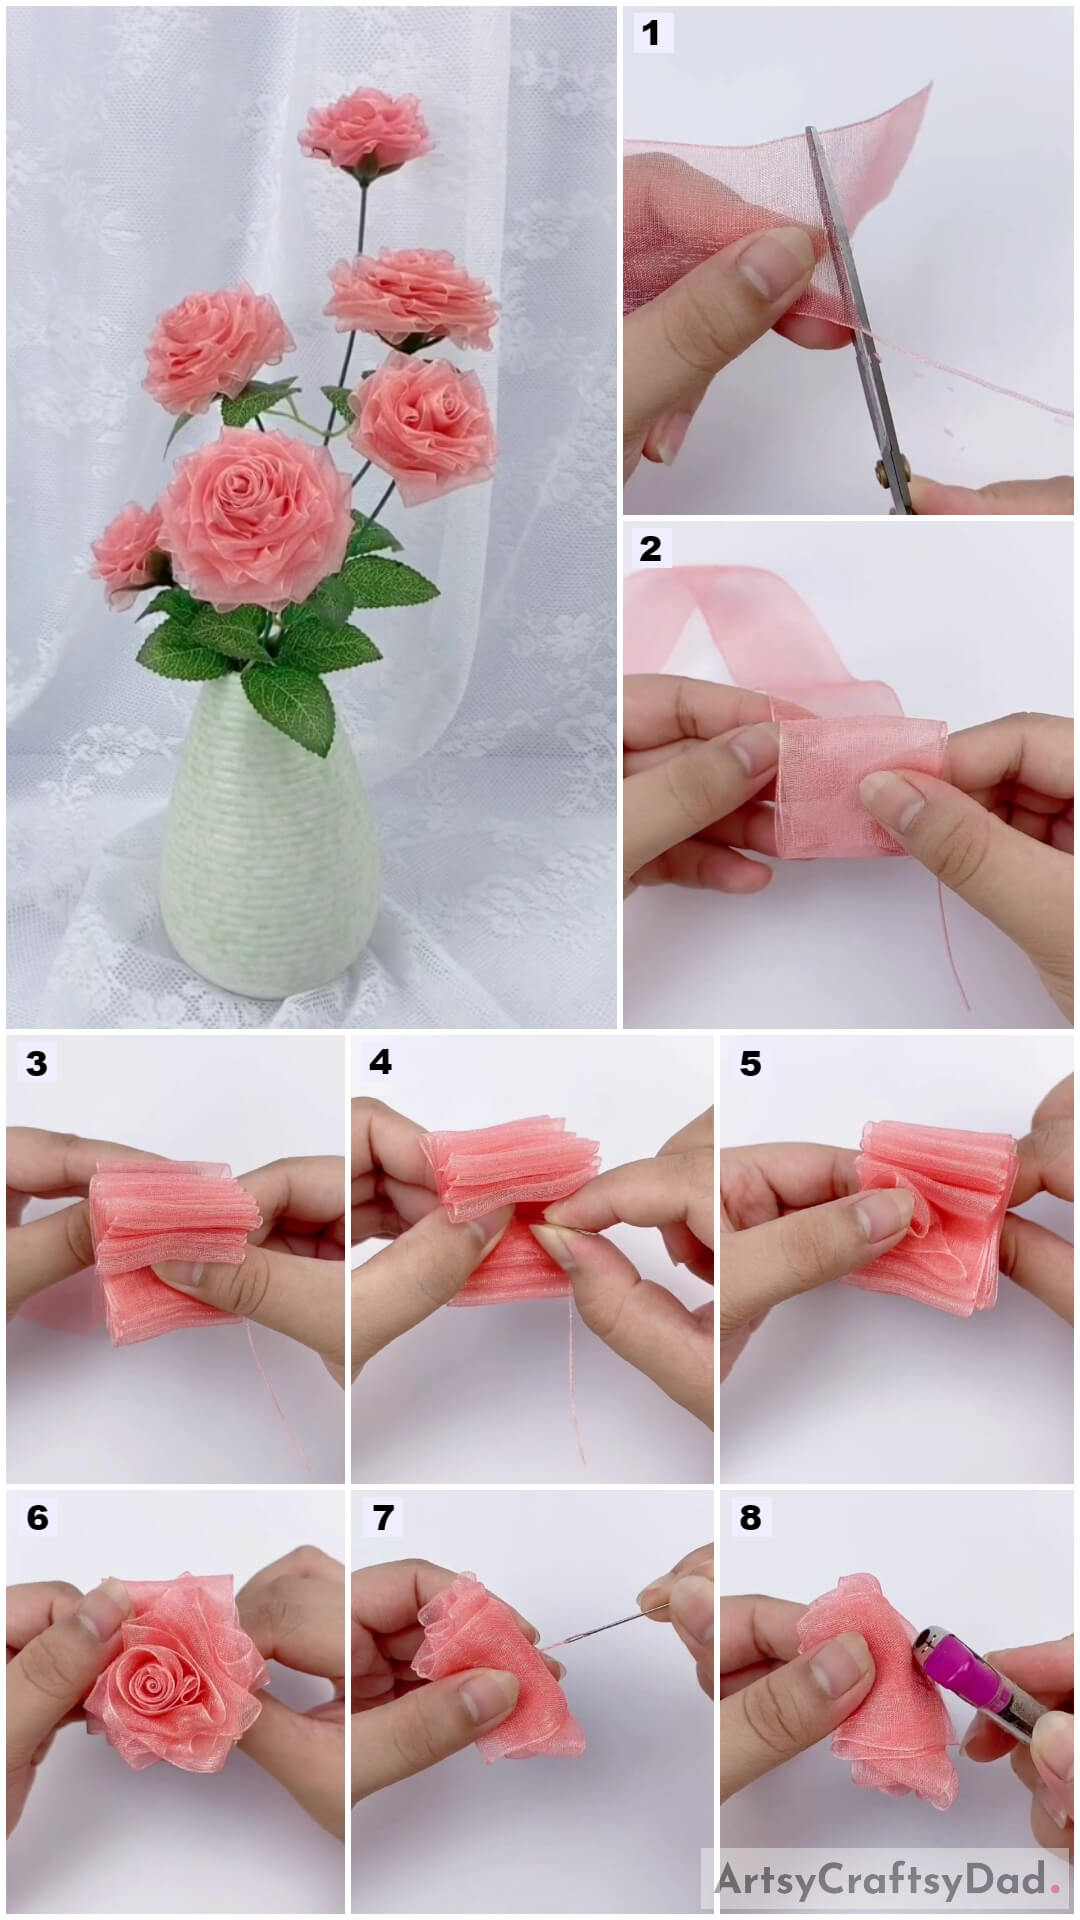
Step #2: Cutting The Ribbon
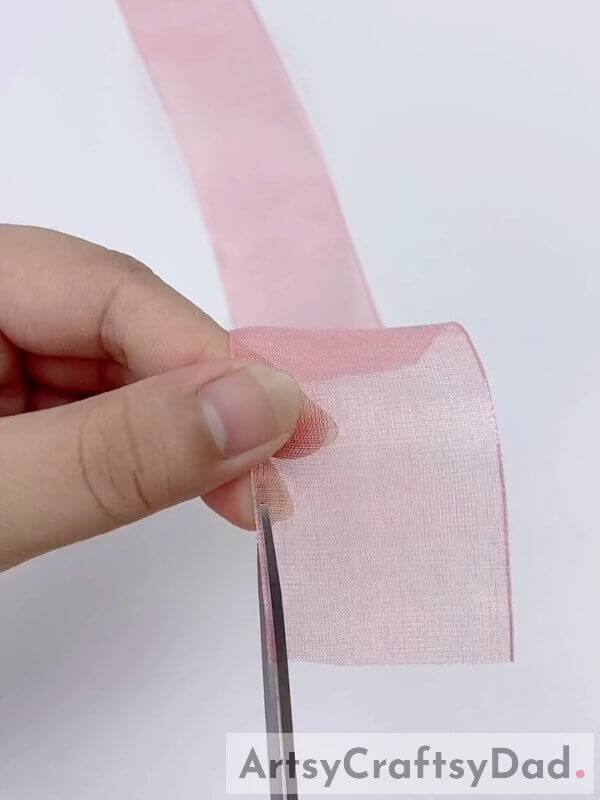
Now, with the help of the scissors cut the ribbon lengthwise, and cut it from the side.
Step #3: Cutting The Ribbon From Side
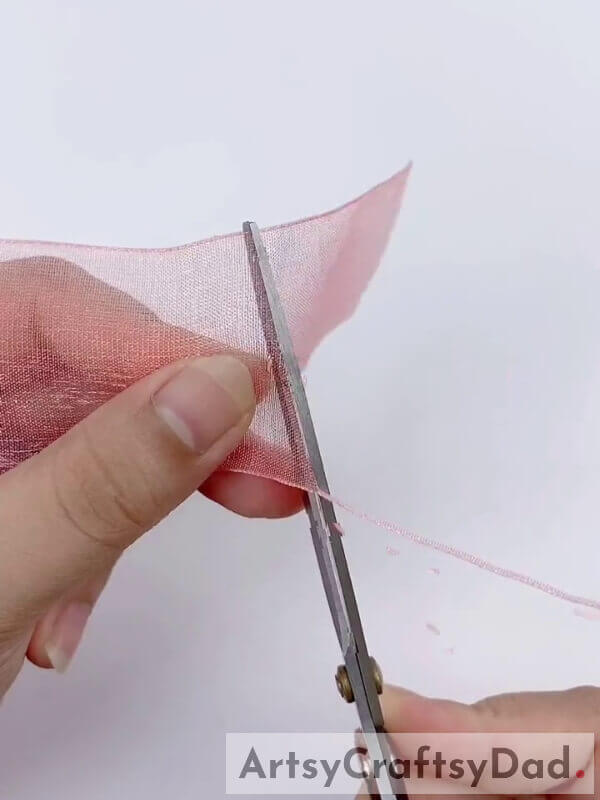
Cut it so that a triangular end is left. Look at the given picture for reference.
Step #4: Folding The Ribbon
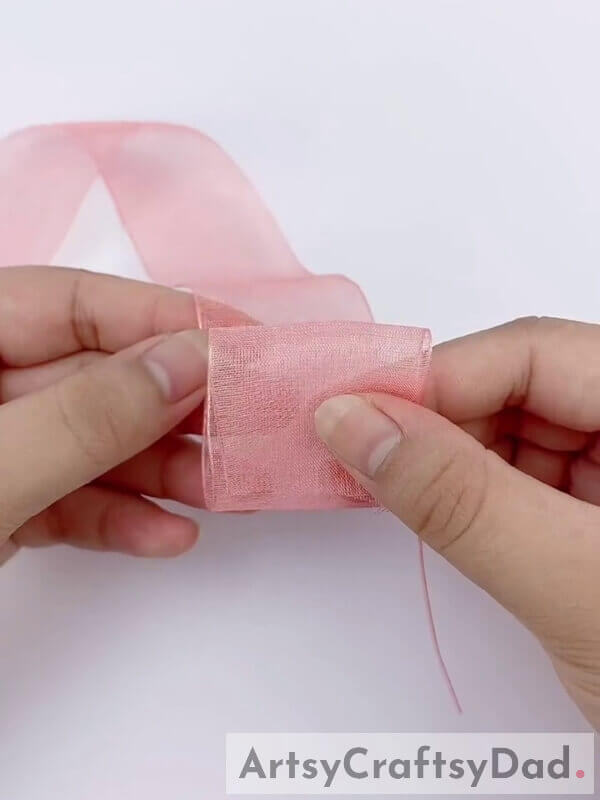
Now, start folding the ribbon.
Step #5: Keep Folding
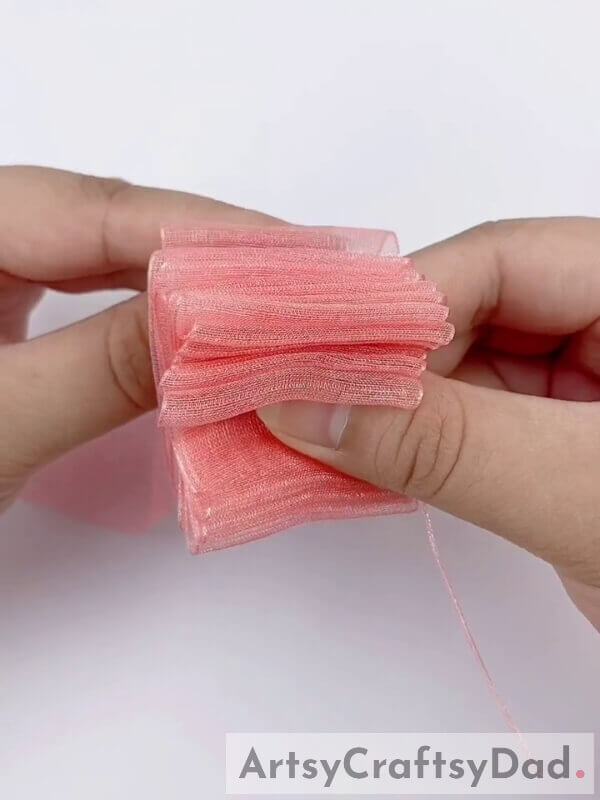
Fold it like a pleat. Make sure it is folded properly.
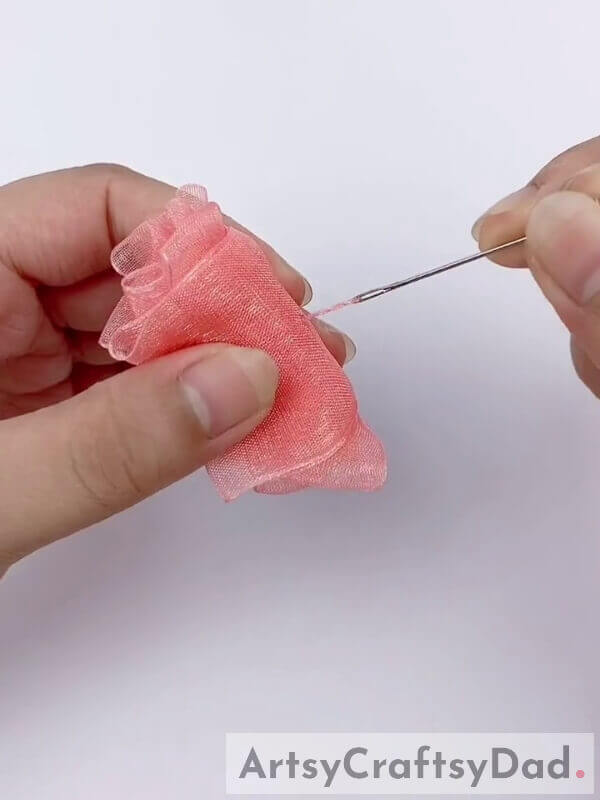
Step #6: Inserting A Needle
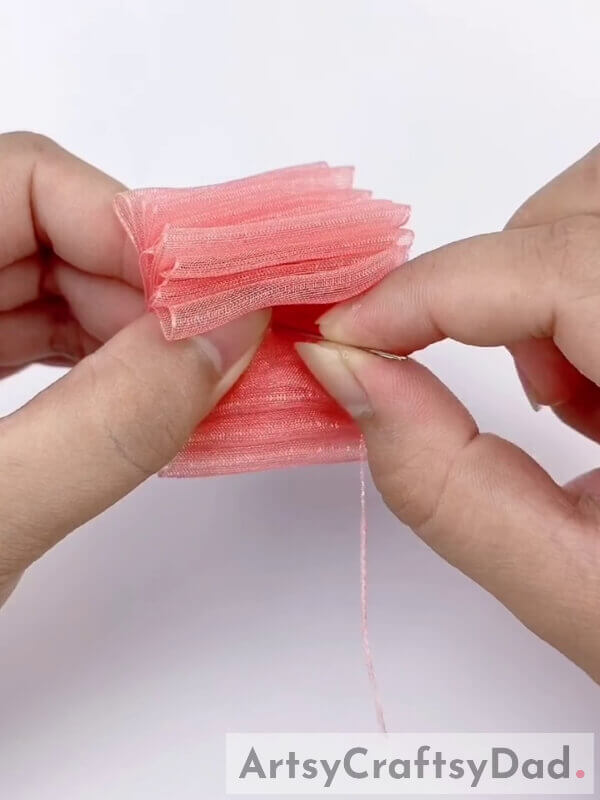
Now, insert a needle having a thread on it from the pointed part of the triangular end of the ribbon. Insert it through the folds.
Step #7: Pulling The Ribbon

Now, pull the ribbon and let the ribbon take the shape of a rose.
Step #8: Keep Pulling
Keep pulling the ribbon and adjust it with your fingers if required.
Step #9: Needle Through The Ribbon
Now, let the needle come out through the ribbon. Cut the thread and put the needle aside leaving a ribbon rose behind.
Step #10: Use A Lighter
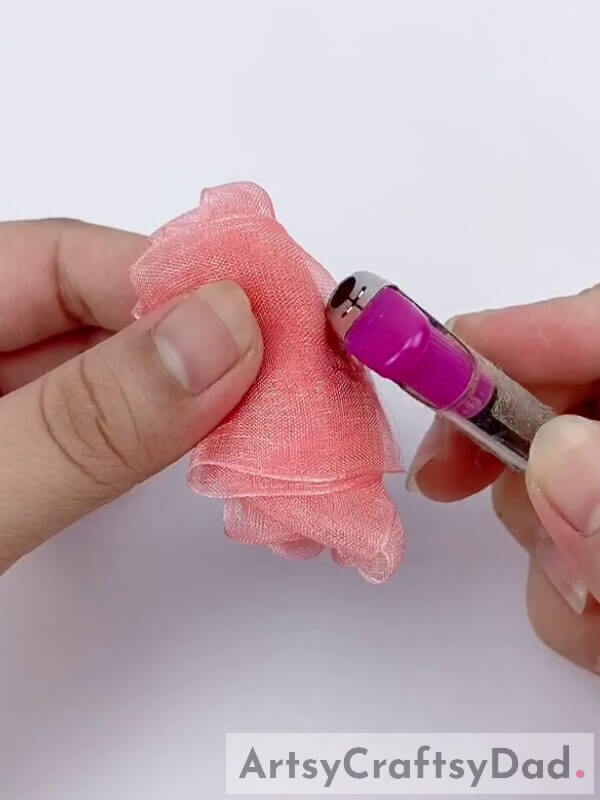
By using a lighter, slightly burn the end of the rose. This will seal the thread and prevent loosening up.
Sewing Ribbon Rose Decor Craft Tutorial – For Home
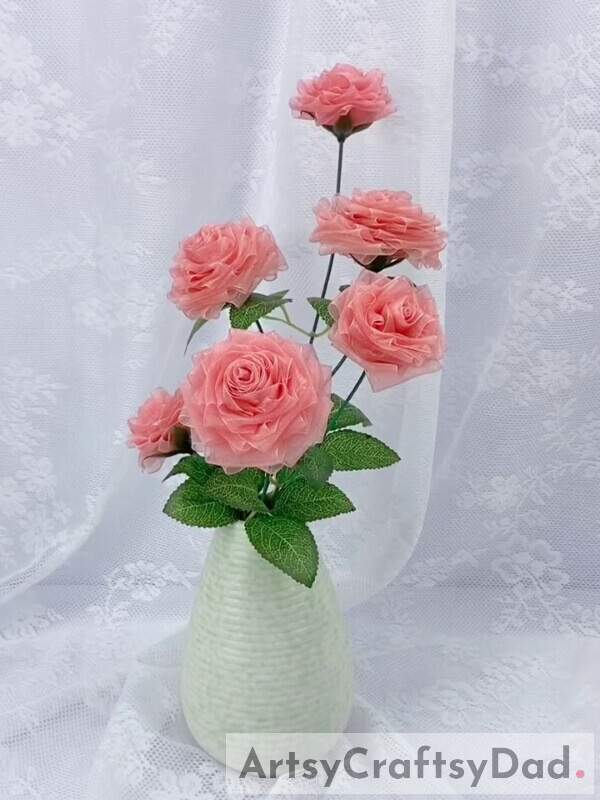
With this you have come to the sewing ribbon rose decor craft tutorial. This was a good learning experience for kids as they learned about making a ribbon rose by sewing method. This craft idea would teach students about using needle and thread in art and craft. This must be fascinating for kids of 6-9 years of age. This rose looks adorable. Kids have learned about a new mechanism from this tutorial. They can make more roses like this and put them in the vase and use it as room decor.
Hope you liked this sewing ribbon rose decor craft step-by-step tutorial. Don’t forget to share your comments and inform us about your experience. Make sure to revisit our website!
Thanks for visiting our website.
You May Also Like
- Purple Fruit Foam Net Flowers Decor Craft Tutorial
- Oil Pastel Rose Bouquet Drawing Hack Craft Tutorial
- Beautiful Rose Vase: Easy Hacks Painting Tutorial
- Rose Bouquet: Stamp Painting Tutorial For Kids
- Mini Rose Bouquet: Clay & Surgical Mask Craft Tutorial


