This step-by-step tutorial will help you to create a simple road-in-the-forest craft using colorful craft papers, which is suitable for kids of all ages.
Welcome to this road in the forest craft tutorial! Here, we will show you how to create this simple and colorful road in the forest craft by tearing and pasting colored craft papers. You will need very few craft materials to create this craft such as color craft papers, glue, color markers, and a black pen and this craft is suitable for kindergarten kids. Let’s get started!
Paper Tearing Road In The Forest Craft Tutorial
Read More: Clay Heart Leaf Tree Craft Tutorial For Kids
Supplies & Tools
- Color craft papers
- Color markers (gray, yellow, red, and green)
- Glue
- Black pen
Forest Tearing Instructions
Step #1: Drawing Road In The Middle Of Our Craft Paper
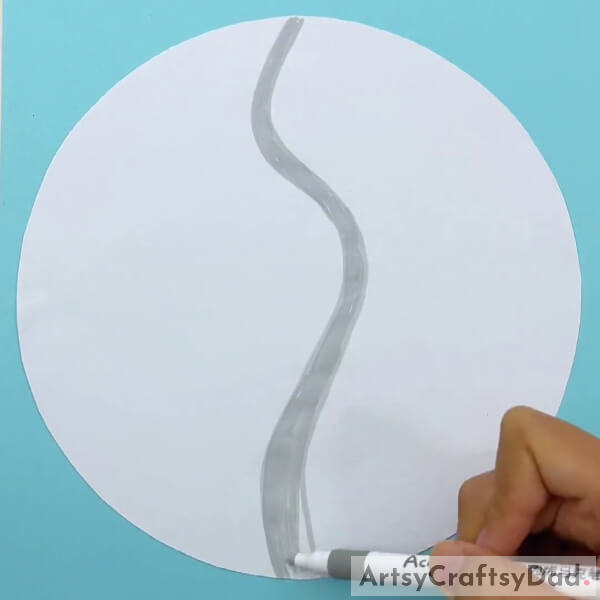
Grab your scissors and cut your white-colored craft paper into a circle shape. Then with the help of your gray color marker, draw a thick wavy line in the middle of your white craft paper. Make sure to draw the bottom end of the line broad.
Step #2: Drawing Yellow Lines On The Road
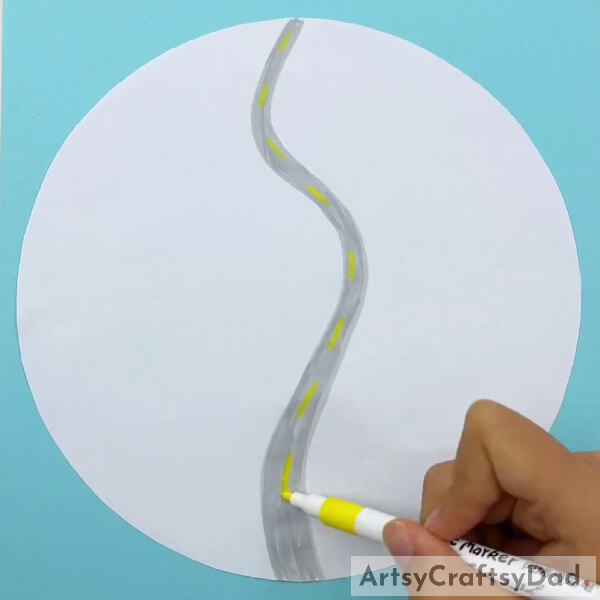
Draw a broken yellow line in the middle of the road that we drew before, using a yellow color marker.
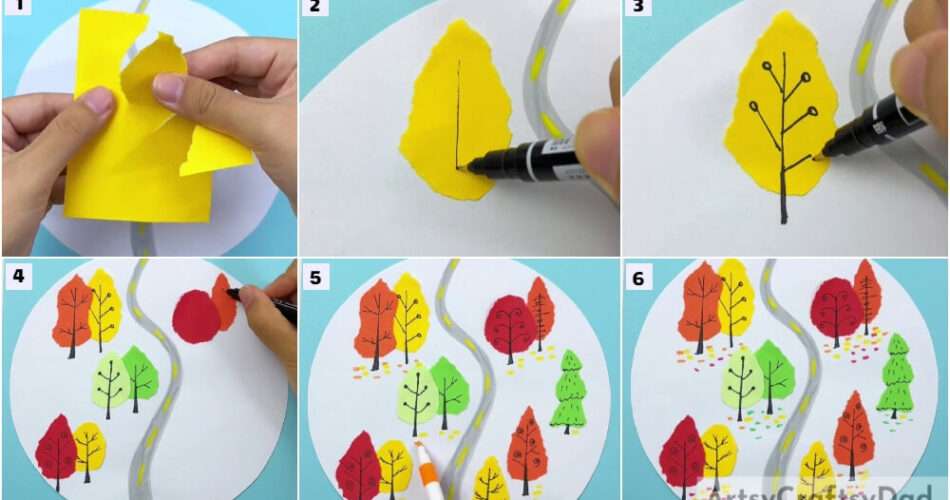
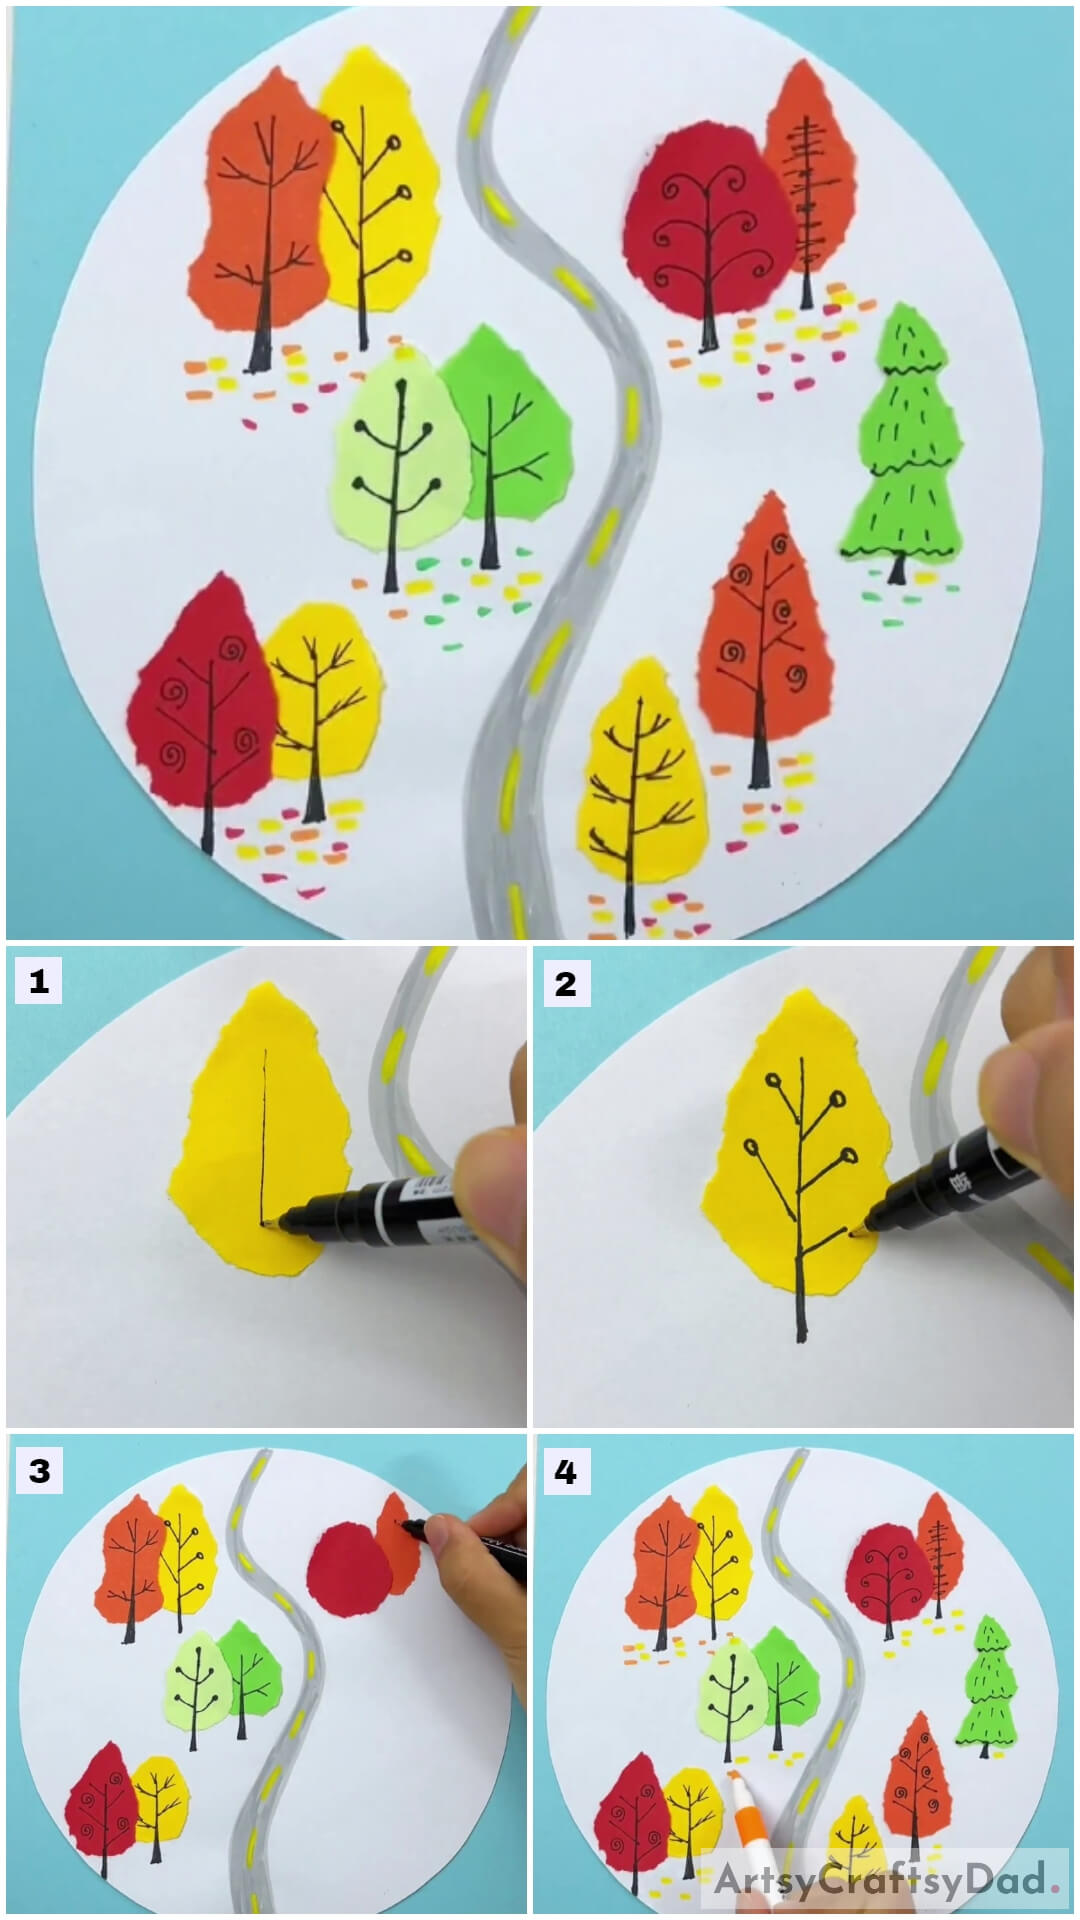
Step #3: Tearing Yellow Color Craft Paper To Create A Tree
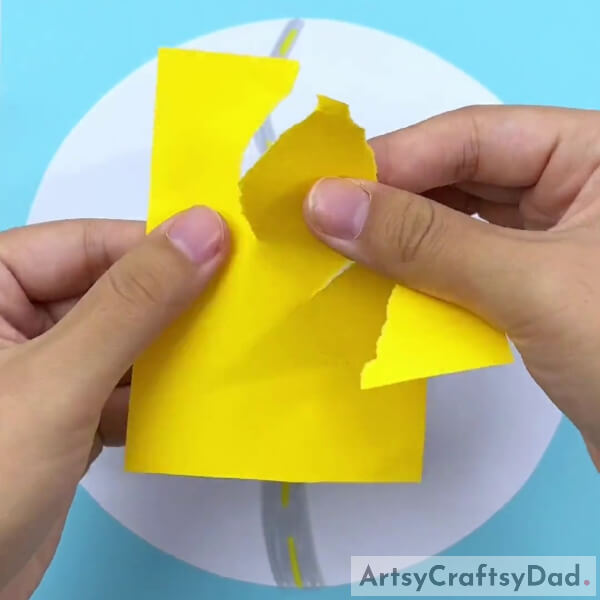
Tear an improper medium-sized oval-shaped piece of paper from yellow-colored craft paper.
Step #4: Pasting Piece Of Yellow Paper On White Craft Paper
Paste that piece of yellow craft paper at the top left of your white craft paper using glue.
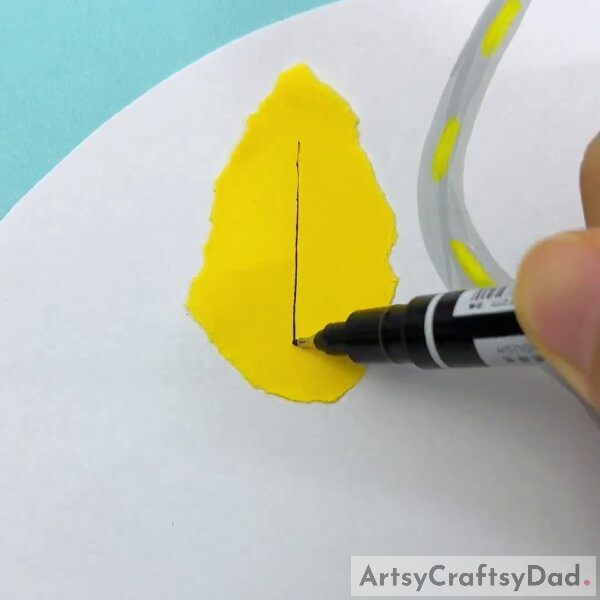
Step #5: Drawing Branches On Our Yellow Craft Paper
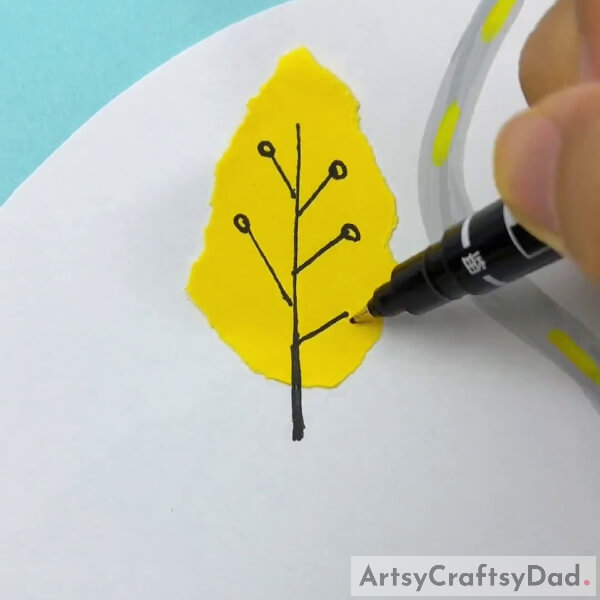
Draw a straight line in the middle of that piece of yellow paper with a broad end using a black pen and also draw some straight lines at both left and right sides of that line for branches. Draw on small circle at the end of each line as shown.
Step #6: Pasting More Colorful Paper And Drawing Branches
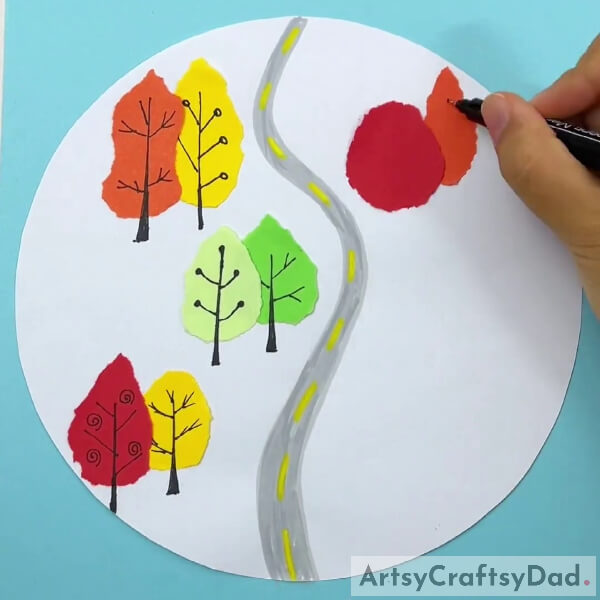
Now, tear some more different shaped and different colored paper pieces from colorful craft papers. As shown in the image, you can choose orange, red, green, and light green color craft papers. As with the first tree, paste those pieces on the left and right sides of your paper and draw branches as well.
Step #7: Drawing Fallen Leaves Using Color Markers
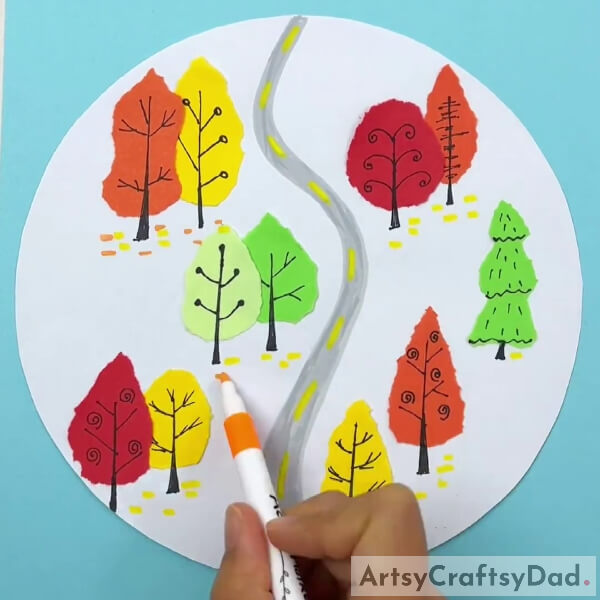
Using yellow and orange color markers, put some thick dots below all those trees to create fallen leaves.
Yeah! Our Road In The Forest Paper Craft Is Done!
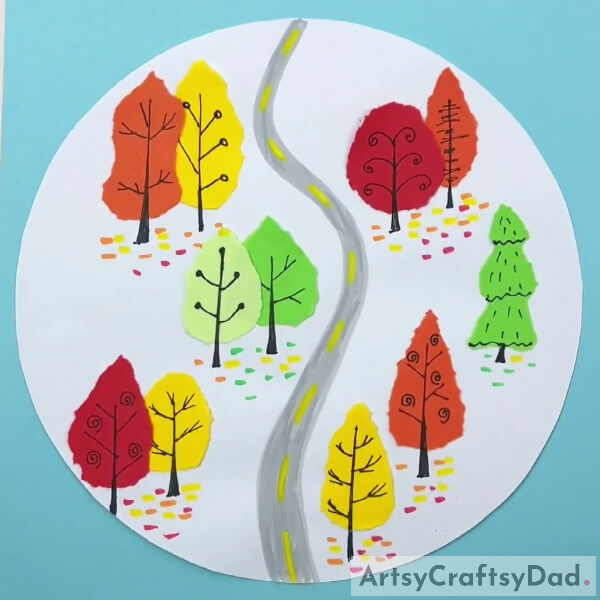
Then, also put some dots under trees using red and green color markers for fallen leaves. And that’s all our craft is ready! This simple colorful craft is an easy one to create which is suitable for all age kids.
We hope you like this road in the forest craft tutorial. We like to read your thoughts about this tutorial in the comment section. For more craft and art tutorials, visit our website.
Thank you for visiting our website.
You May Also Like
- Simple Paper Tearing Flowers Craft Tutorial
- Clay Snails On Leaves Craft Tutorial For Kids
- Clay-Paper Sunflower Garden Craft Tutorial
- How to Make a Paper Flower Vase – Paper Craft Tutorial
- Easy Town Landscape Drawing Tutorial For Kids


