Learn how to make adorable haws candy clay crafts with this step-by-step tutorial. From shaping and molding the clay to adding the perfect sugar coating, discover the secrets to creating beautiful and edible haws candy decorations. Perfect for parties, gifts, or simply indulging in some sweet creativity, this tutorial will guide you through the process with detailed instructions and helpful tips. Start crafting your own sugar-coated haws candy creations today!
Welcome to our tutorial on making sugar-coated haws candy clay crafts. If you have a sweet tooth and a creative spirit, then you’re in for a treat. Sugar-coated haws candy clay crafts are a delightful and fun way to feel your love for sweets while also showcasing your artistic skills. In this tutorial, we will guide you through the step-by-step process of creating these delectable and visually appealing clay crafts. From shaping the clay to adding the sugary coating, we will provide you with all the necessary instructions and tips to ensure your creations turn out scrumptious. So, grab your apron, gather your materials, and let’s start making sugar-coated haws candy clay crafts.
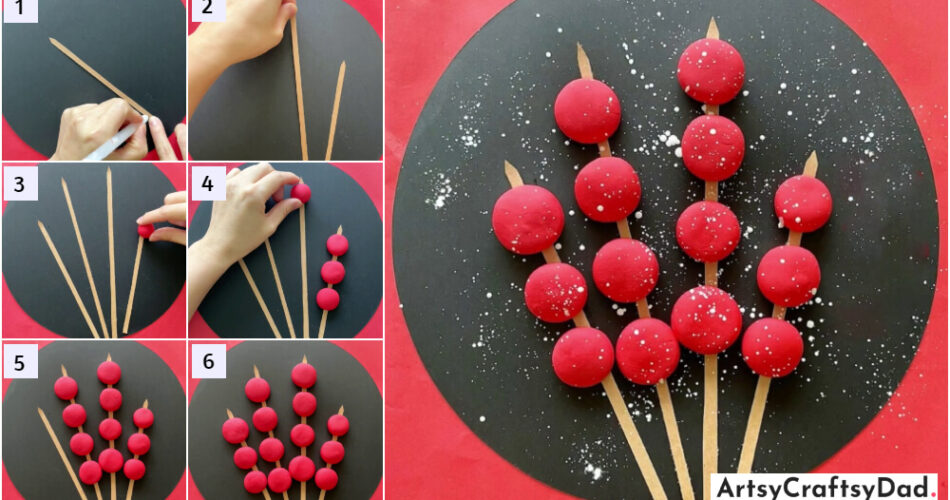
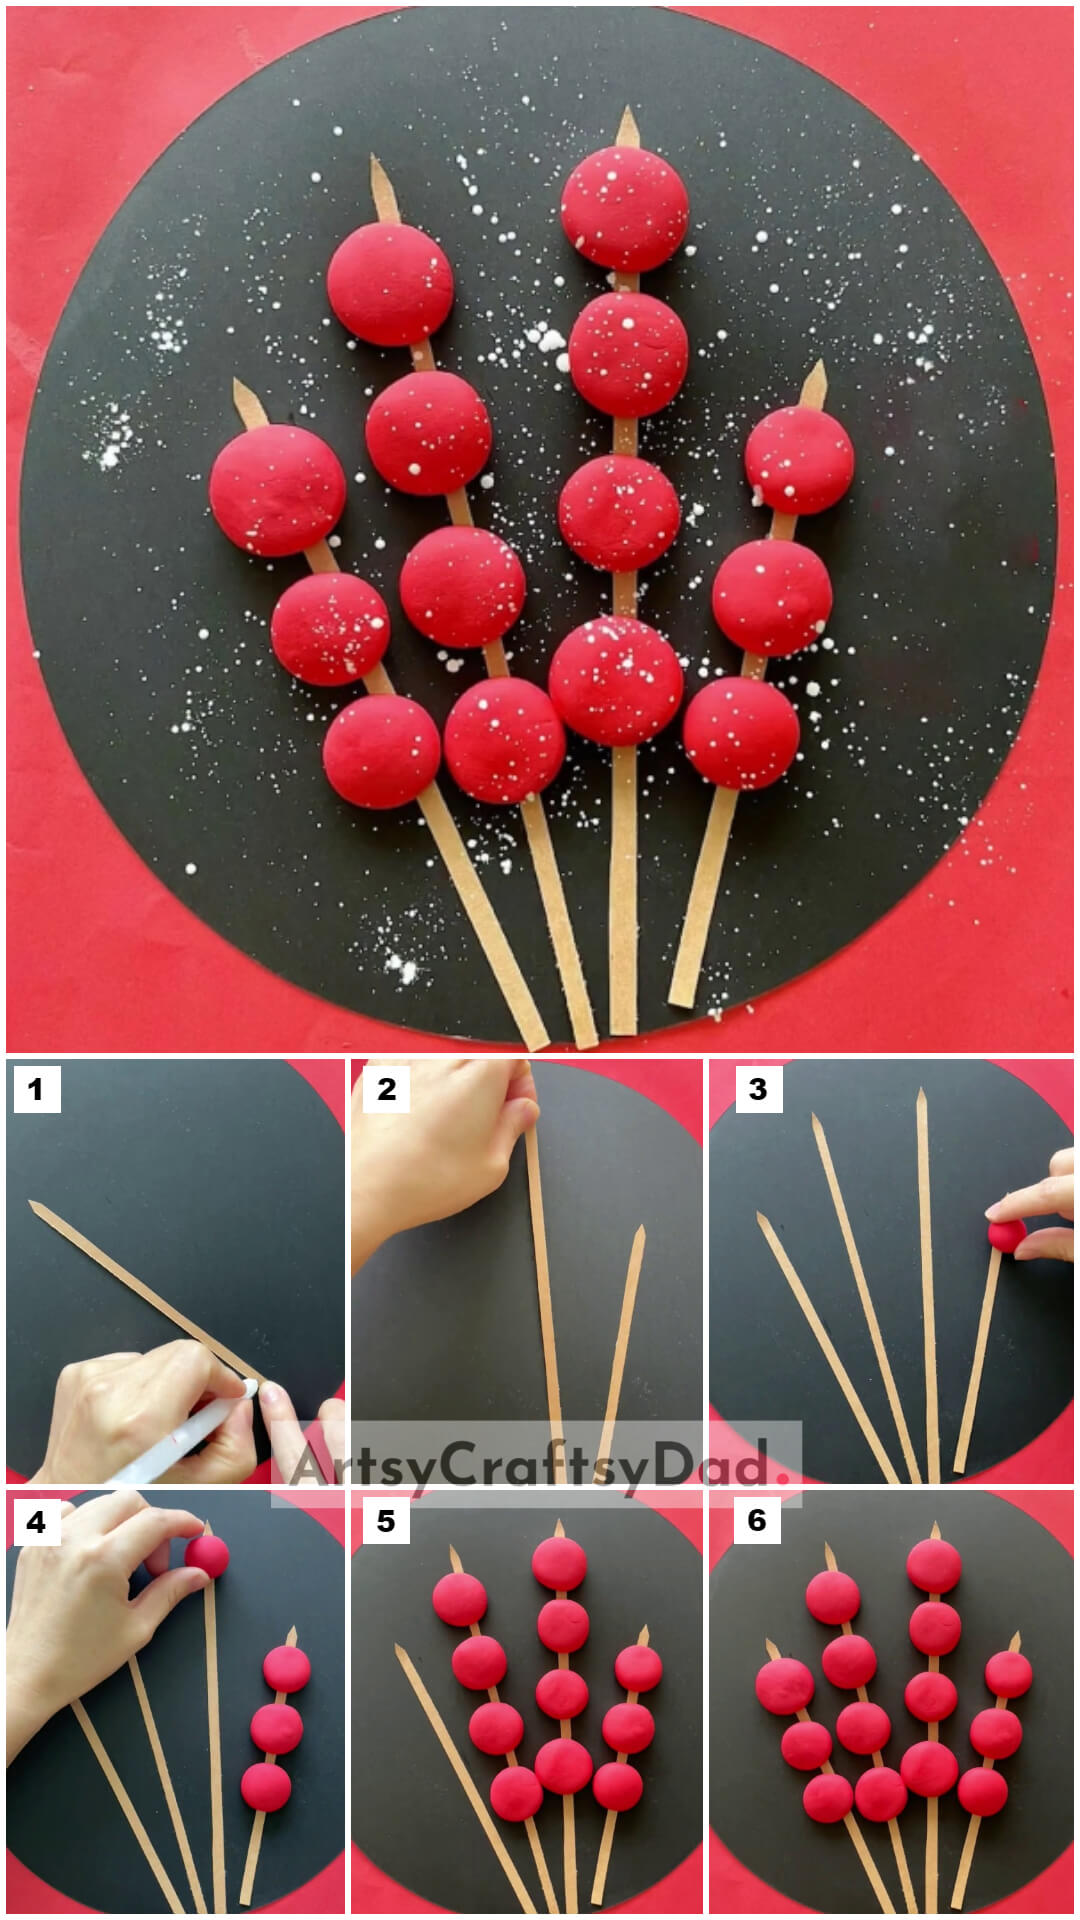
Attractive Sugar-Coated Haws Candy Clay Craft
Must Read: Colorful Clay Cactuses Craft Tutorial For Kids
Supplies & Tools
- Colored Clay (Red)
- Colored Construction Papers (Black, Skin)
- Scissors
- White Color Paint
- Glue
Sugar-Coated Haws Candy Instructions
Step #1: Applying Glue On Skin Color Paper Strip
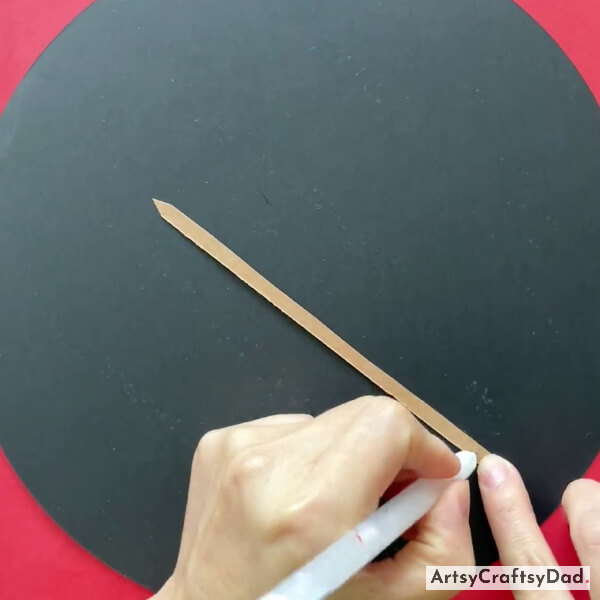
Take a black color construction paper & cut it into a circle shape by using scissors. After that take a skin color construction paper & cut it into a thin strip & apply some glue at the lower end of the strip.
Step #2: Pasting The Paper Strip
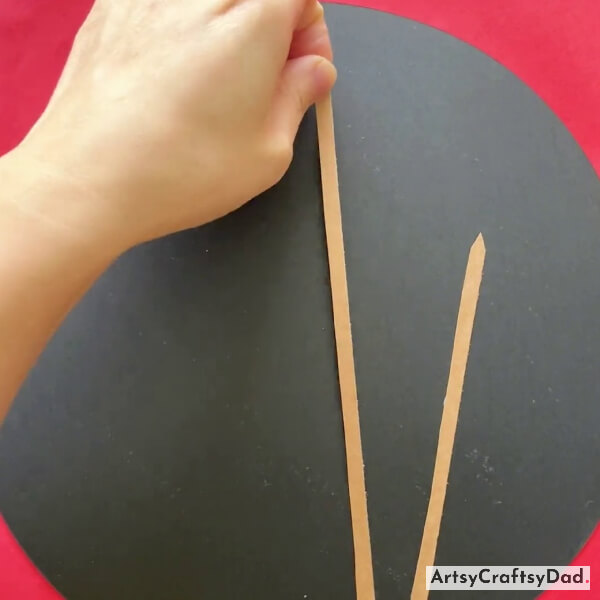
Now, paste the strip on the right side of a black circle. Make one more strip longer than the other strip by following the same process as we mentioned above.
Step #3: Making A Candies From Red Clay

Make two more strips & paste them as shown in the above image. Take red clay & make one circle for candy.
Step #4: Pasting Three Candies On First Paper Strip
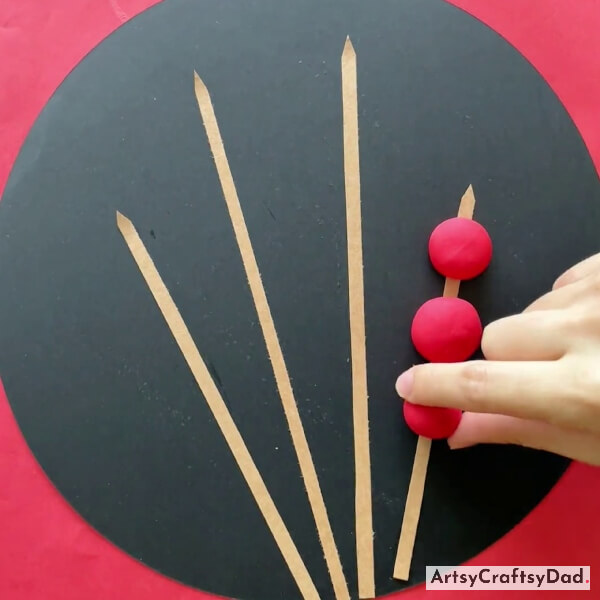
Make three candies & paste them on the right side strip & press them with your hand.
Step #5: Pasting Candies On Second Strip
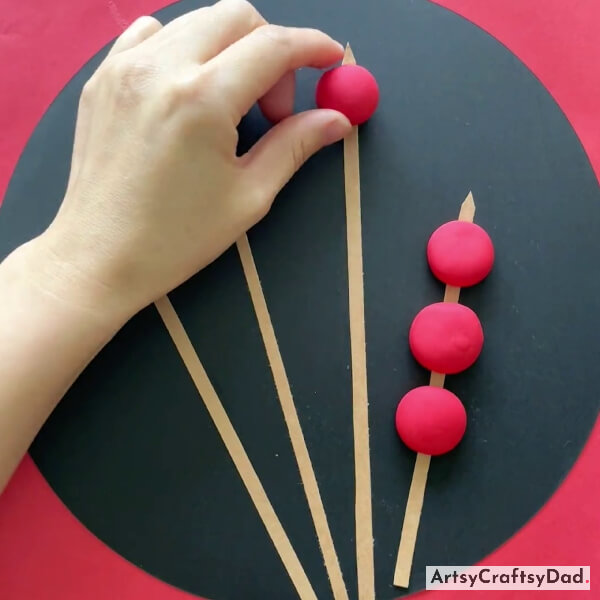
Make one more candy of red clay & paste them on the second strip as you can see in the above images.
Step #6: Pasting Four Candies On The Third Strip
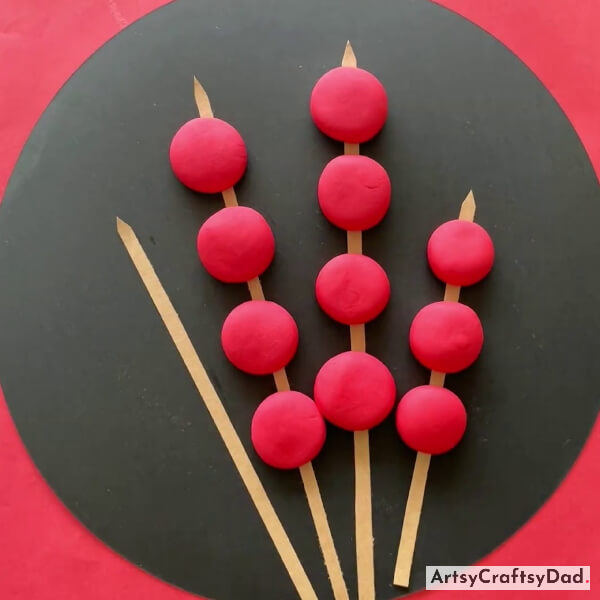
Make the rest of the three candies for the second strip & paste them.
Make four candies for the third strip & paste them in the same manner.
Step #7: Pasting Three Candies On Forth Strip

Make three candies for the fourth strip & paste all the candies by following the same process as we mentioned above.
This Is The Final Look Of Our Sugar-coated Haws Candy Craft!
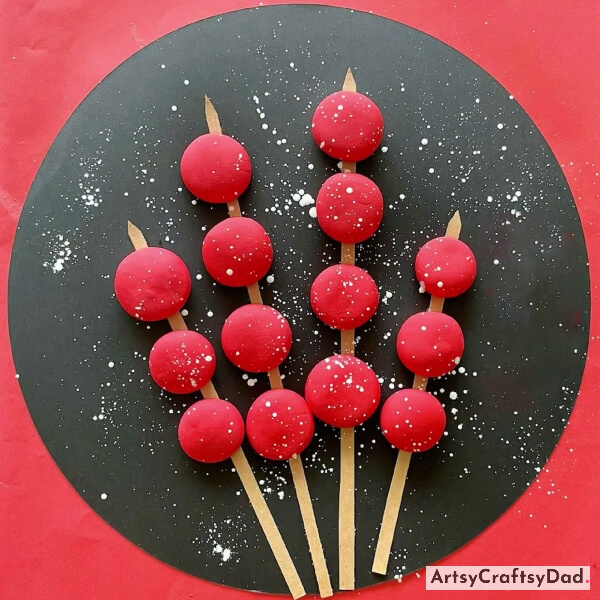
Take a white color paint & dip a paintbrush in it & start shaking & moving the paintbrush all over the black paper to give it a look like sugar on our candies. Now, our sugar-coated candy craft is ready.
Hurry, we have completed our sugar-coated candy craft. In conclusion, this tutorial on creating sugar-coated haws candy clay crafts provides a fun and creative way to explore the world of edible art. You could show this tasty-looking craft to your closed ones & impress your friends and family with your delightful sugar-coated haws candy clay crafts. Don’t miss to drop your feedback in the comment section because your small steps make us happy & motivate us to create something new in the future. For more ideas, you could visit our other websites where you can find unlimited crafts.
Thank you for visiting us!
You Might Also Like
- How to make candy-shaped candy box
- How to make Crocuses candy Tutorial
- Dumpling Dragon Boat Paper Craft Step-By-Step Tutorial
- Clay Flower Pot Model Craft Tutorial For Kids
- Leaf Fox Craft Step-by-Step Tutorial For Kids


