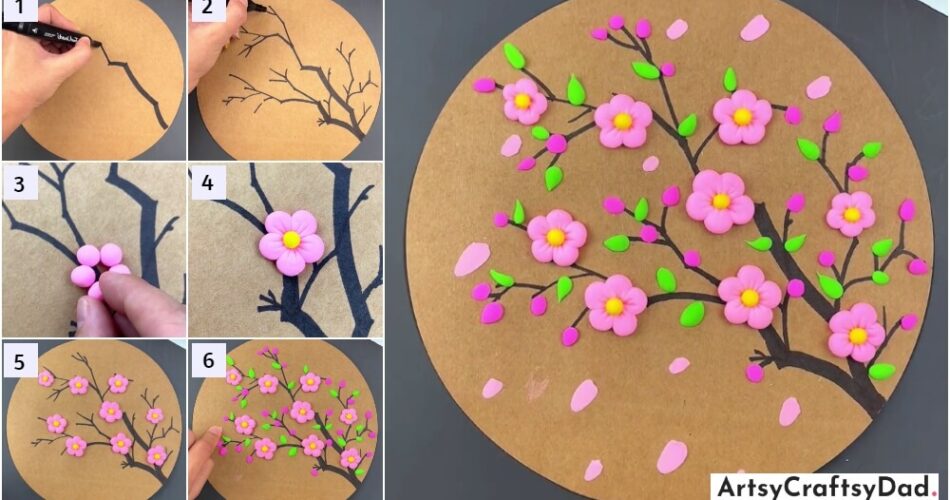
Learn how to make a beautiful Cherry Blossom flower clay craft with this step-by-step tutorial designed for kids. This fun and engaging activity will teach children how to mold and shape clay into delicate cherry blossom flowers, perfect for decorating cards, bookmarks, or other crafts.
Cherry blossoms are not only admired for their delicate beauty, but they also hold cultural significance in many countries, particularly in Japan. Now, kids can bring these stunning flowers to life through a fun and creative clay craft project. In this step-by-step tutorial, children will learn how to make their own cherry blossom flowers using clay. From shaping petals to adding intricate details, this activity will not only enhance their artistic skills but also teach them about the importance of nature and the beauty of springtime. So, let’s dive into this exciting craft and create our very own cherry blossom masterpiece!
Simple Cherry Blossom Flower Clay Craft Tutorial
Must Read: Clay Cherry & Paper Cup Pot With Leaves Craft Tutorial
Supplies & Tools
- Brown Cardboard
- Black Marker
- Coloured Clay(Baby Pink, Dark Pink, Green, Yellow)
- Transparent Acrylic Sheet
Cherry Flower Instructions
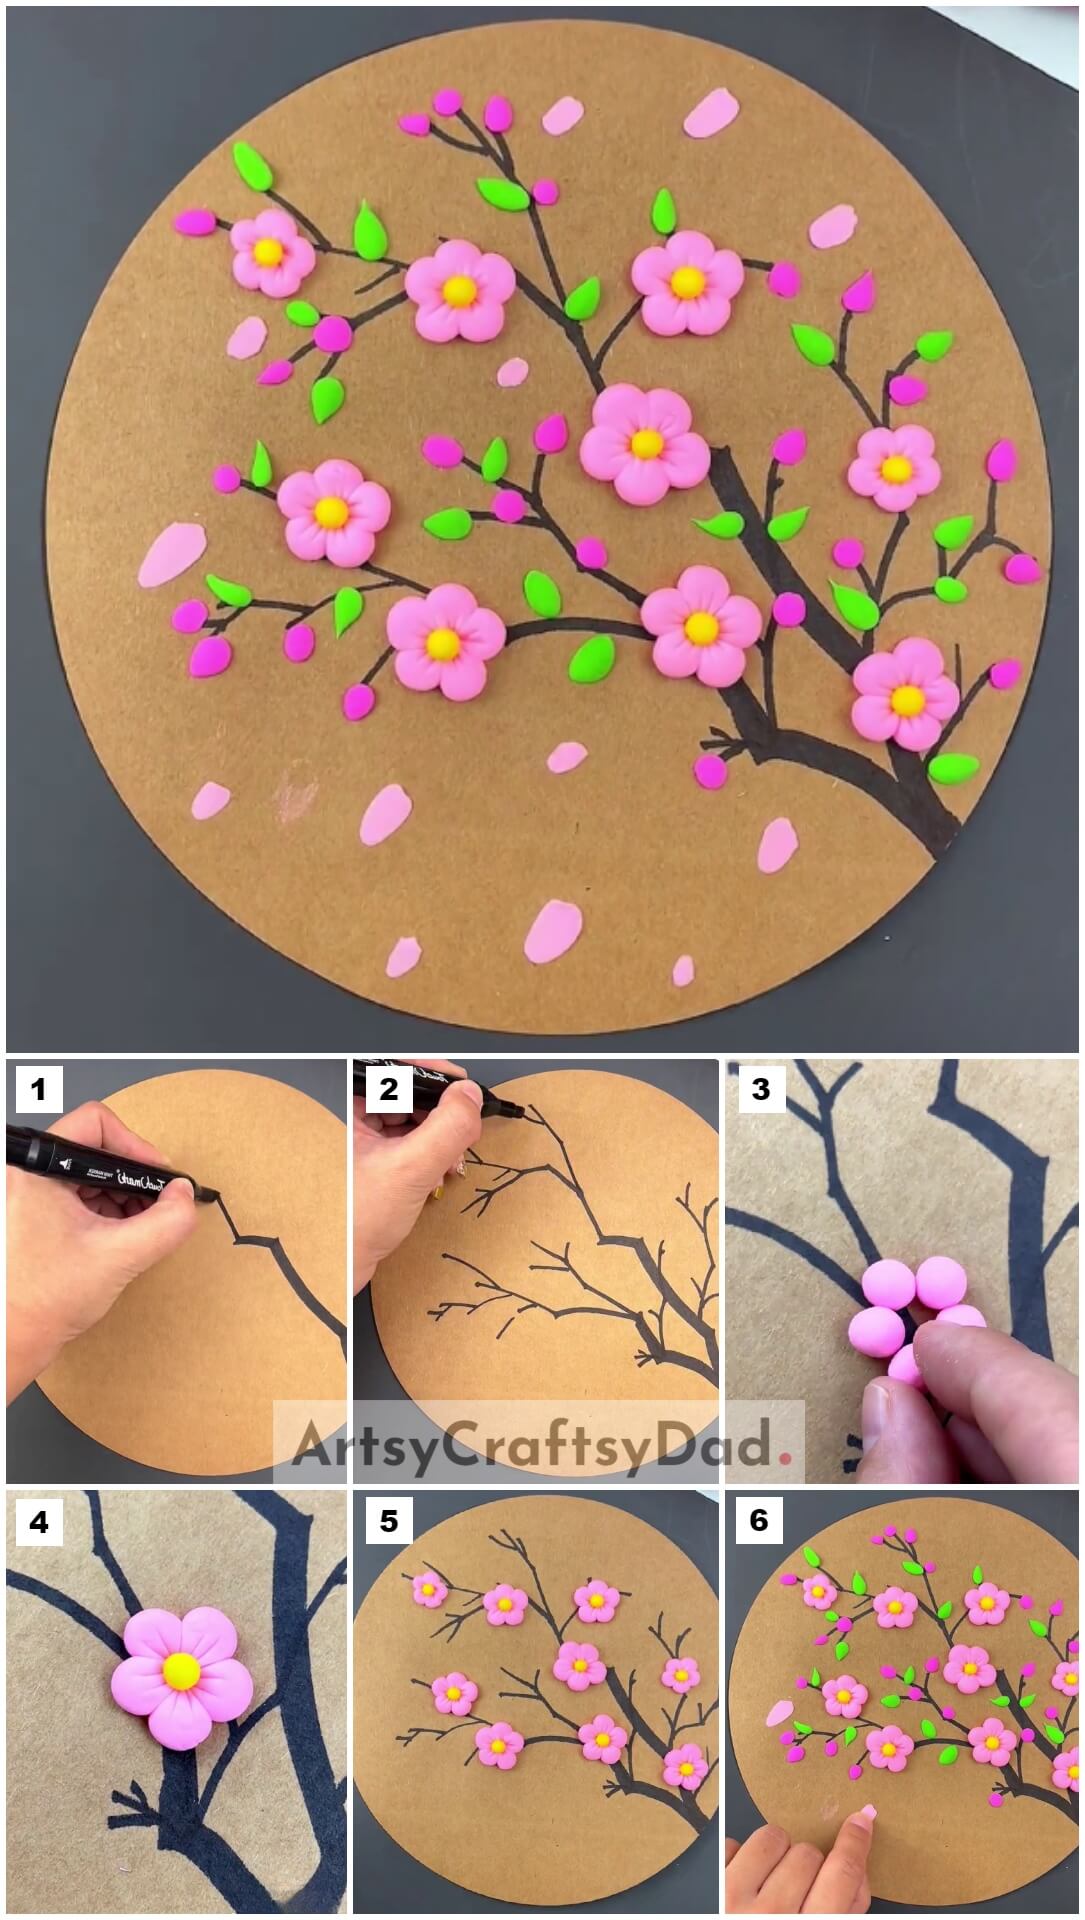
Step #1: Drawing Tree Branches
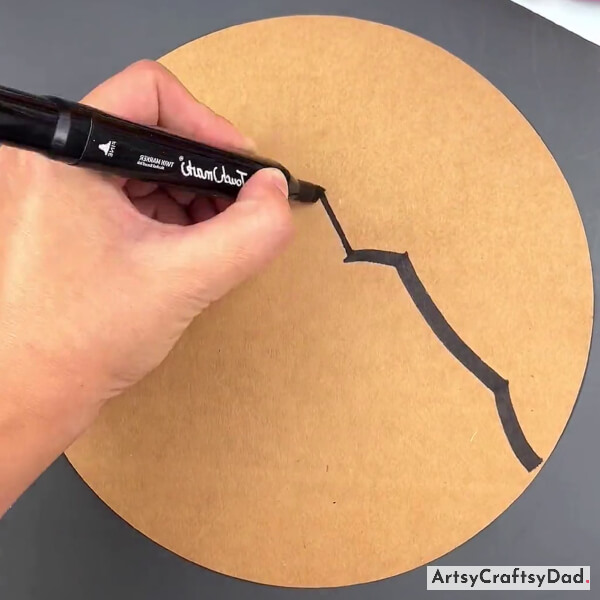
Take a brown Cardboard and cut out a circle to serve as the foundation base of our craft. Pick up the black marker and start drawing the tree branch.
Step #2: Drawing Little Branches
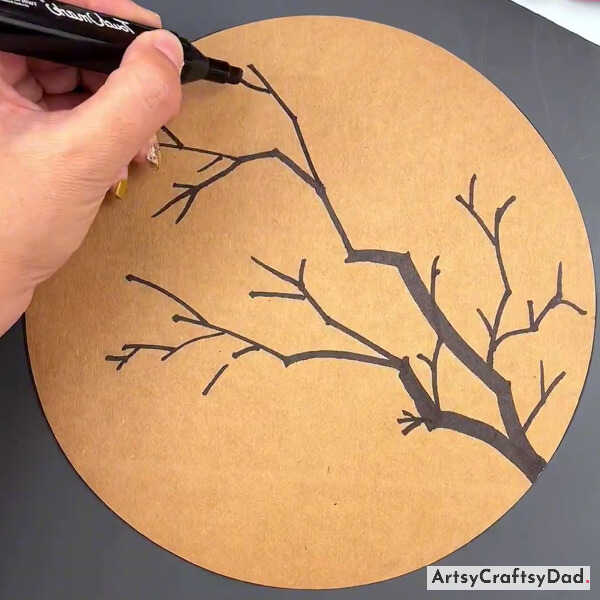
Draw some little branches as shown in the above image.
Step #3: Working With Clay
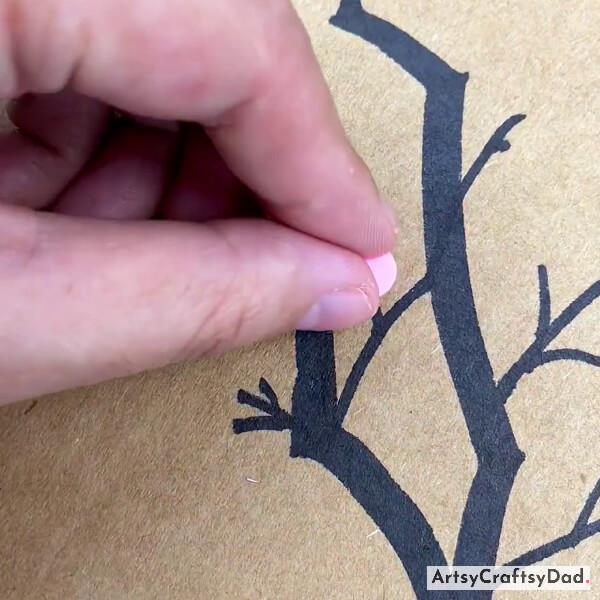
Now, take pink clay & make a little ball as a flower petal, and paste it over the branch.
Step #4: Making More Flower Petals
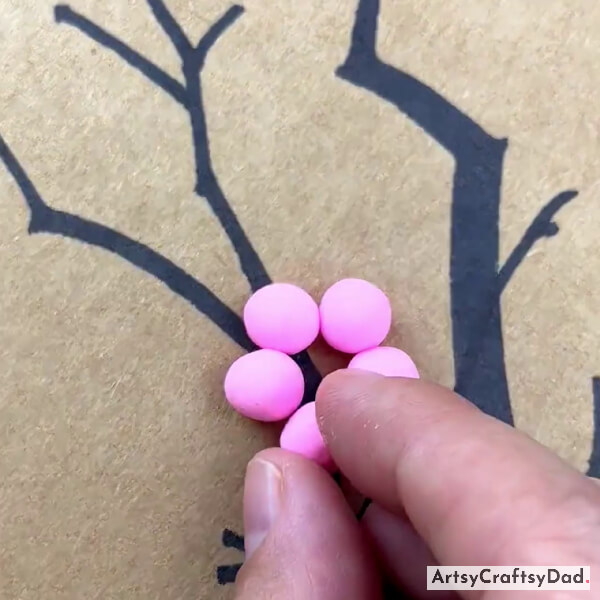
Make complete flower petals from the clay balls & join them in a circular form to make a flower.
Step #5: Pressing Flower Petals
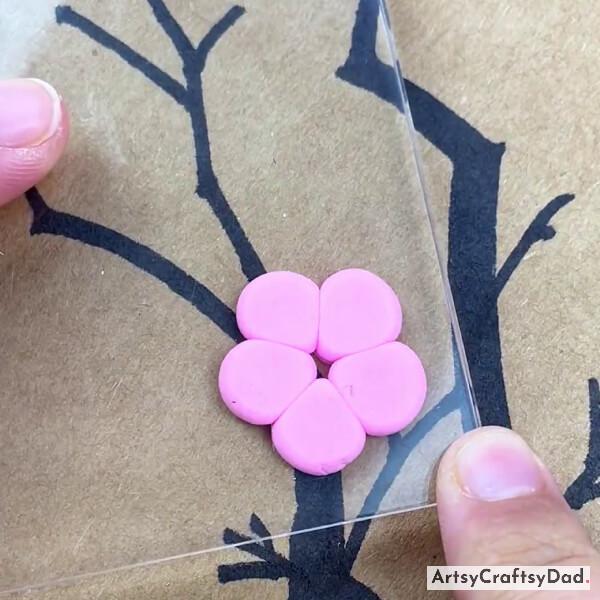
After creating flower petals press these petals with a Transparent Acrylic Sheet to give them a petals look.
Step #6: Flourishing The Flower
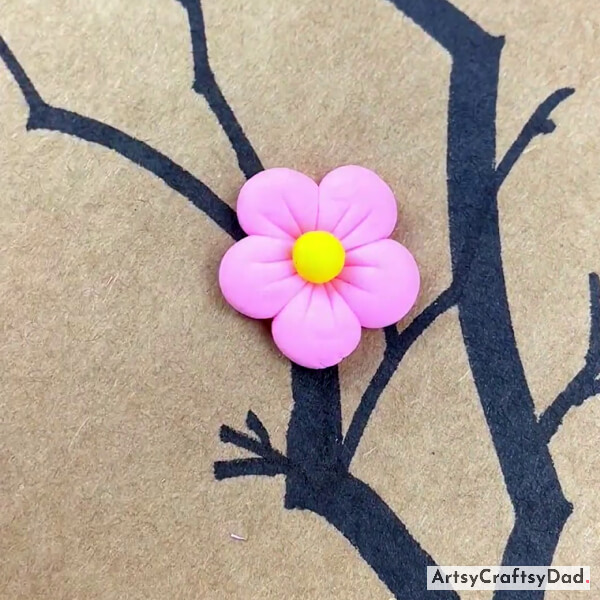
Afterward, make a yellow clay ball and paste it in the center of the flower as a pistil.
Step #7: Creating & Pasting Another Flower
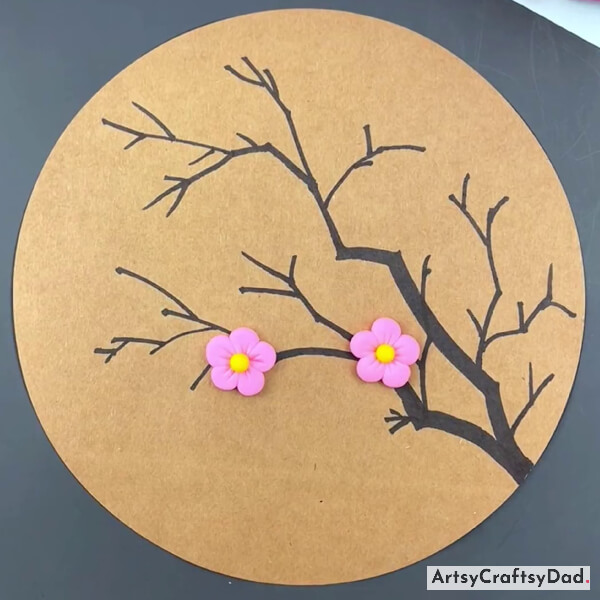
Repeat the process & create another flower and paste it on the branches.
Step #8: Pasting Flowers On The Entire Tree
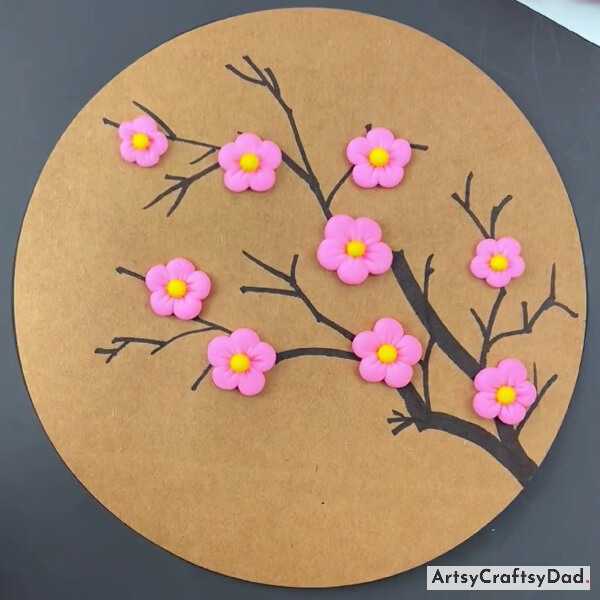
Paste flowers on all branches of the tree.
Step #9: Making Buds
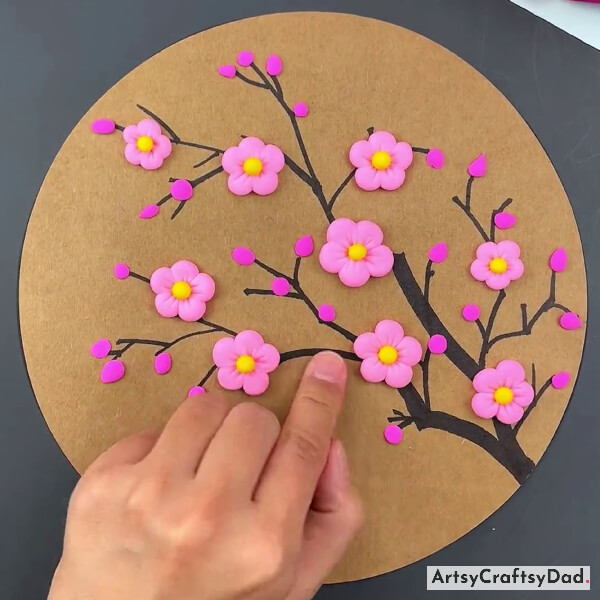
Take dark pink clay balls & make small balls and paste them over all branches as buds (growing flowers).
Step #10: Making Leaves
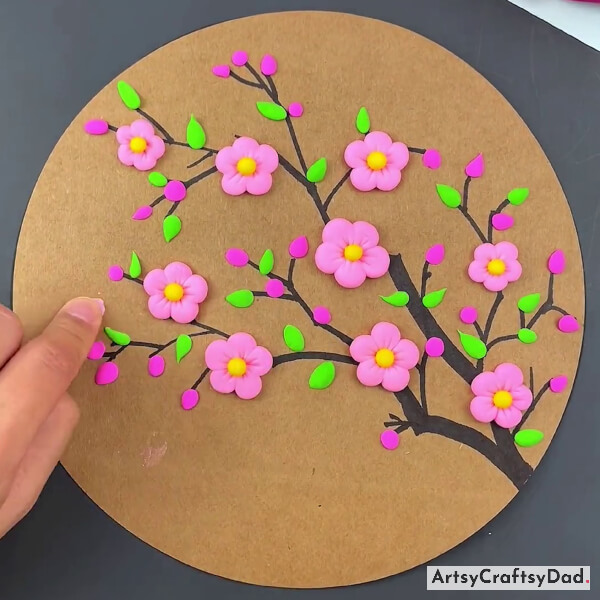
Now, take green clay & make leaf shapes & paste them on branches as shown in the above image.
Step #11: Decorating The Craft
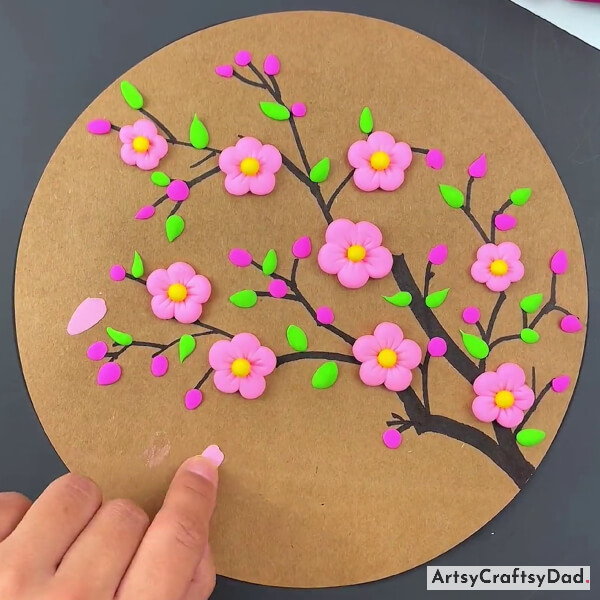
After that to enhance the beauty of the craft take a pink ball & put it on a brown sheet & press it with your index finger tip to give it a look of falling petals.
The Conclusive Look Of Our Cherry Flower Craft!
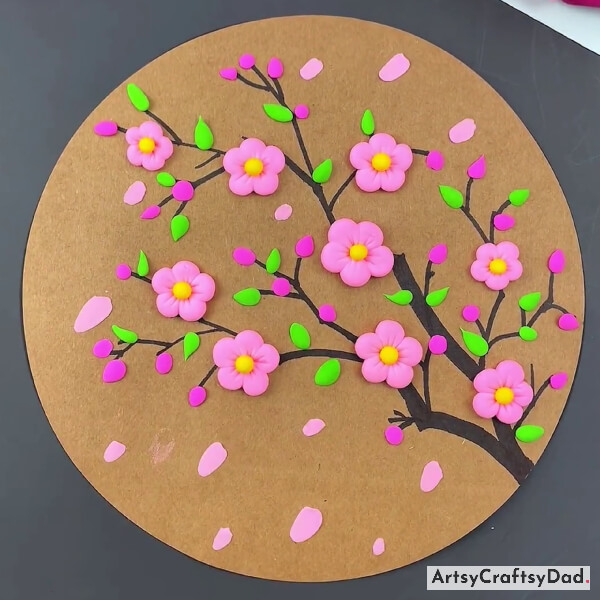
After the decoration of trees and flowers, we have completed our craft and now our final craft is ready.
We have completed our cherry blossom flower clay craft here. This craft not only allows kids to express their artistic abilities but also teaches them about the beauty and significance of cherry blossoms. You could try some new crafts from our other websites. Don’t stop here keep trying new crafts in the future & keep exploring your creativity. Please share your feedback in the comment section.
Thanks for choosing us!
You Might Also Like
- White Cherry Blossom Flower Vase Art Craft Tutorial
- Winter Cherry Blossom Artwork Craft Tutorial
- Cherry Blossom: Cotton Bud Painting Tutorial
- How to Make Cherry Blossom Flower from Satin Ribbon
- Beautiful White Cherry Blossom Painting Art Tutorial


