What can be more beautiful than receiving a bouquet of them? You will be making the prettiest tiny rose bouquet in this tutorial with clay!
Hello and welcome to this tutorial on making the cutest and prettiest tiny rose bouquet of all time! You will love to roll and tough the clay to make this craft! The tiny crafts are literally the best collection you could have! So add this rose bouquet to it to make it even more fascinating! This craft is suited for even a beginner, you will be guided on each and every step with easy instructions! You will love the results! What are you waiting for, let’s begin to make it!
Pretty Rose Bouquet Clay & Surgical Mask Craft Tutorial
Must Read: How to make rose in the technique of dry felting
Supplies & Tools
- Colored Super Clay (Pink, White, And Mixture)
- Scissors
- Purple Ribbon
- Polymer Clay Pressing Tool
- Surgical Masks
Rose Bouquet Instructions
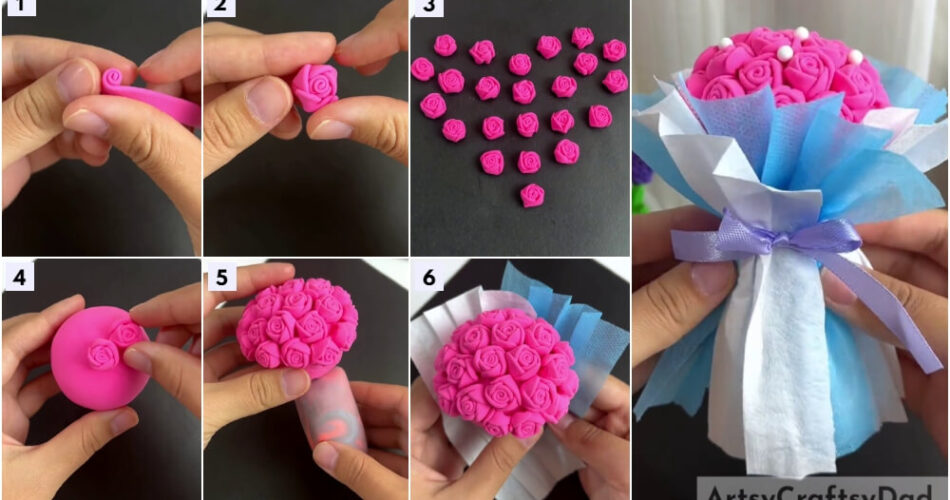
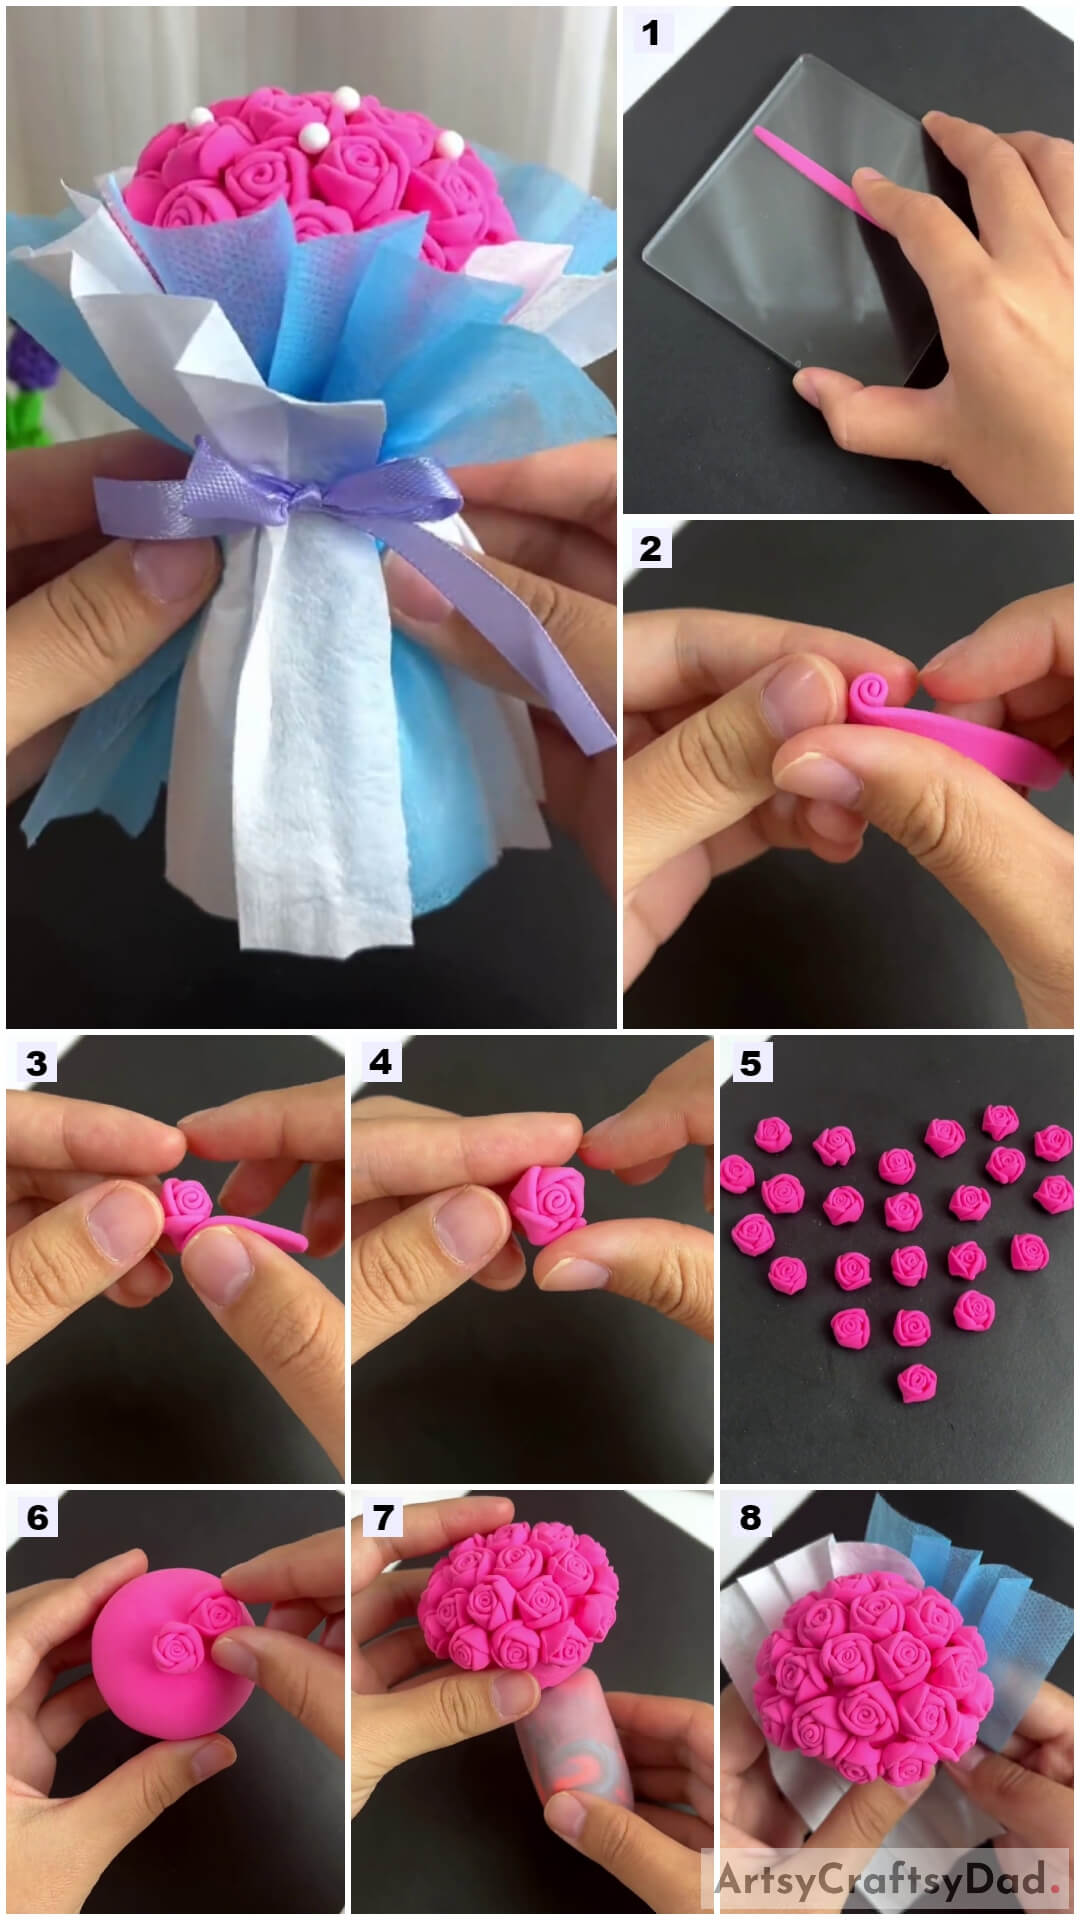
Step #1: Making A Clay Strip
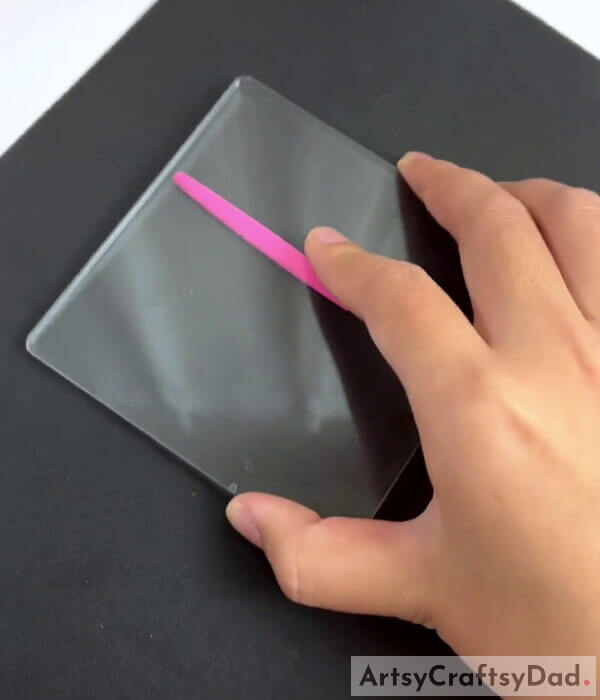
Begin this craft by taking pink-colored super clay and a polymer clay pressing tool. Dough a long thin roll of the clay and press to flatten it using the polymer clay pressing tool to create a long thin strip of it.
Step #2: Rolling The Clay Strip
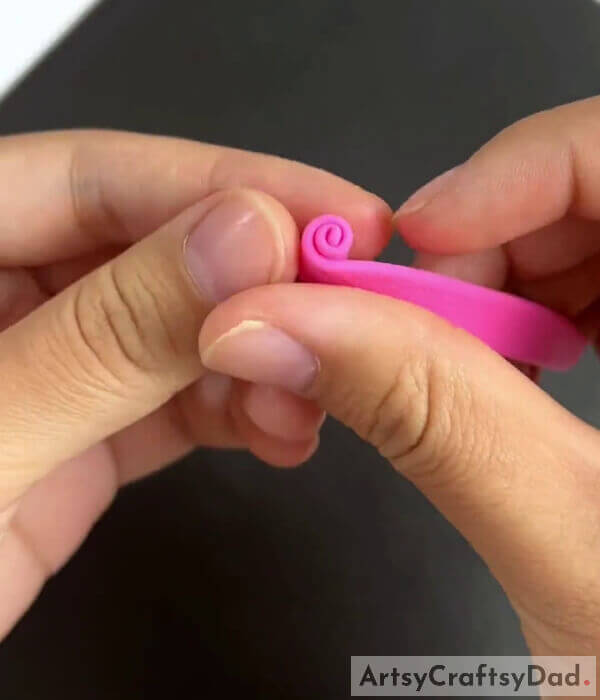
Now, roll the clay strip into a small spiral. Make sure to only roll some starting of the strip and leave the rest unrolled. This spiral will be the center of your rose flower.
Step #3: Making Rose Folded Petals
Now, bend the unrolled strip a little downward and again wrap a little part of the strip over the roll tilted upward. Again, bend the strip a little downward and again wrap a little part of the strip tilted upward. Do the same again and again until you reach the end of the strip. This becomes the folded petals of your rose.
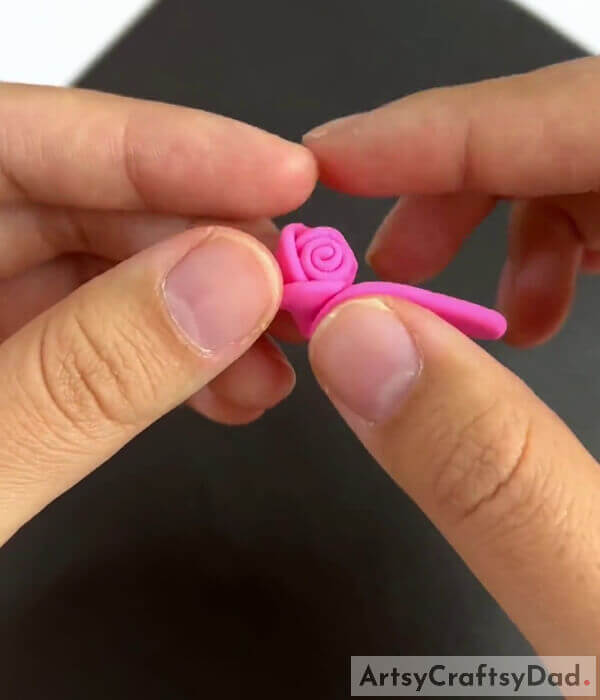
Step #4: Securing The Fold Of The Rose
Press the end of the clay strip into the rose. Try to secure it a little downward.
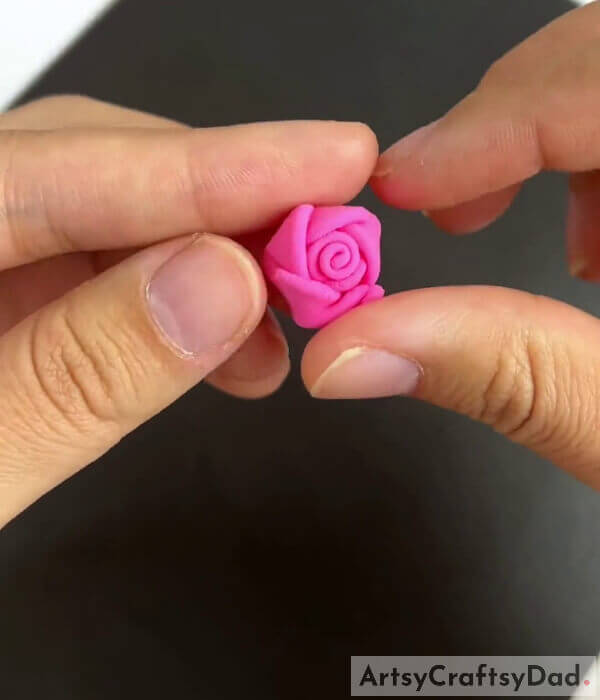
Step #5: Making More Roses
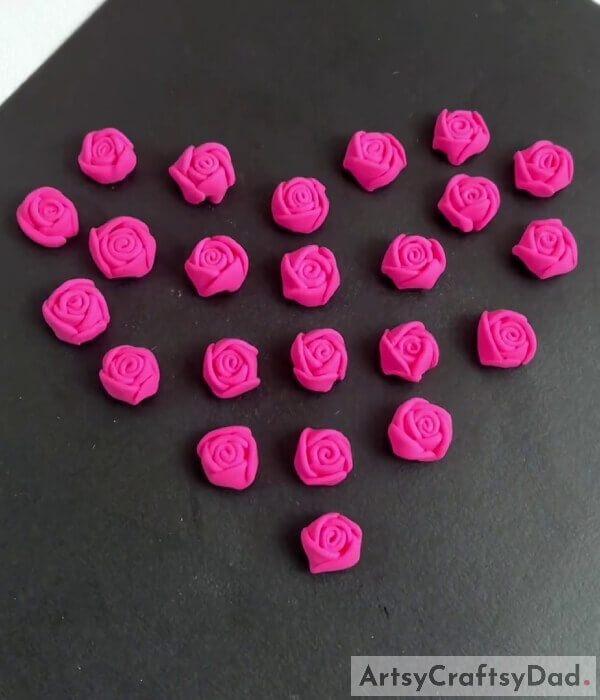
Following the same, make more and more roses from the pink clay strips.
Step #6: Making A Clay Ball
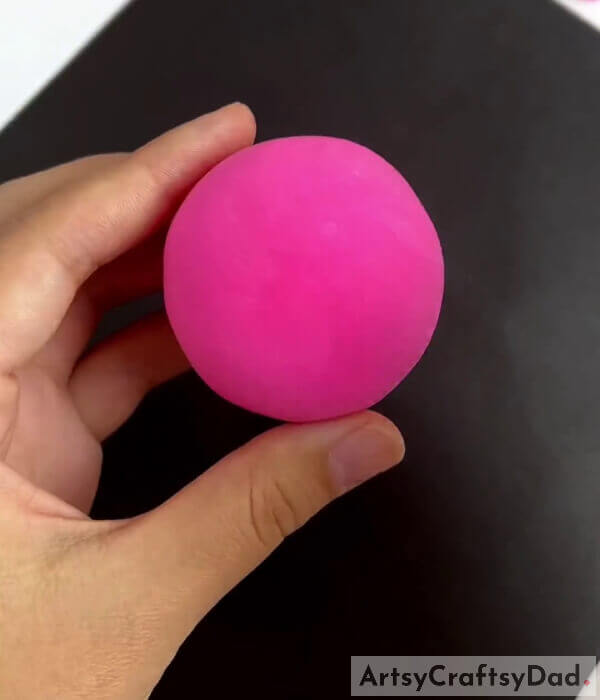
Now, take more pink clay and dough it into a big clay ball as shown in the image.
Step #7: Sticking The Roses On The Clay Ball

Start to stick the roses on the clay ball. Make sure to stick them closely to each other.
Step #8: Competing Sticking The Roses
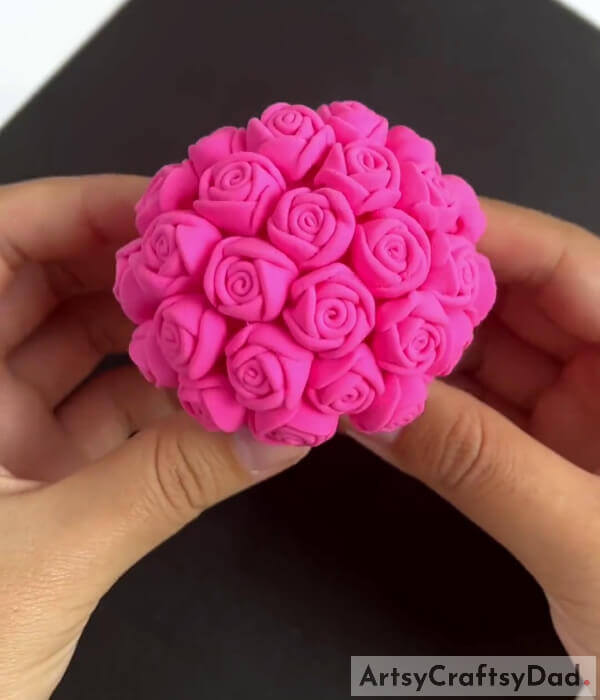
Stick all the roses on the clay ball’s upper half. Stick the roses without leaving any gaps in between. This will be the bouquet of your roses.
Step #9: Sticking Rose Bouquet On A Clay Dough
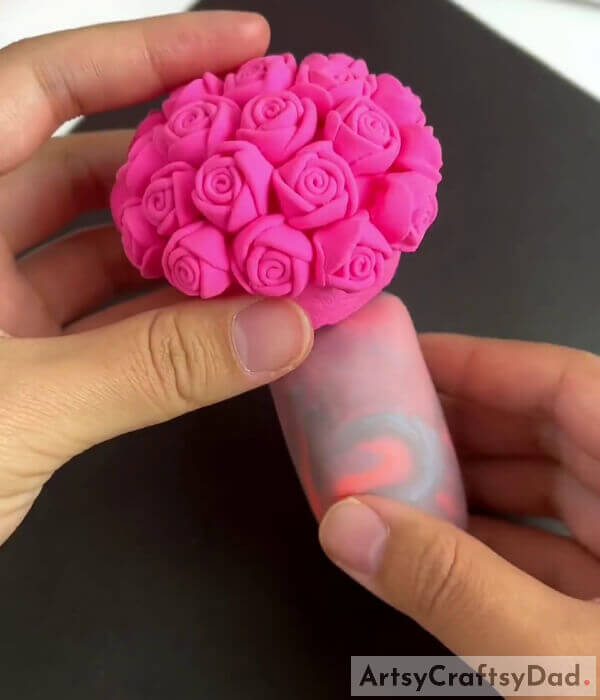
Use your remaining colored super clay and make a clay dough of it. Make sure to make it a little longer. Now, stick the rose bouquet over it from the plain ball side as shown in the image.
Step #10: Cutting The Ends Of A Surgical Mask
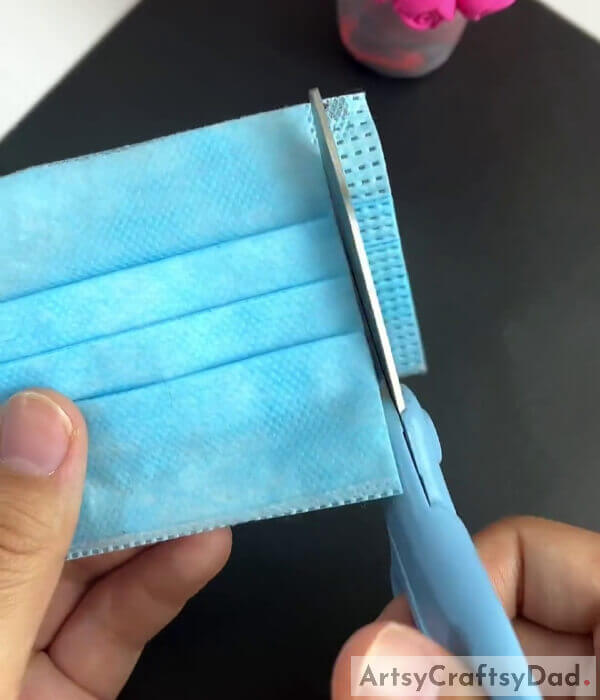
Using scissors, cut the joint seal ends of a surgical mask and separate the white and blue parts of it.
Step #11: Sticking The Mask Parts Around The Bouquet
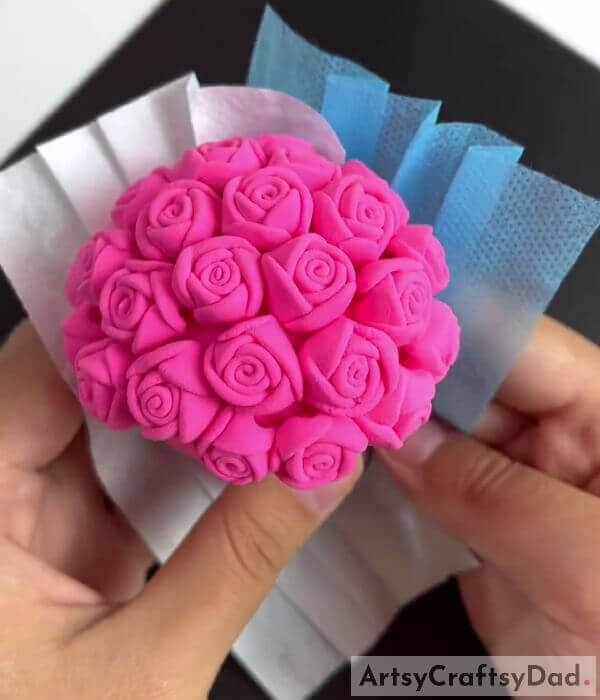
Take those separated white and blue parts of the mask and vertically stick them around the bouquet one slightly over the other and push them in from between in the clay dough.
Step #12: Completing The Rose Bouquet

Similarly, cut out more white and blue parts of the mask and stick hem around the bouquet to cover them whole and at last secure them with a purple ribbon and make a bow of it. Also, take white clay and make tiny balls from it and stick these balls over the gaps in the roses to add some pearls to your bouquet.
This Is The Final Look Of Your Rose Bouquet!

Woohoo! What a mesmerizing craftwork! Your pretty tiny rose bouquet craft is ready!
You can now add it to your craft collection to beautify the collection even more! This craft can also be said as a budget-friendly one as you have used the surgical mask and clay which are literally so cheap and even free if you already have them at home! You can also, customize this flower bouquet by making other different colored roses! Make it prettier just like you!
Hope you had fun making this craft and are satisfied with the results! Tell us your feedback and the craft journey in the comments section below!
You May Also Like
- Clay Snails On Leaves Craft Tutorial For Kids
- Clay Chicks In Garden Craft Tutorial
- Clay Heart Leaf Tree Craft Tutorial For Kids
- Clay-Paper Sunflower Garden Craft Tutorial
- Create a cascading bouquet of artificial flowers (Tutorial)


