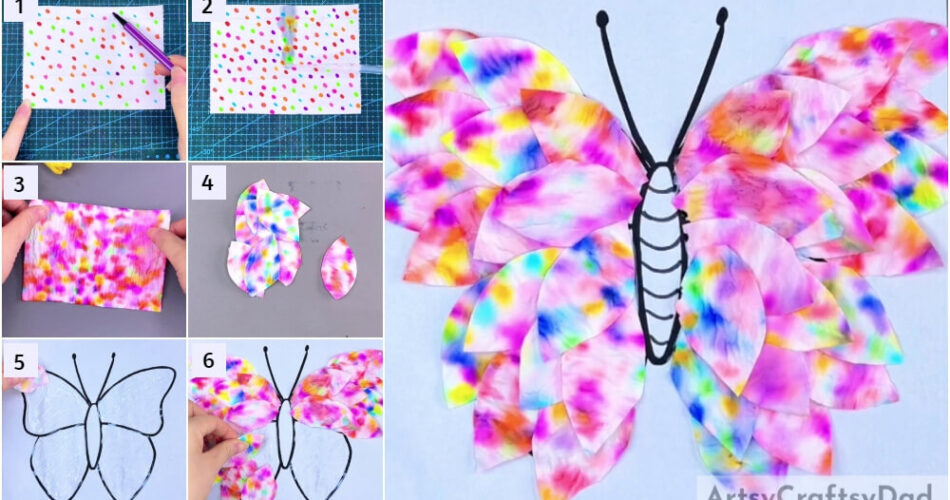
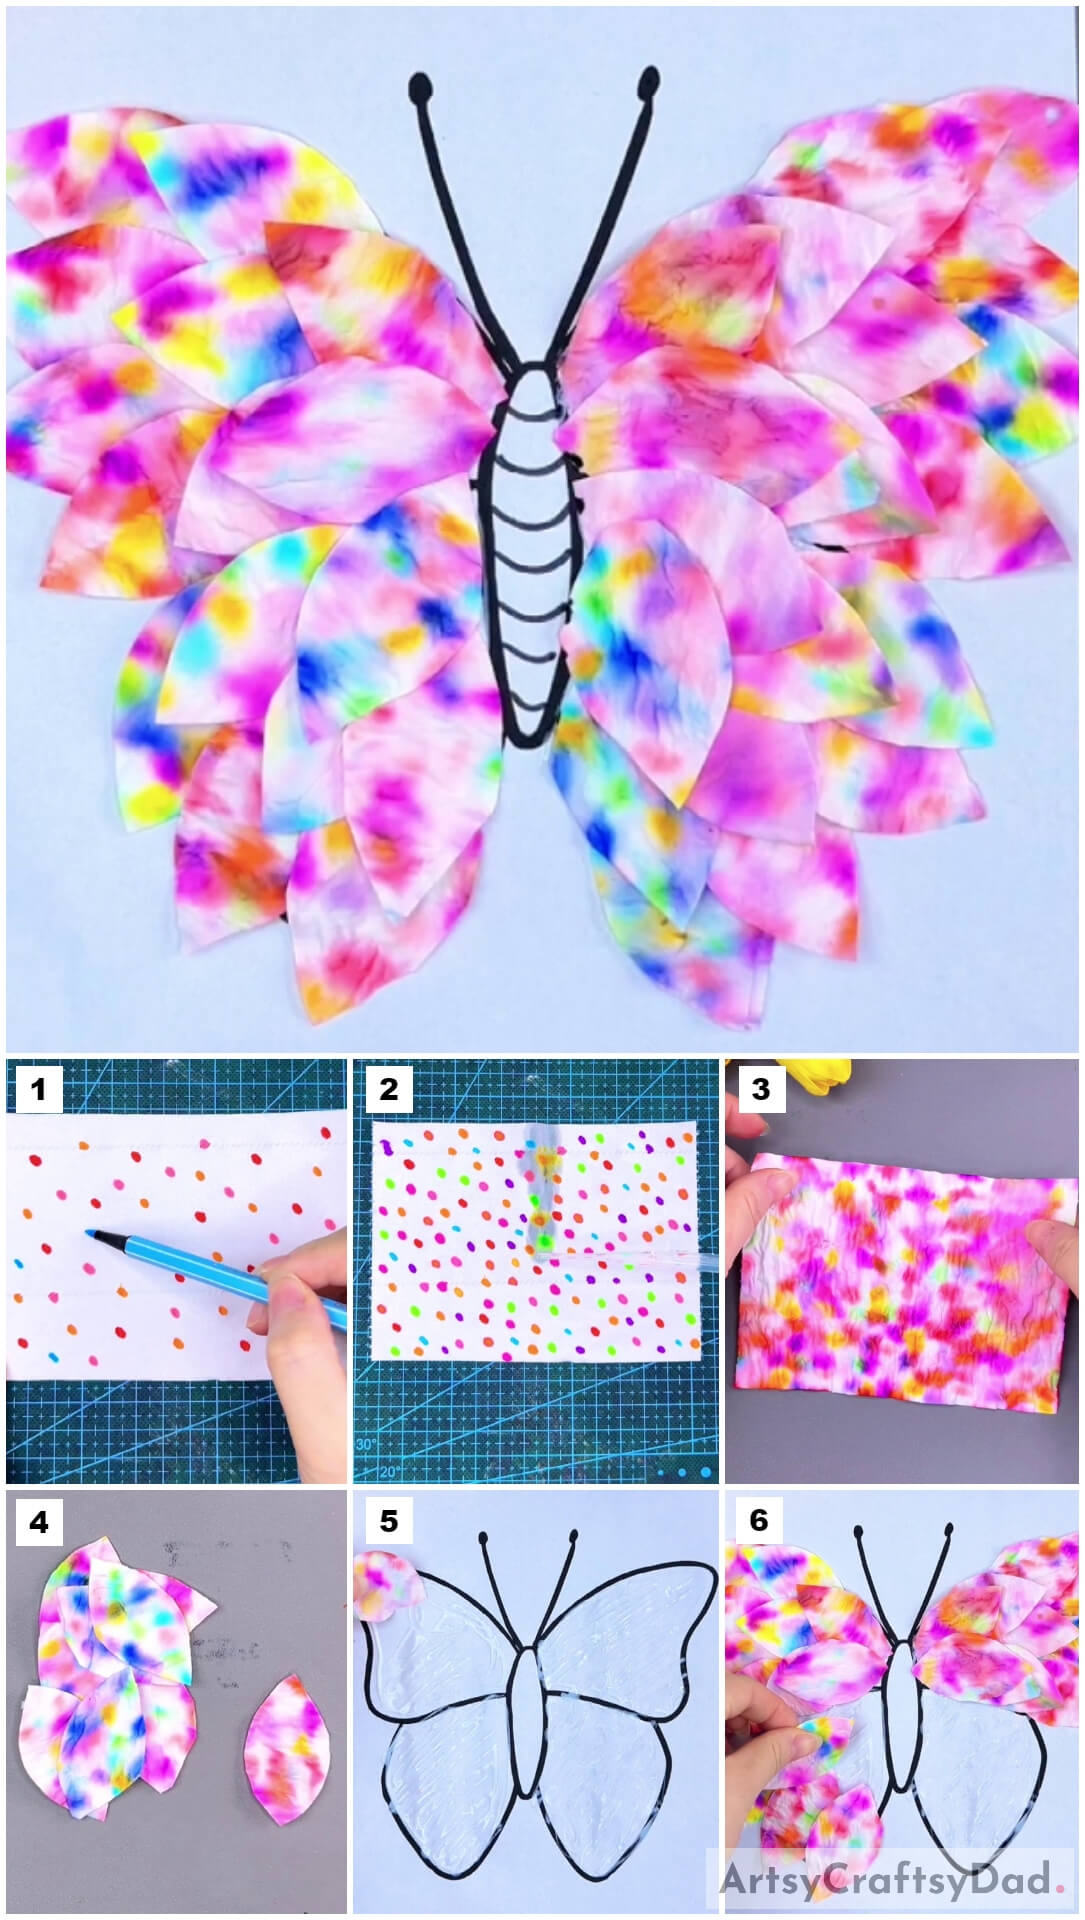
This is literally the prettiest butterfly ever! This step-by-step tutorial will guide you to make a butterfly using tissue & sketch pens!
Hello and welcome to the article tutorial on making the prettiest butterfly of all time! This tutorial will guide you in making this butterfly craft using tissue paper and sketch pens with a hack! This hack will excite the kids and will love the colorful and pretty results! This craft is best for the kids to make as a budget-friendly one which will even drive their motor skills and creativity! Let the kids unleash their creative selves while making this craft! So, let’s begin!
Adorable Butterfly Tissue Paper Hack Craft
Must Read: Butterfly Craft Ideas for School Spring Projects
Supplies & Tools
- White Paper Sheet
- Tissue Paper
- Scissors
- Glue
- Water
- Sketch Pens
- Black Marker
Butterfly Craft Instructions
Step #1: Making Sketch Pen Dots On The Tissue
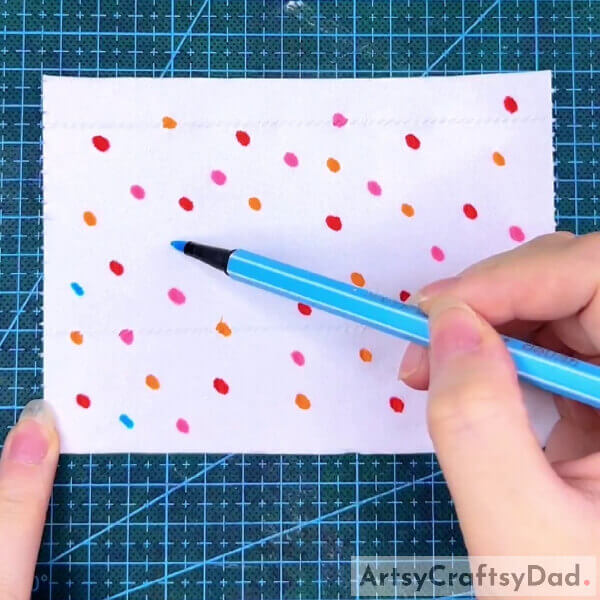
Begin this craft by taking tissue paper and sketch pens of pink, orange, red, and blue colors. Using these sketch opens, make dots over the tissue paper randomly. See the image for reference.
Step #2: Making More Colorful Dots
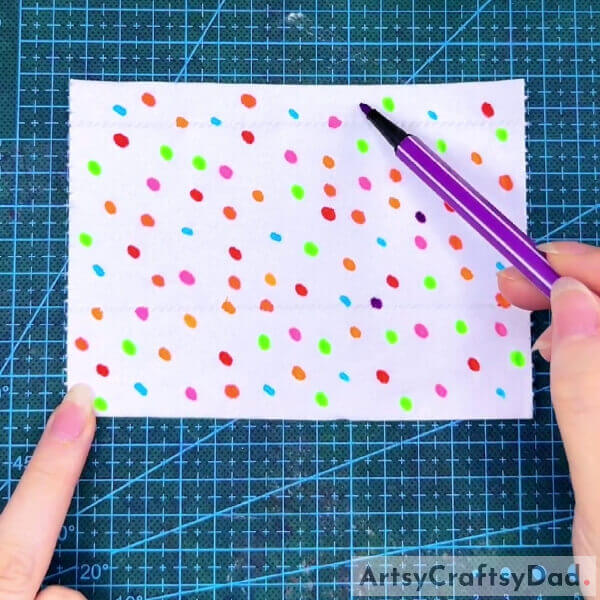
Take purple and green sketch pen too and make more random dots over the tissue paper.
Step #3: Making The Tissue Wet
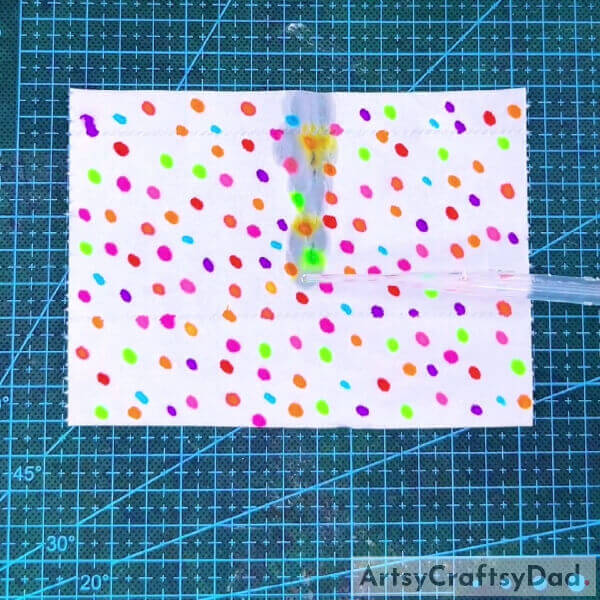
Drop water droplets over the tissue paper to make it wet.
Step #4: Obtaining A Colorful Tissue
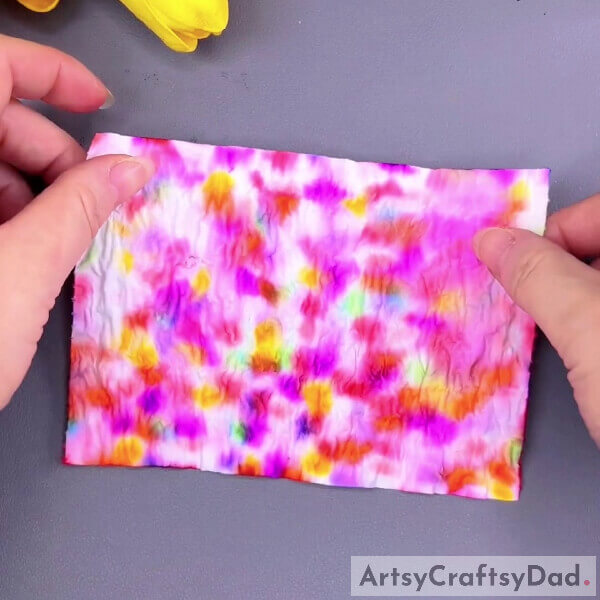
Wait some minutes to see the sketch pen dots spreading over the tissue and you will obtain a colorful tissue just like shown in the image.
Step #5: Cutting Out Petals Shapes
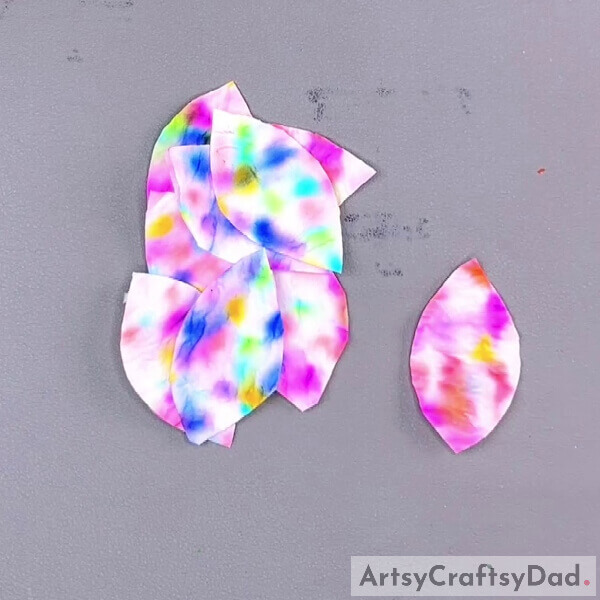
Using scissors, cut out petal shapes from the colorful tissue paper.
Step #6: Applying Glue On The Wings Of Butterfly
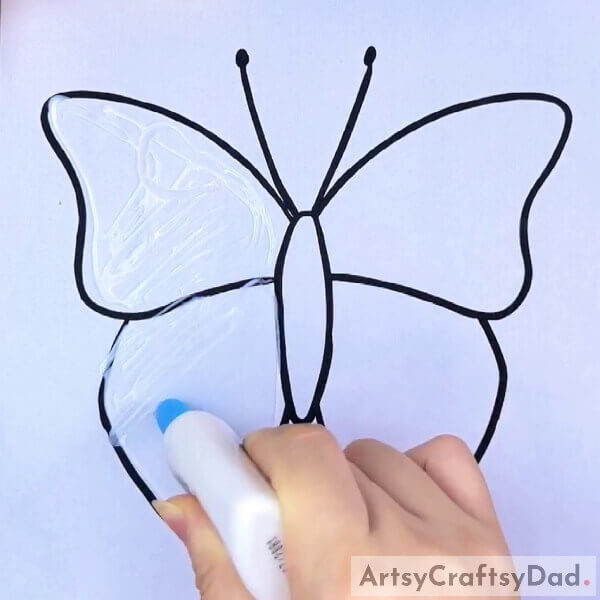
Now, take a white paper sheet and a black marker, using the black marker, and draw a butterfly with a curved body, 2 antennas, and big wings over the white paper sheet as shown in the image. Apply glue on both the wings of the butterfly.
Step #7: Pasting A Petal
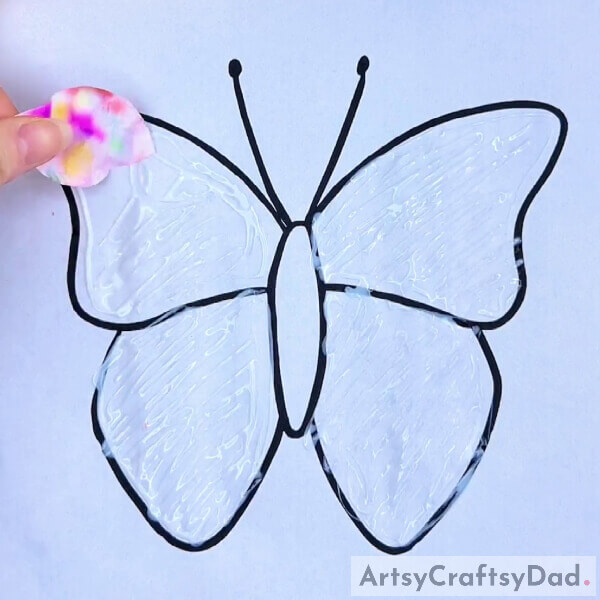
Paste a petal shape tilted over the wing on the top corner of it, aligning with the outline of the wing.
Step #8: Completing Pasting The Petals
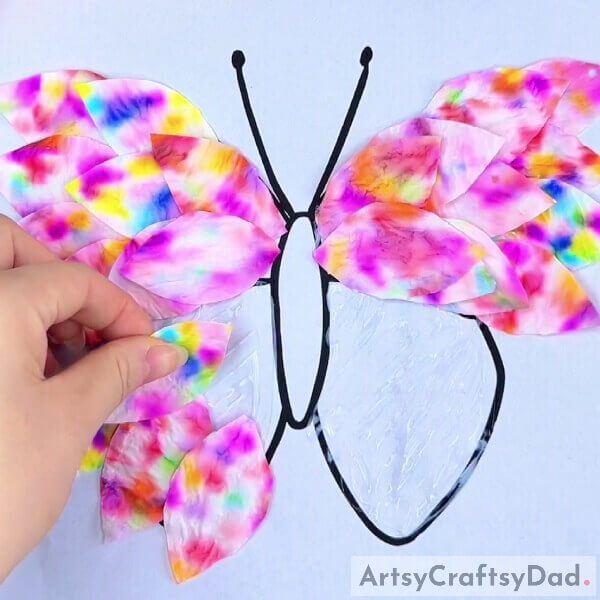
One by one paste all the petals cut out from the tissue one over the other and all tilted according to the outline of the wings. See the image for reference.
This Is The Final Look Of Your Colorful Tissue Butterfly!
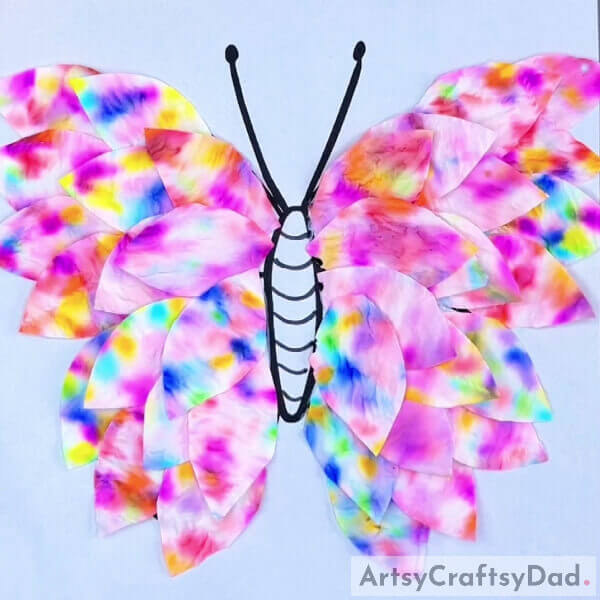
For the last step, draw the curvy horizontal lines in the body of it using the marker and completely stick the petals to obtain pretty colorful wings.
Congratulations! You have finally competed to make your colorful tissue paper butterfly like a pro!
This craft is now ready to be shown off to your friends and family! They will definitely admire your creation and your skills and creativity too! You can also use this craft as a school project! See everyone being jealous of you being the teacher’s favorite! The hack using the sketch pens, you can use that in many other crafts as well! They will turn out so pretty and eye-catching, that you can mix and match the colors of your sketch pens to create a pretty texture!
Hope you liked the article and the craft idea! Share it with your buddies as well! Also, don’t forget to leave your feedback in the comments section below!
You May Also Like
- How To Make Round Tissue Paper Flower – Tutorial
- Simple Paper Tearing Flowers Craft Tutorial
- Clay-Paper Sunflower Garden Craft Tutorial
- Clay Snails On Leaves Craft Tutorial For Kids
- Tissue Box Craft Projects for Classroom
