My jaw dropped! You gotta check out this article to make the best painting ever! This tutorial has a beautiful rose vase painting with hacks!
We knew you would come by! I’m sure you won’t regret coming here! This step-by-step tutorial article has brought you an amazing like literally amazing rose vase painting! The results will look like either you have purchased it from the market, or it is made by an artist! We will guide you on each and every step of this waiting to get flawless results! We have also got some hacks and tricks to make this painting much easier than it looks! So, without any delay, let’s begin!
Easy Rose Vase Painting For Kids

Must Read: Beautiful dotted flowers from one stroke painting
Supplies & Tools
- Palette
- Paint Colors
- Cardboard Piece
- Paintbrush
- Yellow Paper Sheet
- Cotton Earbud
- Palette Knife
Rose Vase Instructions
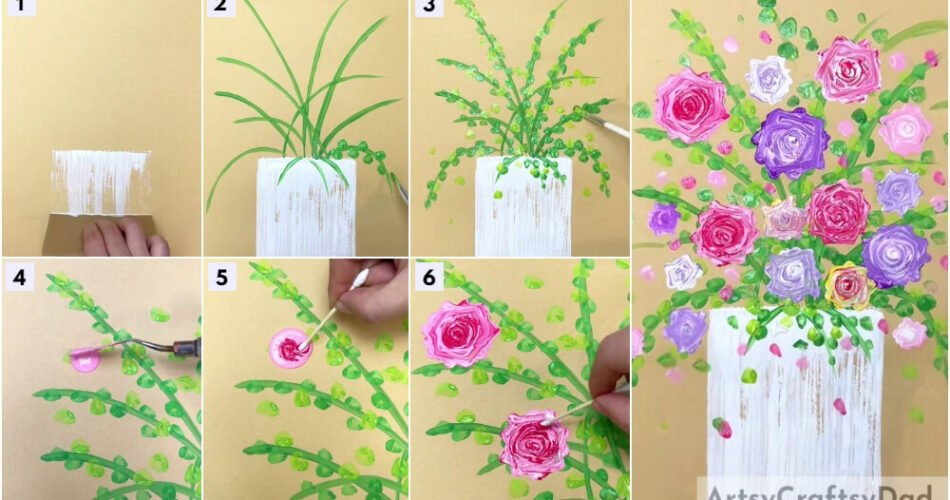
Step #1: Dipping Cardboard Side In Paint
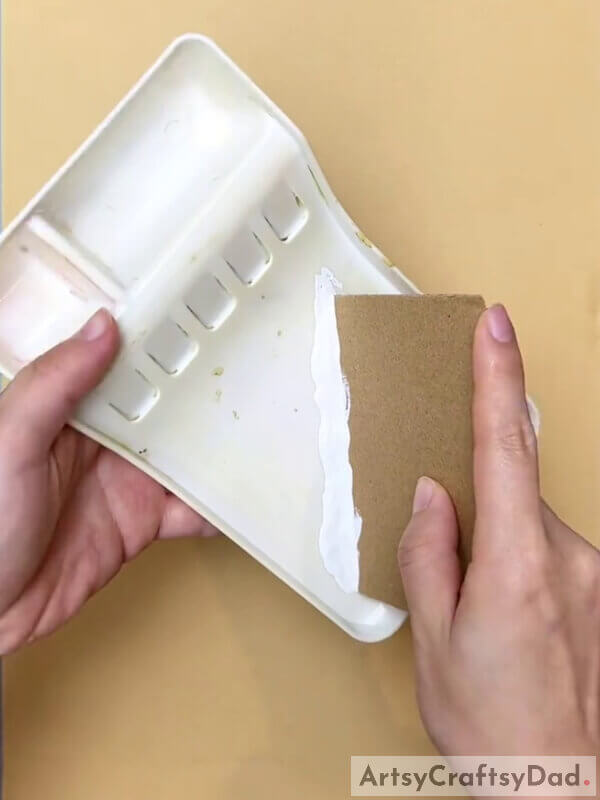
Begin this painting by taking some white paint into a palette. Take a piece of cardboard and dip the side of the cardboard into the white paint.
Step #2: Painting A White Rectangle
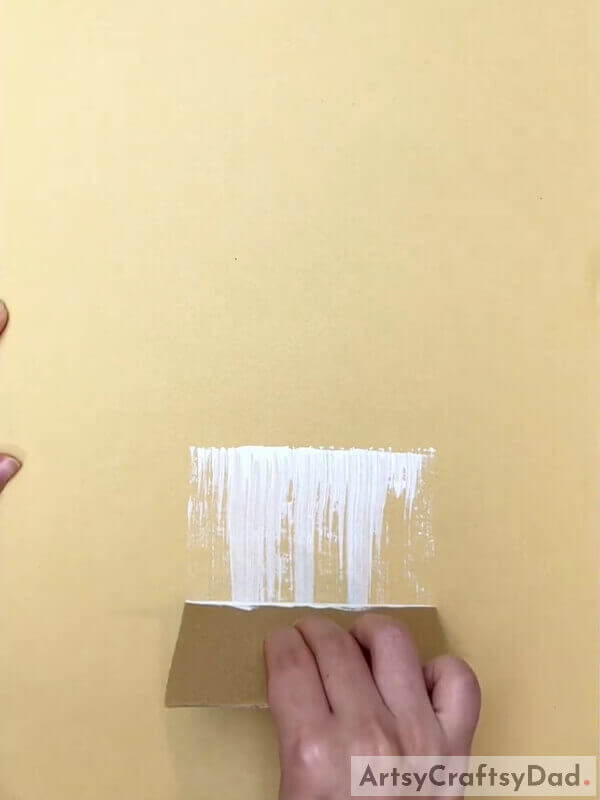
Use the painted cardboard piece as a paintbrush and place it perpendicularly over a yellow paper sheet in the middle. Drag the cardboard piece to the bottom of the paper by tilting it a little to form a rectangle over the sheet. Dip the cardboard again and drag it over the already-made rectangle, again and again, to get the full rectangle without any left unpainted space in it. This rectangle will be the vase in your painting.
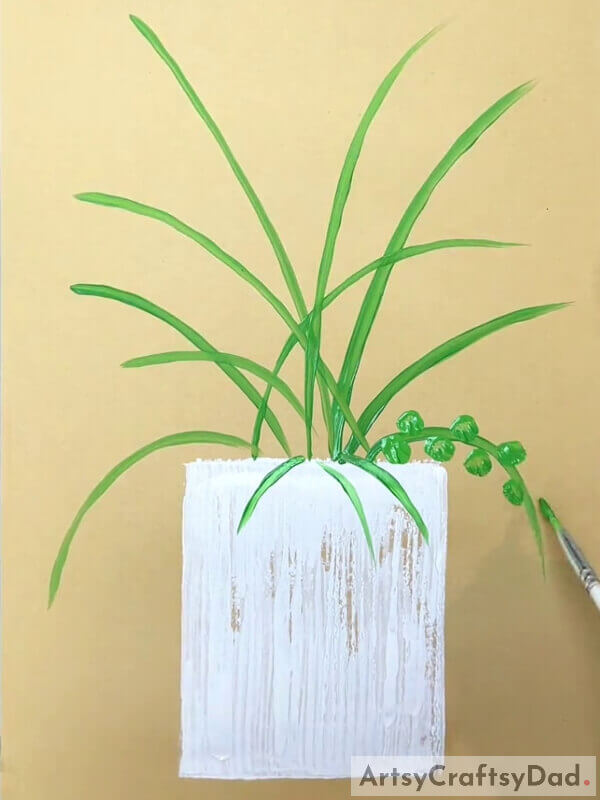
Step #3: Making Stems Of Flowers
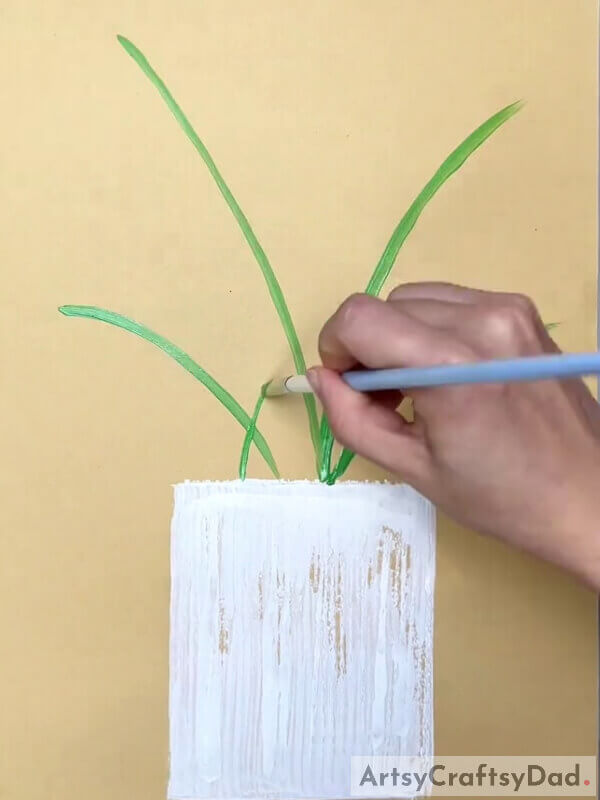
Dip a paintbrush into green paint and make the curvy stokes look like coming out of the rectangle/vase randomly to make the stems of the flowers.
Step #4: Making Leaves To The Stems
Dip the paintbrush again into green paint and make small circular leaves to the stems on both sides randomly.
Step #5: Completing Making Green Leaves To The Stems
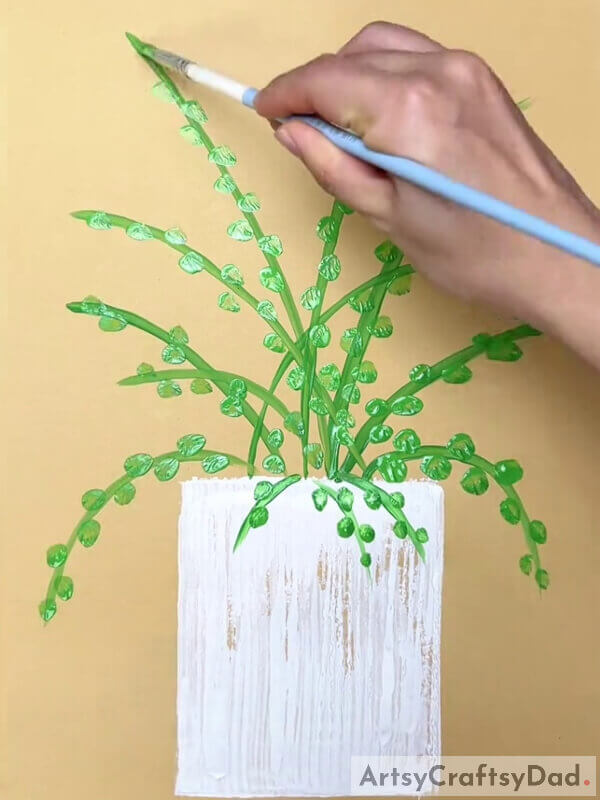
Make the circular leaves over each and every curved stem till the top. See the image for reference.
Step #6: Making Light Green Leaves
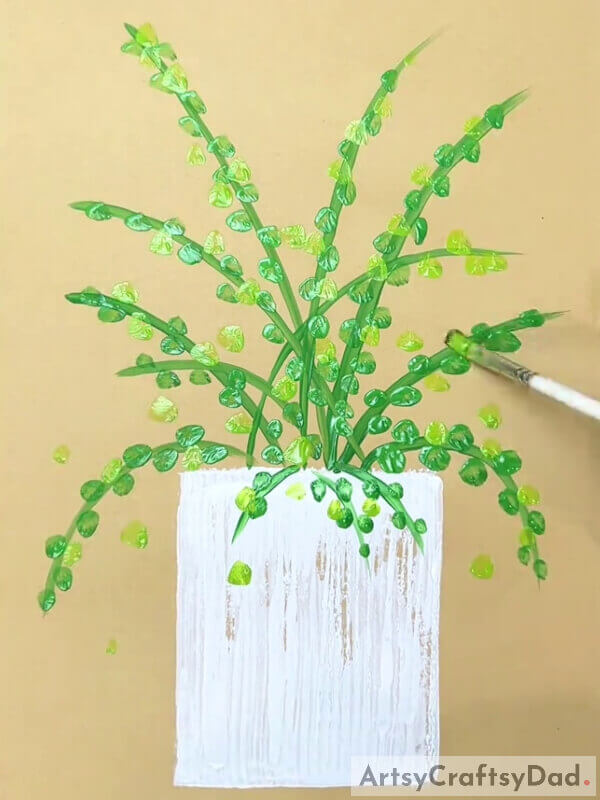
Dip the paintbrush into light green paint and make the circle leaves randomly between the green leaves to the stems also make some circular leaves apart from the stems to make them look like the fallen ones. See the image for reference.
Step #7: Spilling Some Paint
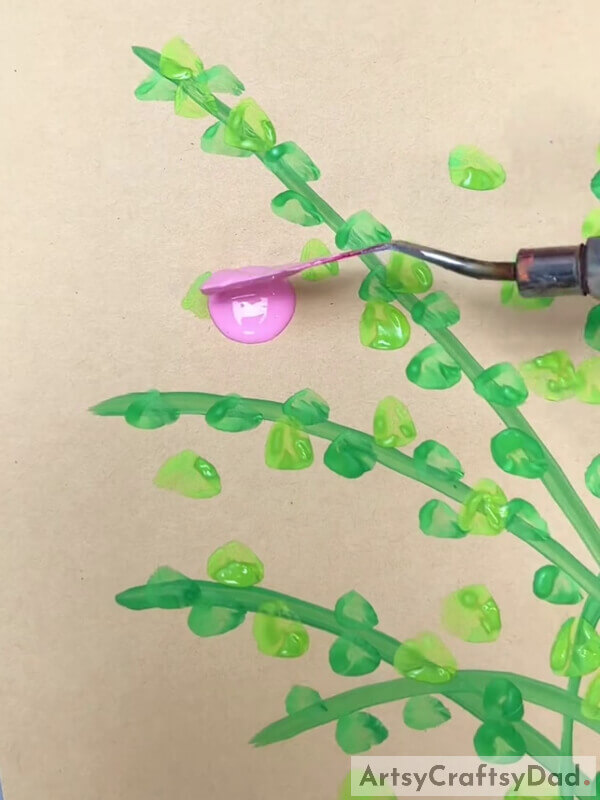
Using a palette knife, spill some pink paint over the paper randomly between the leaves and stems. Drop the paint in a circular shape by pouring it gradually on it.
Step #8: Putting Dark Pink Paint Drop

Using the palette knife, drop some dark pink drops over the pink circular spilled paint.
Step #9: Making Roses
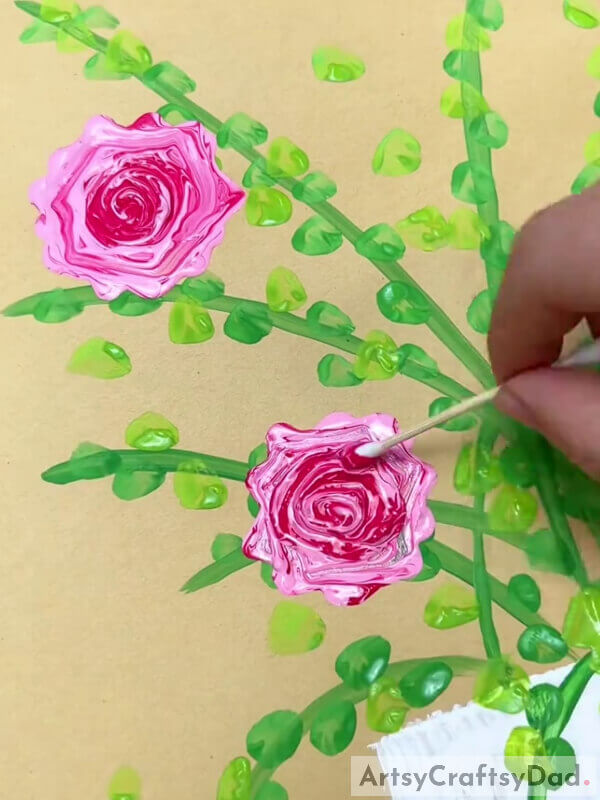
Using a cotton earbud, make a spiral over the spilled paint in the middle and then make a curvy bumpy spiral from the sides to form a rose. Spill the paint again on the paper randomly over the leaves and stems and do the same to make another rose.
This Is The Final Look Of Your Rose Vase Painting!
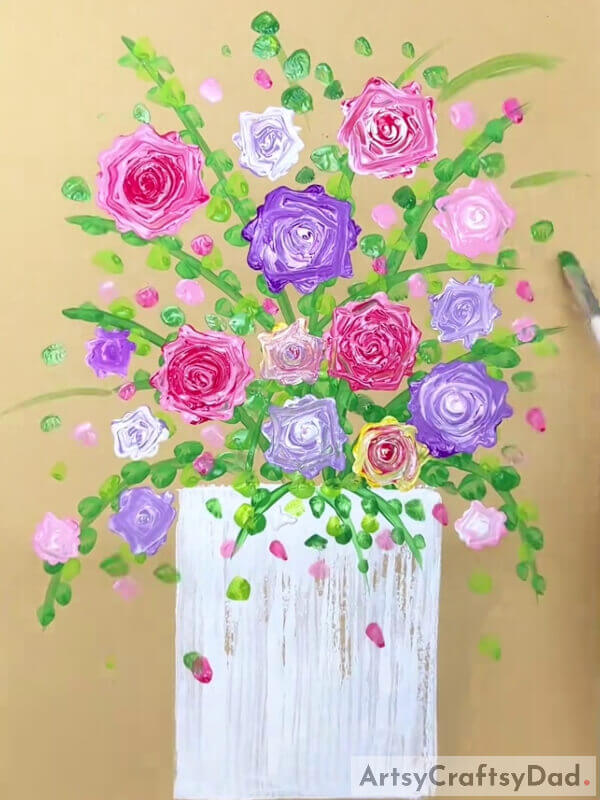
In the last step, as you make the pink roses, make some more, and some purple-white paint roses, a yellow-pink rose, randomly over the paper among the leaves and stems. Now, dip your paintbrush into pink paint and make some dots randomly over the sheet near the vase and among the flowers and leaves. Also, make some spots of dark pink paint too and green too. See the image for reference.
Voila! You have finally completed your stunning rose flower vase painting!
You surely have learned some new tricks and techniques of painting! You can now proudly display your creation in any corner of your home where everyone can see and admire it! I’m sure everyone will love this painting and will admire your skills and creativity! You can also customize this painting in any way you like, make different colored flowers add some textures to the vase, anything! Your imagination is the limit to make it as unique as you are!
Hope you loved the article! If so, give it a like! Also, don’t forget to leave the feedback in the comment section below! We would love to hear from you!
Thank you for visiting our website!
You May Also Like
- Peacock Stamp Painting With Hacks Tutorial
- Painting a vase with stained-glass paints
- Clay Snails On Leaves Craft Tutorial For Kids
- DIY Handmade Satin Rose – Tutorial
- Basic Magical Leafs Pattern Henna Mehndi-Mehendi Designs with gulf rose & Beautiful Bels(Tutorial)


